- Scope is the Only Trigger: Never ask for a reinspection to argue about price (like the cost of paint). Only ask if they physically missed damage (like a forgotten wall or hidden rot).
- The “Blue Tape” Method: Before they return, physically mark every missed item with blue painter’s tape. Make the damage impossible to ignore in their photos.
- Control the Visit: Do not let them wander. Act as the “Tour Guide” and lead them directly to the missed items on your list.
- The “Open File” Risk: Understand that inviting them back opens the entire claim for review. Ensure your existing approved items are solid before triggering a second look.
The Myth of the “One-Shot” Inspection
In the chaotic days following a disaster, most homeowners operate under a false assumption. They believe the initial inspection is their one and only chance to get everything documented. They think that once the field adjuster drives away, the record is sealed forever.
In my years working in claims operations, I have seen this belief cost families thousands of dollars. The reality of the industry is much messier. Field adjusters are often handling a high volume of claims daily, rushing from one house to the next. They are human. They miss things. They scan a room for ten minutes and overlook the water swelling behind a door frame or the soot inside a closet.
A “Reinspection” is not a special favor; it is a standard operational mechanism to fix these errors. However, triggering one requires more than just a phone call complaining about the total. You have to prove that the physical facts on the ground do not match the physical facts in their report. If you do this correctly, you unlock the funds needed to finish your home. If you do it poorly, you just annoy the desk adjuster and delay your file by weeks.
Operational Reality: Why They Missed It the First Time

To get a reinspection approved, you first need to understand why the damage was missed. It is rarely malicious. It is usually speed or access.
I often see field reports where the photos are blurry or taken from the center of the room. The adjuster didn’t open the vanity cabinet because they didn’t want to move your cleaning supplies. They didn’t climb into the attic because their ladder was too short. These are “access failures.”
When you ask for a reinspection, you are essentially saying to the desk adjuster: “Your data gatherer had an access failure. I have cleared the access. Send them back to finish the job.” This framing works because it helps the desk adjuster solve a data problem rather than fighting a coverage battle.
The “Scope vs. Price” Rule

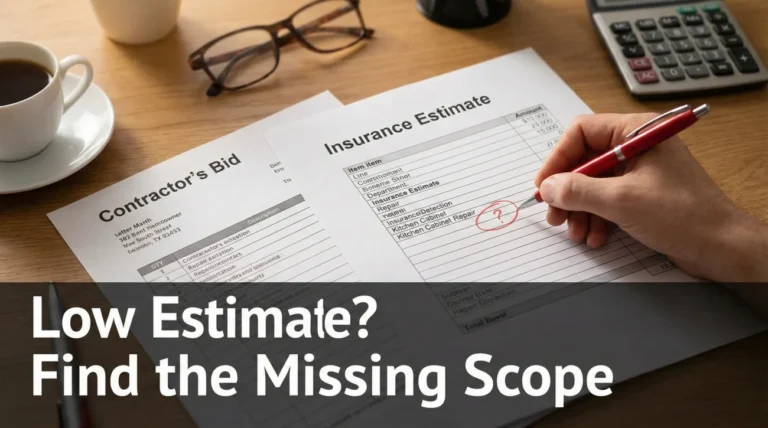
This is the most critical concept in this entire process. You must know the difference between a Scope Dispute and a Pricing Dispute. If your issue is strictly about the cost of materials and not missing items, you should refer to our guide on handling low insurance estimates instead of requesting a site visit.
A reinspection involves significant administrative cost and scheduling effort for the carrier. They will only authorize this expense if there is something new to see.
“Your estimate pays $400 for the bedroom paint, but my painter wants $800. You need to come back and look.”
Why it fails: The adjuster doesn’t need to stare at the wall again to argue about labor rates. They can do that over email. Request denied.
“Your estimate includes 3 walls in the bedroom, but you missed the 4th wall and the closet interior, which also have water stains. You need to come back and measure the missed areas.”
Why it works: There is missing physical quantity. They cannot pay for the 4th wall until they verify it exists. Request approved.
Decision Matrix: Photo Supplement vs. Reinspection
You do not always need a physical visit. In fact, a “Virtual Reinspection” (sending photos) is often faster. Use this table to decide which path to take.
| The Issue | The Strategy | Why |
|---|---|---|
| Missed Item (Easy to see) | Photo Supplement | If you can take a clear photo of a missed ceiling fan or vent, just email it. No visit needed. |
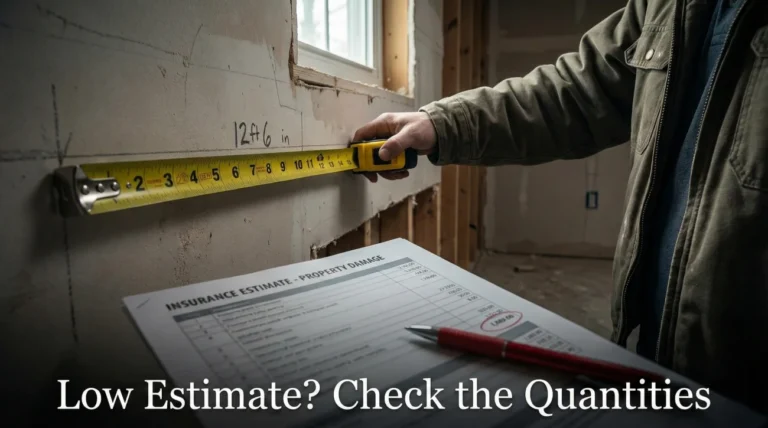
| Measurement Dispute | Reinspection | If you say the room is 14×14 and they say 10×10, they usually need to verify the tape measure in person. |
| Hidden Damage | Reinspection | Rot or water damage found after demolition typically requires professional verification to rule out “long-term seepage.” |
Preparation: The “Blue Tape” Strategy

If you get the green light for a second visit, do not waste it. You need to stage your home so the damage screams for attention. I call this the Blue Tape Strategy.
Go to the hardware store and buy two rolls of blue painter’s tape. Walk through your house and place a piece of tape next to every single scratch, dent, stain, or crack that was missed in the first report.
Why this works operationally:
- It directs the camera: When the adjuster walks in, their eye is drawn to the blue. They will naturally point their camera at the tape.
- It forces documentation: When the desk adjuster reviews the photos later, they will see the blue tape marks. They cannot claim “no damage visible” when there is a giant blue arrow pointing right at it. It forces a conversation.
- It saves time: You don’t have to remember every spot. The house speaks for itself.
💡 Pro Tip: If the damage is hard to see (like a subtle water stain on a white ceiling), holding a flashlight at a low angle across the surface can help make the texture visible in photos. Show the adjuster this angle when they arrive.
The Handover Packet: Don’t Just Talk
Field adjusters see thousands of damaged items a week. If you rely on verbal reminders, they will forget them by the time they get to their car. Hand them a physical Reinspection Target List at the door.
| Room | Missed Item | Action Needed | My Evidence |
|---|---|---|---|
| Master Bath | Toe-kick damage under vanity | Photograph swelling | See blue tape |
| Living Room | East Wall Dimensions | Re-measure length | Contractor meas. = 14ft |
| Kitchen | Subfloor rot | Inspect corner | Visible after carpet removed |
Say: “I made this list to make your job easier so we don’t miss anything.” Most adjusters will appreciate the organization.
Managing the Visit: Be the Tour Guide
When the adjuster arrives, do not let them wander aimlessly. You are the Tour Guide. You control the flow.
The Script:
“Hi, thanks for coming back. I know you’re busy. The main missing items are in the Kitchen and the Hallway. Let’s start there so we can knock out the big stuff first.”
Lead them to the blue tape. Point to it. Wait for them to take the photo. Then move to the next piece of tape.
The Contractor Advantage
If you can, have your contractor present. I cannot overstate the value of this. When your contractor stands there and says, “This electrical outlet is not code-compliant, I have to move it,” it is a technical statement of fact. It is much harder for an adjuster to argue with a professional tradesperson than with a homeowner.
The “Post-Visit” Recap Email
The site visit is step one. Step two is locking in the results with the desk adjuster. Send this email immediately after the field adjuster leaves.
Subject: Reinspection Completed – Summary of Findings – Claim #[Number]
Hi [Desk Adjuster Name],
The field adjuster just completed the reinspection. We reviewed the following items together:
1. Confirmed the missing toe-kick damage in the Master Bath.
2. Re-measured the Living Room East Wall (confirmed 14 feet).
3. Documented the subfloor issues in the Kitchen.
Please let me know when you receive their report and when I can expect the revised estimate.
Thanks,
[Your Name]
Risk Guardrails: Before You Open the File

Requesting a reinspection opens your entire file for review. Before you pull the trigger, run through this risk checklist:
- ✅ Are the currently approved items solid? If the first adjuster was generous with “marginal” damage, a second adjuster might reverse those decisions.
- ✅ Is the “Upside” worth it? Don’t risk a $20,000 approved roof to fight for a $200 gutter repair.
- ✅ Is there any “Borderline” coverage? If you have damage that could be interpreted as “wear and tear” or “neglect,” inviting more scrutiny might backfire.
Final Words: It is Just Business
A reinspection can feel confrontational, but it shouldn’t. It is simply a quality control step. You are helping the insurance company correct a data error in their system. Keep your emotions out of it. Use blue tape, use lists, use your contractor, and treat the site visit as a business meeting.
If you provide clear, undeniable visual evidence, the check will usually follow. The adjuster wants to close the file just as much as you do. Help them do it.
❓ FAQ: Real World Reinspection Questions
⏱️ How long does it usually take to get a reinspection scheduled?
It typically takes a few days to get assigned, and then another few days for the actual visit depending on volume. If you haven’t heard anything in 10 business days, follow up immediately.
👷 Does my contractor have to be there?
Not legally, but practically, yes. It increases your success rate significantly. A contractor can point out technical issues (like code upgrades or mating surfaces) that you might not know how to explain.
💰 If they find more damage, do I get a check right away?
No. The field adjuster sends the new data to the desk adjuster. The desk adjuster reviews it, updates the estimate, and then issues a supplemental payment. This process usually takes another 1 to 2 weeks after the visit.
🔨 Can I request reinspection if I already started repairs?
You can, but it is much harder. You cannot inspect what is gone. You will have to rely entirely on photos taken during the demolition process. If you have no photos of the damage before you fixed it, approval is unlikely.
📉 Can they really reduce my payout?
Yes, if they find clear evidence that the first adjuster made a mistake in your favor (e.g., paying for 5 windows when there are only 4). Ensure your initial estimate is accurate before inviting them back.
🔄 What should I do if the field adjuster confirms damage but the desk adjuster denies it?
This is common. The desk adjuster has the final authority. Ask the desk adjuster specifically: “Did the field photos fail to show the damage, or is this a policy coverage denial?” If it’s a photo issue, offer to send your own photos.
🔢 Can I ask for a third or fourth inspection?
You can ask, but it is unlikely to be granted unless you have brand new, compelling evidence (like opening a wall and finding new rot). Usually, you get one good shot at a reinspection. Make it count.
🚫 What if the desk adjuster refuses to send someone back?
If they refuse a physical visit, ask if you can do a “Virtual Reinspection” or submit a “Photo Supplement.” Take high-quality photos of the missed items yourself (use a tape measure in the photo for scale) and email them in.
⚖️ Should I hire a Public Adjuster for the reinspection?
If the missed damage is substantial (tens of thousands of dollars) or the carrier is being unreasonable, a Public Adjuster can be very helpful. For smaller missed items, the fees might outweigh the benefit.
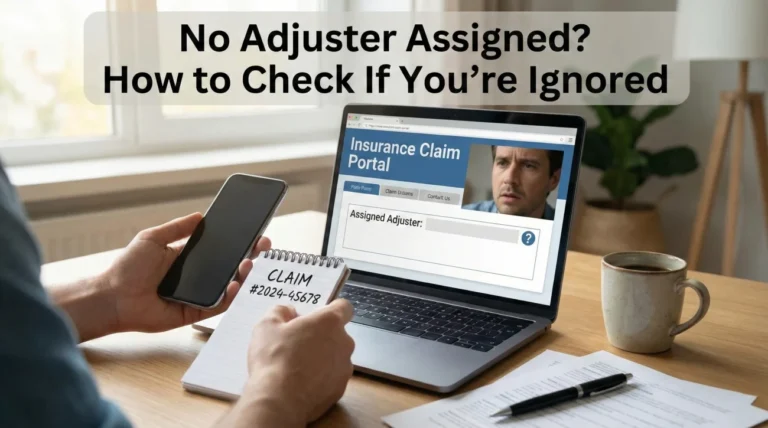
📞 Who do I call to request it?
Always request it through the Desk Adjuster. Do not call the Field Adjuster who came out the first time; they have likely closed your file and cannot return without a new work order from the desk.
⚠️ Disclaimer: PropertyClaimChecklist.com provides practical guidance, process checklists, and example follow-ups to help you organize a property claim and move it forward. It is not policy language, claim documentation, legal content, or a substitute for your insurer's instructions. Always rely on your carrier's requirements and your actual policy terms for what must be submitted and how decisions are made.