- The “4-Corner” Rule: Stand in each corner of the room to capture the layout first. Adjusters need to see the “Before” context before they zoom in on the damage.
- Source vs. Result: Photograph the cause (the burst pipe) separately from the effect (the wet floor). These are two different proof points.
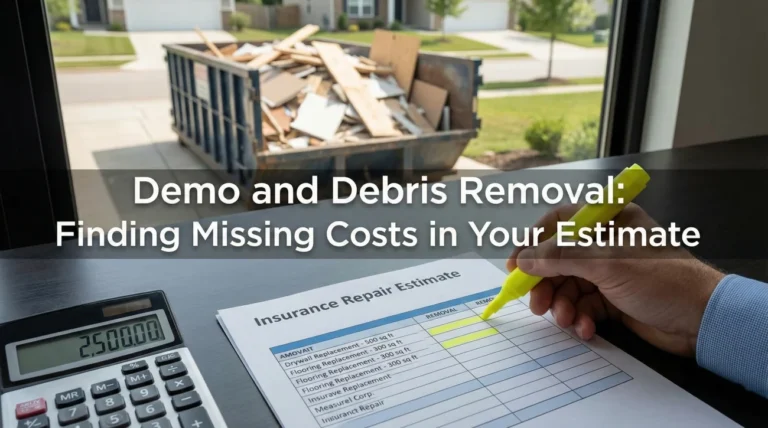
- Don’t Move Debris Yet: Photograph the pile of ruined items in place. This proves they were actually inside the affected room.
- Quantity Over Art: It is better to have 50 boring photos that cover every angle than 5 perfect photos that miss the context.
Why “Useless” Photos Delay Estimates
I have reviewed thousands of claim files, and the biggest issue isn’t usually a lack of photos. It’s a lack of context. I often see 30 extreme close-ups of a water stain or a cracked tile. While these prove that some damage exists, they fail to answer the questions that determine the check amount: Where is this? and How big is the area?
An adjuster cannot write an estimate for a “wet spot.” They write estimates for “150 square feet of continuous Oak hardwood flooring in the living room.” If the photos don’t show the room boundaries or the continuity of the floor, the adjuster is forced to guess. In insurance, guessing almost always leads to a conservative – meaning lower – estimate.
You don’t need to be a professional photographer. You just need to capture the specific data points that turn a visual mess into a calculable loss. Here is the exact shot list required to document the damage before you start the cleanup process.
The Golden Rule: Context First, Damage Second

The difference between a confusing file and a clear one often comes down to rhythm. For every damaged item or area, use a simple three-part sequence. This ensures the reviewer never has to ask “What am I looking at?”
The 3-Shot Sequence:
1. The Establishing Shot (Wide): Stand back. Show the entire room or wall. Proves location.
2. The Context Shot (Mid): Step in. Show the damage next to a permanent fixture (like a window or cabinet). Proves scale.
3. The Detail Shot (Close): Get close. Show the texture, the crack, or the water line. Proves severity.
After you capture these series, you will want to keep them sorted so they don’t become a jumbled mess. We cover a specific folder structure for that in our main Property Insurance Claim Evidence Checklist, but for now, just focus on getting the shots right.
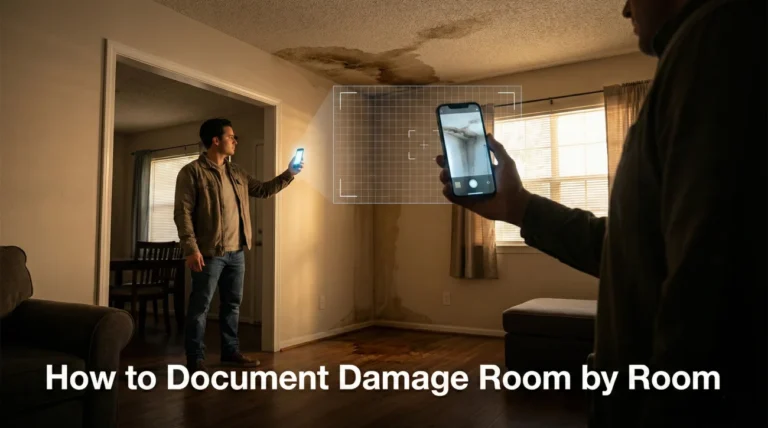
The Interior Shot List (Room by Room)
Walk into the affected room and resist the urge to touch anything. Capture these shots in order.
1. Room Context (The “4 Corners”)

Stand in each corner of the room and take a photo facing the center. This creates a 360-degree view of the space, establishing the layout and conditions before demolition begins.
- ✅ Shot 1-4: The four corners looking in. This proves the room layout and what furniture was present.
- ✅ Shot 5: The ceiling. This is crucial even if the ceiling isn’t damaged, as it shows continuity for painting estimates later.
- ✅ Shot 6: The floor. Capture the transitions where the floor meets other rooms. This proves whether the flooring is continuous (one big replacement) or broken by thresholds (separate repairs).
2. The Source of Loss (The “Why”)

This is the most critical evidence for coverage. You must prove the damage was “sudden and accidental” rather than long-term neglect.
- ✅ The Mechanism: Photo of the burst pipe, the leaking valve, or the broken supply line. If it’s a pipe, try to photograph the crack itself.
- ✅ The Point of Entry: If it’s rain or theft, show exactly where it came in (broken window, hole in roof, forced door jamb).
- ✅ The Appliance Label: Photo of the model number and serial number sticker on the failed appliance (e.g., the water heater). This helps the adjuster pursue subrogation (getting money back from the manufacturer) if applicable.
3. The Resulting Damage (The “What”)
Now focus on what got ruined. Use a tape measure in the photo if possible to show scale immediately.
- ✅ Water Lines: Show how high the water went on the drywall or cabinets. This determines if the wall needs to be cut at 2 feet, 4 feet, or replaced entirely.
- ✅ Flooring Impact: Show cupping (curving edges), warping, or staining. Place a coin or ruler next to the damage. Side-lighting helps show texture here.
- ✅ Cabinetry: Open the cabinets. Photograph the inside damage, swelling wood at the bottom, or mold growth in the corners.
- ✅ Trim and Baseboards: Pull back a section if it’s already loose to show water behind it (only if safe/easy). This proves the water migrated behind the walls.
Scenario-Specific Shot Lists
Different types of claims require different types of visual proof. Adjust your list based on what happened.

For Water Damage (Pipe Bursts, Leaks)
Water damage hides. You need to prove saturation.
- The “Wicking” Shot: Photograph drywall or wood that looks darker at the bottom. This proves water is climbing up the material.
- The Migration Path: Photograph the path the water took from the source to the damaged area. If the leak started in the bathroom and ruined the hallway, photograph the threshold between them.
- The Subfloor: If carpet is pulled up, photograph the pad and the wood/concrete underneath. Stained pads are proof of active leaks.
For Fire and Smoke
Smoke travels further than fire. You are documenting soot and thermal damage.
- Thermal Shadowing: Photograph outlines on walls where pictures hung. This proves the severity of the soot coverage.
- Inside Closets/Drawers: Smoke pushes into closed spaces. Open drawers and photograph soot on the clothes inside.
- The Webbing: Photograph “smoke webs” in corners. These look like cobwebs but are actually chains of ionized carbon soot. They prove a specific type of combustion.
For Theft and Vandalism
You are proving force and absence.
- Forced Entry: Close-ups of pry marks on door frames, broken latches, or shattered glass.
- The “Empty Spot”: Photograph the empty space where the TV or computer used to sit. The dust outline often proves an item was there recently.
- Point of Access: Photograph the gate left open or the fence cut.
The “Debris Pile” Shot List
Often, you need to move ruined items quickly to prevent mold. Before you bag them up, capture them in place.
- ✅ In-Situ Shot: The soaked rug on the floor before you roll it up.
- ✅ The Pile Shot: If you stack items, take a photo of the entire stack.
- ✅ Brand Identifiers: Close-up of the “Sony” logo on the TV or the tag on the designer sofa.
- ✅ The “Total Loss” Indicator: Close-up showing why it is ruined (e.g., the burn mark, the water line, the warped wood).
Key Point: If practical and safe, try to keep these items until the adjuster sees them or gives you the go-ahead to dispose of them. The physical item is always the best evidence.
Field Note: The “Context Gap” Problem
I recall a claim where a homeowner submitted 15 photos of a wet carpet. They were all close-ups. The insurer agreed to replace the carpet but denied the subfloor repair because the photos didn’t show the carpet was pulled back to reveal the wood underneath.
The homeowner had to wait two weeks for a re-inspection. If they had simply taken one photo of the corner of the room with the carpet pulled up, showing the wet plywood, the subfloor would have been approved in the first estimate. Always photograph the layers. If you peel back wallpaper, photograph what is behind it. If you pull up carpet, photograph the pad.
The Exterior Shot List
Even if the damage is inside, exterior photos establish the overall condition of the home. This prevents arguments about “pre-existing” conditions.
- ✅ House Numbers: Photo of the address on the house or mailbox (establishes location).
- ✅ 4 Elevations: Photos of the Front, Back, Left, and Right sides of the house. This gives the adjuster a full view of the property style and condition.
- ✅ Roof Line: Photo from the ground showing the general condition of the roof. Look for missing tabs or lifted shingles if it’s a wind claim.
- ✅ Debris Field: If there is storm damage, photograph the shingles or branches on the ground before you rake them up. The volume of debris helps prove storm severity.
- ✅ Landscaping Impact: If trees or fences are down, photograph them relative to the house. Show the stump or the break point.
Lighting and Clarity: How to Avoid “Unverifiable” Photos

A photo that is too dark or blurry is useless. Adjusters cannot zoom in on a blur. Use these quick operational tips to ensure your photos count.
1. The Coin and Ruler Trick
Damage often looks smaller in photos than in real life. Always use a reference object.
- For Hail Hits: Place a quarter or a tape measure next to the impact mark on the siding/deck.
- For Cracks: Place a ruler across the crack to show width.
- For Water Depth: Put a rigid tape measure into the standing water to show it is 2 inches deep, not just a puddle.
2. Side-Lighting for Texture
If walls are wet or plaster is popping, a direct flash often washes out the detail. Instead, hold a flashlight flat against the wall and shine it across the surface. This creates shadows that highlight every bump, bubble, and warp. This is the single best way to prove water damage on white drywall.
3. The Focus Lock
Smartphone cameras struggle with white walls. They don’t know where to focus. Tap your screen on the specific damage point (like the water stain edge) to lock focus before snapping. Take two or three versions to ensure one is sharp.
Common Photography Mistakes to Avoid
1. Flash Glare on Shiny Surfaces
When photographing wet floors or screens, the flash can create a whiteout glare that hides the damage completely. Take one photo with flash and one without. Try taking the photo at a 45-degree angle rather than straight on to reduce reflection.
2. Sending Screenshots Instead of Photos
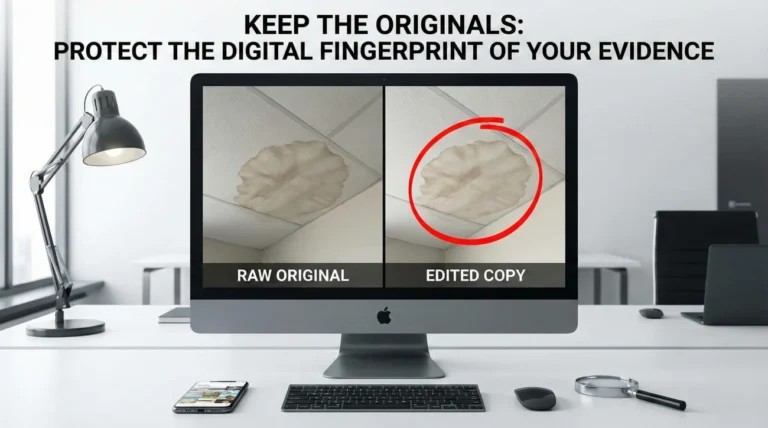
Do not take a photo, look at it in your gallery, screenshot it, and send the screenshot. Screenshots strip the metadata (date and time) and drastically lower the resolution. Always transfer the actual image file so the adjuster gets the full-quality evidence.
3. Forgetting the “Up” Shot
People naturally look down at the water on the floor but forget to look up. If the water came from above, the ceiling is wet too. Photograph the water stains on the ceiling or the light fixtures filling with water. This proves the path of the leak and adds ceiling repairs to your estimate.
Final Thoughts
You do not need to be a professional photographer to document a claim. You just need to be thorough. Your goal is simply to capture the state of the home before repairs change everything. Once the dry-out fans turn on and the demolition crew starts, the “before” picture is gone forever.
Take more photos than you think you need. It costs nothing to take an extra digital photo, but it can cost thousands of dollars if you miss the evidence of a ruined custom cabinet or a soaked subfloor because you didn’t snap the shutter.
❓ FAQ
📸 Can I use a video instead of photos?
Video is excellent for an overview, but photos are better for the estimate. Adjusters need high-resolution still images to zoom in and see details. Use video to establish the layout, but use photos for the specific line items.
🗓️ Do the photos need a date stamp on them?
You don’t need the orange date stamp text on the image itself. Modern smartphones automatically embed the date and time in the file data (metadata). As long as you send the original file, the adjuster can see when it was taken.
🔦 What if the power is out and it’s too dark?
Use a powerful flashlight or a battery-powered work light. Shine the light across the damage (side-lighting) rather than straight at it. This highlights texture differences like popping paint or warping wood.
🗑️ I already threw away the ruined drywall. Is it too late?
It is harder, but not impossible. Photograph the pile in the dumpster if it’s still there. If not, photograph the gap in the wall where it used to be, and try to find any casual photos you might have taken of that room before the damage to prove what kind of wall it was.
📸 What documentation do I need to file a homeowners insurance claim?
Start with clear photos or video of the damage and a simple list of what’s affected. Add receipts if you have them. Some carriers ask for repair estimates later, not at the first call.
🎥 Should I take photos or video before I start cleaning up?
Yes, if it’s safe. Capture the before” condition first, then document any cleanup you do.
🗑️ Do I need to keep damaged items for the adjuster?
When possible, yes. Don’t throw items away until the adjuster has seen them or the insurer tells you it’s okay.
🧰 Can I make temporary repairs before the adjuster comes?
Usually yes, to prevent further damage. Take before and after photos and keep receipts for anything you buy or hire.
📞 What information will they ask for when I report the claim?
Typically your policy details (if available), the date and cause of loss, what areas were affected, and how to contact you.
📎 Do I need my policy number to start a claim?
It helps, but many carriers can locate your policy with your name and property address. If you have the number, include it to speed things up.
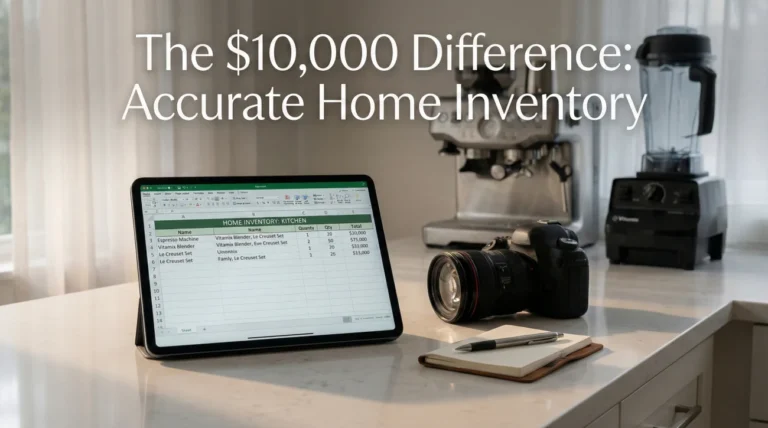
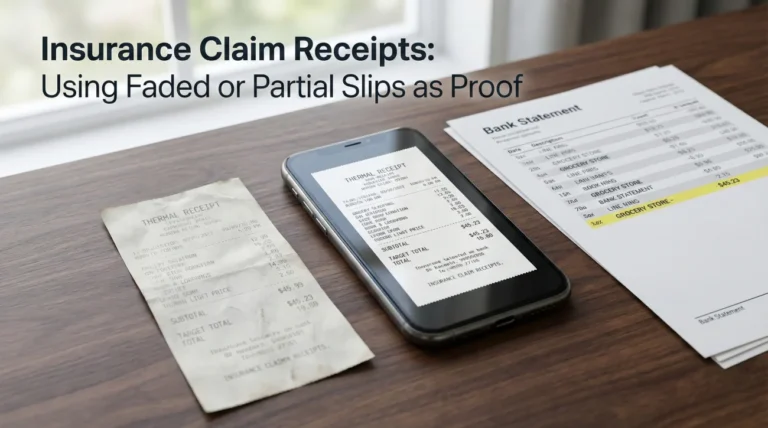
🧾 Do I need receipts to prove my damaged personal property?
Receipts help, but they’re not the only proof. Photos, video, manuals, credit card statements, and a clear item list can also support the claim.
📤 Why are my photos still ‘not enough’ for the estimate?
Estimating needs context and scale. Wide shots show where the damage is, mid shots show the area, and close-ups show detail. If one layer is missing, they often ask for more.
🏠 What should I photograph first for a home insurance claim?
Start wide: exterior and room context. Then capture the affected areas and items. Finish with close-ups of key damage.
📨 How do I prove the insurance company received my documents?
Save any portal confirmation, email receipt, or upload success screen. If you don’t have one, call and ask them to confirm the documents are attached to your claim file.
⚠️ Disclaimer: PropertyClaimChecklist.com provides practical guidance, process checklists, and example follow-ups to help you organize a property claim and move it forward. It is not policy language, claim documentation, legal content, or a substitute for your insurer's instructions. Always rely on your carrier's requirements and your actual policy terms for what must be submitted and how decisions are made.