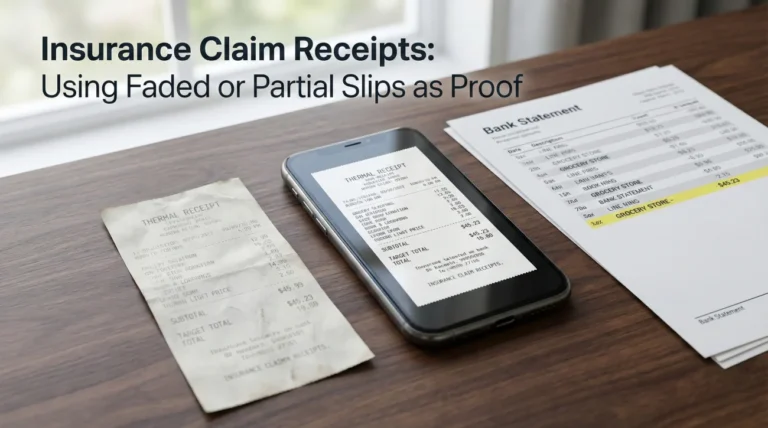
- The Golden Rule: Never submit a photo that is the only copy you have. Always keep the raw, untouched original file on your own device.
- Metadata Matters: Original photos contain hidden data (EXIF) that proves exactly when and where the photo was taken. Edits and screenshots often destroy this data.
- No Screenshots: Sending a screenshot of a photo instead of the actual file resets the timestamp to “today” and creates timeline disputes.
- Storage Strategy: Create a “Master” folder for untouched originals and a separate “Working” folder for any files you need to rename or organize.
- Action Item: Back up your Master folder to a secondary location immediately after documenting the loss.
The Instinct to “Clean Up” Is Your Enemy
In my years handling claims, I have noticed a pattern that ruins more evidence than accidental deletion. It is the instinct to “tidy up.” I see homeowners take hundreds of photos of a disaster scene. Then, thinking they are being helpful, they sit down at their computer and start curating the collection like it is a wedding album. They crop out the messy laundry pile in the corner. They brighten the dark shots of the basement. They rename the files to clear titles like “Water Damage 01.” Then they delete the messy originals to save space.
I always tell my clients to stop doing this immediately. From an operational standpoint, this “cleaning” process is destructive. In the world of insurance claims, the digital file is the evidence, not just the image inside it. The moment you alter a file, even just to crop it or save it as a PDF, you risk stripping away the digital fingerprint that proves its authenticity. If you have already submitted edited copies, stop now. Do not delete anything else. Preserve whatever originals remain on your device immediately. If I cannot verify when a photo was taken because the original is gone, that photo loses half its power.
This is why my first rule of evidence is simple. You must keep original photos for insurance claim verification, no matter how ugly, blurry, or messy they look. That raw digital data is often the only thing standing between a paid claim and a “timeline dispute.”
How I Use Metadata to Check Your Story

When you snap a photo with your smartphone, the device records more than just pixels. It embeds a layer of information called metadata (or EXIF data). This includes the exact second the shutter clicked, the GPS coordinates where you stood, and the make and model of the device.
This data is invisible to you, but it is the first thing a forensic claims reviewer looks for if there is any doubt about the timeline. I recall a specific file where a policyholder claimed a storm damaged their roof on the 15th. The insurer argued the damage looked old. We pulled the metadata from the original photos. It confirmed the image was taken on the morning of the 16th, right after the storm passed. That invisible timestamp ended the argument instantly.
However, simple actions can destroy this proof. I once worked on a pipe burst claim where the homeowner did a great job documenting the initial spray of water. But when it came time to submit the evidence, they opened their phone gallery, zoomed in on the crack in the pipe, and took a screenshot of their own screen. They submitted that screenshot.
When the adjuster received the image, the file metadata said “Created Tuesday at 10:00 AM,” which was the time of submission, not the time of the burst. Because the metadata didn’t match the claimed date of loss, the adjuster paused the review to verify if this was actually old damage being presented as new. I had to help the homeowner dig through their “Recently Deleted” folder to find the original. We saved the claim, but that simple screenshot habit delayed the check by nearly three weeks.
My 3 Rules for Digital Evidence

To prevent these headaches, I recommend adopting a “preservation first” mindset. This doesn’t mean you can’t organize your files. It means you must do so in a way that protects the source.
1. Never Edit the Source File
If a photo is too dark, do not open it in an editor, brighten it, and hit “Save.” If you must clarify an image, such as circling damage or brightening a dark corner, always use “Save a Copy.” This leaves you with two files: the untouched original (the proof) and the edited version (the explanation). I always want to see the original first.
2. Avoid “Clean Up” Cropping
It is tempting to crop a photo to focus purely on the water stain. However, context is evidence. That pile of laundry in the corner might prove which room you are in. The daylight coming through the window might prove the time of day. When you crop, you remove context. Adjusters generally prefer to see the full, messy reality because it is harder to fake.
3. Beware of Messaging Apps
Sending photos via apps like WhatsApp, Facebook Messenger, or iMessage often compresses the image to save data. This compression process strips out most of the metadata. If you transfer photos from your phone to your computer to organize them, use a direct cable connection, AirDrop (with “All Photos Data” selected), or a cloud service like Google Photos that preserves the original quality. Do not text them to yourself.
Why I Love the “Bad” Photos
Another common error I see is deleting photos that look blurry or poorly lit. Consider a situation where a tree branch strikes a roof during a storm. You climb up to take photos, but the wind is shaking the ladder and the lighting is terrible, so the first ten shots are blurry.
The wrong move is to delete those ten shots and only keep the one clear one you took after the storm passed. Those blurry photos establish a sequence. They show you struggling with the elements, which adds credibility to the timeline and conditions. If you apply a “vivid” filter to make the roof shingles look better, you might accidentally make them look discolored, leading a reviewer to suspect “wear and tear.” Keep the bad shots. Keep the raw shots. Let the volume of evidence tell the story.
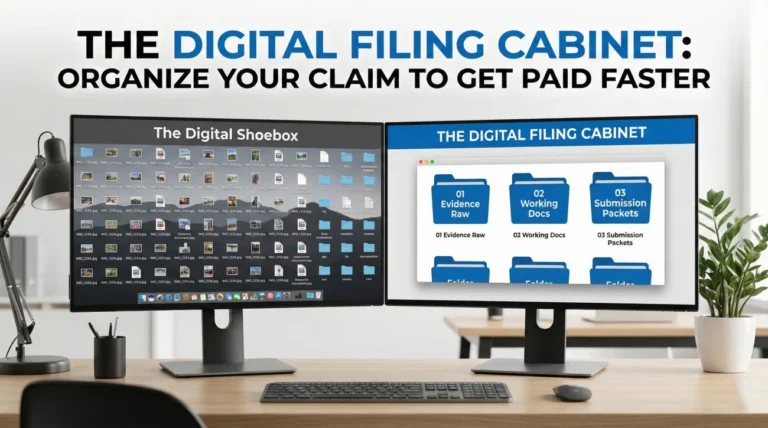
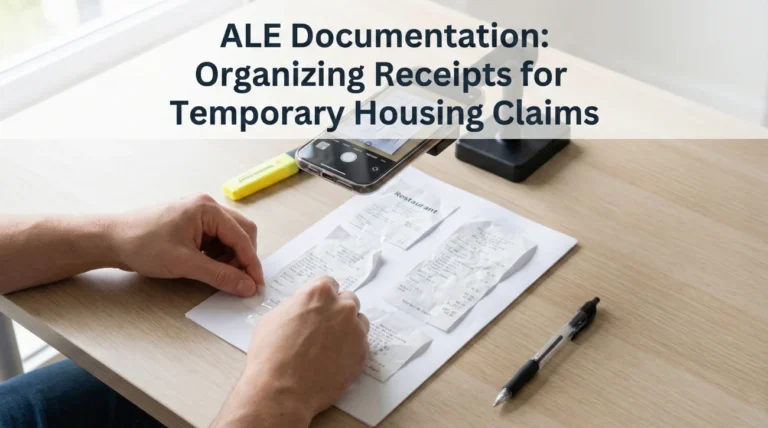
The Master Folder Strategy

You can still have a tidy claim file without destroying your metadata. The method I personally use involves creating two distinct digital environments for your files.
This contains the raw downloads from your camera or phone. You never rename, edit, or move these files. They stay exactly as they were born (e.g., “IMG_4092.JPG”).
This contains copies of the files from the Master folder. Here, you can rename them (e.g., “Kitchen_Floor_Damage.jpg”), circle damage, or convert them to PDF.
By strictly separating these two, you always have a fallback. If an adjuster challenges a photo in your Working folder because the date stamp looks wrong, you can simply go back to the Master folder and produce the original “IMG_4092.JPG” with all its forensic data intact.
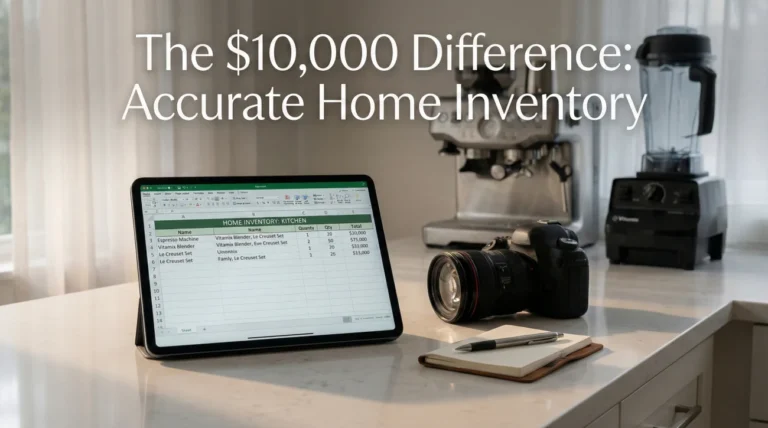
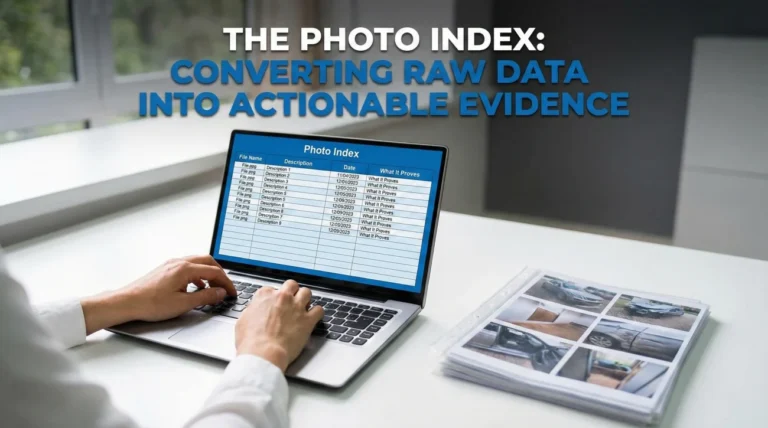
This structure is a core part of building a solid foundation for your claim. When you are assembling the broader set of documents for your property insurance claim evidence checklist, having this “Master” backup ensures that no matter how many times you reorganize the packet, you never lose the core proof.
Handling the iPhone (HEIC) Headache
Modern iPhones shoot in a format called HEIC. While this format is great for saving space, many insurance portals still only accept JPG or PDF. This forces you to convert your files, and this is where I see metadata get lost most often.
If you use free online converters, they often strip the metadata to save bandwidth. The output JPG will have the “Date Created” of the moment of conversion, which helps no one. To avoid this, look for conversion settings that explicitly say “Keep Metadata” or “Preserve EXIF.” Run a quick test by converting just one file first. Compare the properties (specifically the “Date Taken”) of the new JPG against the original HEIC. If the date has changed to today, that converter is unsafe for evidence. If you are unsure, always keep the HEIC original in your Master folder even if you can’t submit it. You might need it later to prove the date.
Final
Your evidence is the only voice your property has in the claims process. Protecting the integrity of that evidence is just as important as capturing it. By keeping a strict “Master Folder” of original, unedited files, you insulate yourself from accusations of manipulation or timeline confusion. It is a small digital habit that provides massive peace of mind when the questions start coming.
❓ FAQ
📸 Can I rename my photos before sending them?
Yes, but I strongly advise doing it on a copy of the photo, not the original. Renaming doesn’t typically strip metadata, but creating a workflow where you edit copies ensures the original file always remains a safe backup.
🖌️ Is it okay to circle damage on a photo?
Only if you save it as a separate file. Never overwrite the original image with an edited version. Submit the marked-up copy to draw attention to the damage, but keep the clean original available for verification.
📱 Why do screenshots hurt my claim?
Screenshots generate a new file creation date (the moment you took the screenshot), losing the original date-of-loss timestamp. This makes it harder for me or an adjuster to prove when the damage actually occurred.
☁️ Does uploading to the cloud ruin photo quality?
It depends on the service. Services like Google Photos or iCloud have settings for “Original Quality” vs. “Storage Saver.” Always choose “Original Quality” for claim evidence to prevent compression from blurring critical details.
📤 How do I send iPhone HEIC photos if the portal rejects them?
Convert them to JPG using a method that preserves metadata (like the Mac “Export” function or a high-quality converter). Always keep the HEIC originals on your phone or computer as the ultimate proof.
🕒 What if my camera date was set wrong?
This happens with old digital cameras. If the metadata date is wrong, disclose it immediately in your notes. Do not try to edit the metadata yourself, as that looks suspicious.
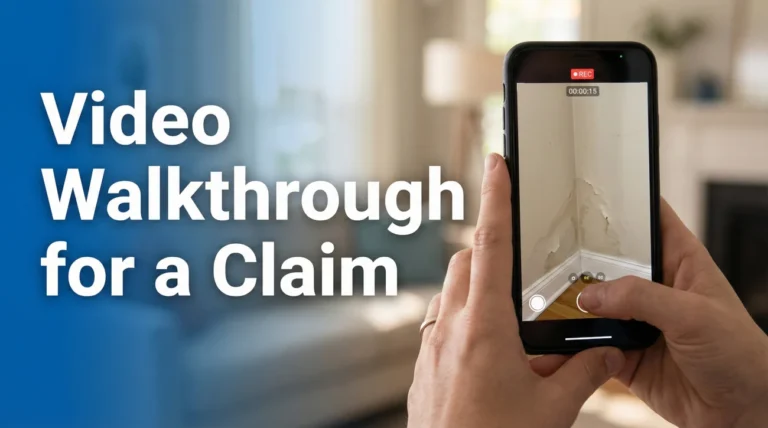
📹 Should I edit my video walkthrough to make it shorter?
No. Send the full, continuous clip. Editing a video (cutting or splicing) breaks the continuity and makes reviewers wonder what was removed. If the file is too big, upload the full file to a secure link rather than cutting it.
🔍 Do adjusters really check the metadata?
Commonly, yes. Especially for water claims (to see how long a leak has been active) or roof claims (to match weather reports). Automated fraud detection software also scans for metadata anomalies instantly.
🗑️ When is it safe to delete the original photos?
Ideally, never, until the claim is fully closed and paid. Even then, keeping them until the statute of limitations for re-opening a claim passes (often 1-2 years) is the safest operational practice.
📧 Is emailing photos to myself a good backup method?
It is better than nothing, but email providers often compress images. A cloud storage folder (Dropbox, Drive, iCloud) is a superior method for maintaining the full resolution and data of your original files.
⚠️ Disclaimer: PropertyClaimChecklist.com provides practical guidance, process checklists, and example follow-ups to help you organize a property claim and move it forward. It is not policy language, claim documentation, legal content, or a substitute for your insurer's instructions. Always rely on your carrier's requirements and your actual policy terms for what must be submitted and how decisions are made.