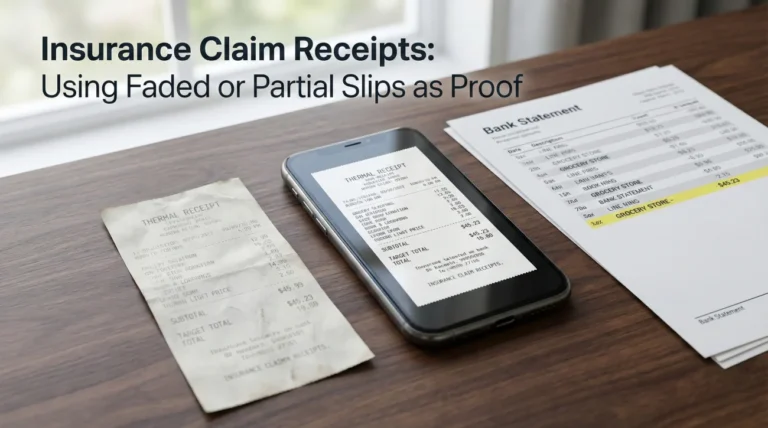
- The Receipt Myth: You typically do not need a pristine paper receipt for every item to get paid. We use an “Evidence Tier” system to find alternative proofs that adjusters often accept.
- The “Item Map” Strategy: One of the fastest ways to get paid is to number your items and match your proof files (e.g., Item-010 matches Item-010-Proof.jpg).
- The Digital Scavenger Hunt: Before giving up on lost receipts, use specific search terms to find digital footprints in your email and retailer accounts.
- Gatekeeper Documents: Without a Lease and a Police Report (for theft), the adjuster generally cannot open your inventory file.
Renters Claims Are Simpler, But The Scrutiny Is Different
When you gather documents needed for renters insurance claim submission, the dynamic is fundamentally different from homeowners claims. You generally do not have structural engineers looking at foundations or contractors bidding on drywall repairs. Your landlord handles the building structure. Your claim is almost 90% about your personal property, or what we call your “contents.”
Because the entire dollar value of the claim rests on the list you submit, adjusters scrutinize that list heavily. In claims operations, we call this the “Contents Verification” phase. This is where most renters panic when they realize: “I bought that TV three years ago with cash, and I definitely don’t have a receipt.”
Do not panic. We see claims paid without original receipts every day. The trick is to shift your mindset. Stop looking for “receipts” and start looking for “proof of ownership.” These are two different things. A receipt is just one type of proof. A photo of you wearing the jacket is proof. A credit card line item is proof. A product manual in your junk drawer is proof.
In this post, I will walk you through the exact document packet I would build if I were filing a renters claim today. We will move beyond the basic list and cover the strategy of how to present your files so the adjuster can verify them quickly without asking you for 50 separate clarifications.
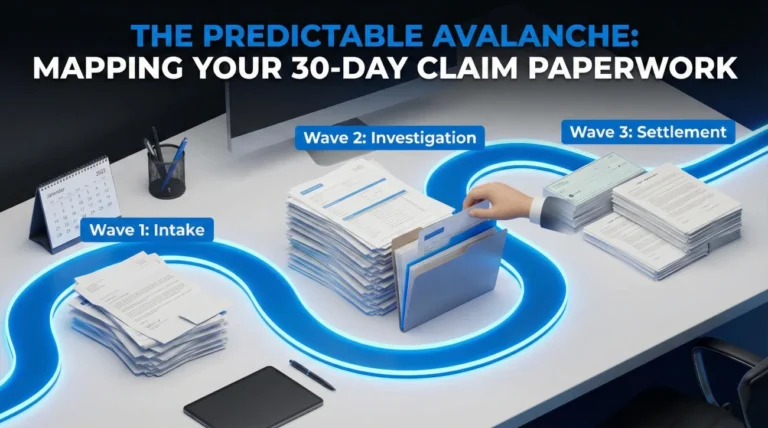
Why Claims Get Stuck: The Operational Logic
To get paid faster, you need to understand why files sit in the “Pending” folder. In my experience, claims don’t usually stop because of fraud. They stop because the adjuster cannot easily connect the dots. A file typically gets stuck in one of these three states:
- 🛑 Pending Verification: You sent the inventory, but the file is missing the “Gatekeeper” docs (Lease or Police Report). The system often prevents the adjuster from issuing payment until these boxes are checked.
- 🛑 Pending Contents Review: Your list is too vague (e.g., “Laptop – $1,000”) for them to price it. They have to stop and email you to ask “What kind of laptop?”
- 🛑 Pending Documentation Match: You sent 50 photos and a spreadsheet, but they don’t know which photo proves which item. They have to play a matching game, which takes hours they don’t have.
💡 The “Adjuster Brain” in 30 Seconds:
Adjusters do not read your file like a book. They scan it for triggers. Their goal is to close the file.
- They dislike clicking 50 times to open unnamed attachments.
- They appreciate “Item Numbers” that match receipts.
- The easier you make it for them to say “Yes,” the faster they can typically cut the check.
The Minimum Viable Packet (What to Send Now)
One common error is waiting until you have 100% of your documents before sending anything. This stalls your claim. Instead, think of your submission in packets. Depending on where you are in the process, you should send a specific packet to unlock the next stage.

Packet A: The “New Claim” Starter (Day 1-3)
Use this if you just filed and haven’t built your full inventory yet. The goal here is to establish coverage and get the claim setup correctly.
- ✅ Lease Agreement: First page and signature page (or utility bill if lease is lost).
- ✅ Incident Proof: Police Report number or Fire Report PDF.
- ✅ Scene Photos: 3-5 wide shots showing the mess or point of entry for break-ins.
- ✅ Anchor Proof: 1 proof document for your single most expensive item. This builds immediate credibility.
- ✅ Preliminary List: A simple list of just the Top 10 damaged items to help them set the financial reserve.
Packet B: The “Pay Me” Packet (Day 7+)
Use this when you are ready for them to review your contents for payment. This is the heavy lifting packet.
- ✅ Master Inventory Spreadsheet: Complete with item descriptions, ages, and replacement costs.
- ✅ Proof for Top 10 Items: The best evidence you have for the most valuable stuff.
- ✅ Room-Wide Photos: Proves the general existence of contents in the home.
- ✅ Exceptions List: A short note listing items where you absolutely have zero proof, so they don’t waste time looking for what isn’t there.
Phase 1: The Gatekeeper Documents
Before an adjuster opens your inventory, they must generally verify your standing. These are pass/fail documents. If you cannot provide these, the claim often cannot move forward.
1. The Lease (Proof of Residency)
The insurer needs to confirm you actually lived at the insured address. This prevents people from buying policies for apartments they moved out of months ago.
A PDF scan of your lease is standard. You do not need to scan all 40 pages of a standard lease; the first page with the dates/address and the last page with the signatures are usually sufficient.
What if I lost my lease?
If your copy of the lease was destroyed in a fire or you are on a month-to-month verbal agreement, you can usually provide alternative proof of residency. A utility bill (electric, gas, or internet) in your name for the service address, dated within 30 days of the loss, is the most common backup. A bank statement showing a rent payment clearing to the landlord also works.
2. The Police Report (Typically Required for Theft)
For theft claims, you typically cannot just say “it was stolen.” In most cases, you need the police report to establish the facts.
The “Miscellaneous” Danger:
A common mistake is rushing the police report. Officers often write “miscellaneous electronics” or “various clothing” on the report to save time. This can cause issues later. If the police report says “miscellaneous items valued at $500” but your insurance claim lists a $3,000 MacBook Pro and a $2,000 camera, the adjuster will likely flag the discrepancy.
⚠️ Warning: Read the police report before sending it to the insurer. If important high-value items are missing from the list, you should contact the precinct to file a “Supplemental Report” to correct the record. Sending inconsistent records is a primary cause of delays.
Phase 2: The Digital Scavenger Hunt
Before you tell the adjuster “I don’t have receipts,” you should perform a deep search. Most people underestimate how much of their life is archived digitally. In operations, we often guide insureds to check sources they forgot existed.
The Email Keyword Sweep
Go to your email inbox (and your “Trash” and “Spam” folders) and run specific keyword searches. You aren’t looking for specific item names yet. You are looking for vendor confirmations.
Search these terms:
- 🔎 “Order confirmation”
- 🔎 “Your receipt”
- 🔎 “Shipment notification”
- 🔎 “Thanks for your order”
- 🔎 “PayPal receipt”
The Retailer History Download
Even if you deleted the emails, the retailer app often has a memory. Log in to your accounts for:
- Amazon: You can download an “Order History Report” for specific years. This is excellent evidence because it lists the exact model, price, and date.
- Wayfair / Overstock: These sites are great for furniture proof. Go to “My Orders” and print the page as a PDF.
- Sephora / Ulta: For high-value cosmetics, your loyalty account history often tracks every purchase.
- Best Buy / Target / Home Depot: If you used a loyalty number or phone number at checkout, their website often allows you to view in-store purchase history.
Phase 3: The Tiered Evidence System (No Receipts? No Problem)
If the digital scavenger hunt fails, we move to the Tiered Evidence System. This is how we structure claims when receipts are gone. Adjusters generally accept Tier 2 or Tier 3 evidence as long as you are honest and consistent. Do not mix tiers randomly; present the best evidence you have for each item.
| Tier | Evidence Type | Strength | How to Submit |
|---|---|---|---|
| Tier 1 | Original Receipt / Email Order | Gold Standard | Save as individual PDFs named by item number. |
| Tier 2 | Bank / Credit Card Statement | Silver | Highlight the specific line item (e.g., “Best Buy – $1,200”). You will often need to supplement this with a screenshot of the item’s price to show the math matches. |
| Tier 3 | Context Photos | Bronze (Very Effective) | A photo of the item in your apartment. The background proves it was in your possession. |
| Tier 4 | Packaging / Manuals / Accessories | Iron | Photos of the empty box, the remote control, or the instruction manual found in a drawer. |
Deep Dive: How to Use Tier 3 (Context Photos)
This is the most underused tool in renters claims. You likely have photos of your apartment on your phone. You weren’t taking a picture of the TV; you were taking a picture of your dog, your friends, or your dinner. But the TV is in the background.
I worked a file where a renter claimed a high-end gaming monitor but had no receipt. The adjuster was skeptical. The renter then dug up a selfie taken at their desk six months prior. The monitor was clearly visible in the background. We accepted that photo as proof of ownership immediately. It proved possession effectively.
💡 Pro Tip: Crop the photo to highlight the item, but keep the original un-cropped version ready. The adjuster may want to see the “wide shot” to verify the location is actually your apartment.
Phase 4: The Inventory Spreadsheet (Your Master Document)

Do not just write a list in an email body. That looks unprofessional and is hard to process. You need to create a spreadsheet (Excel or Google Sheets), then save it as a PDF to submit. This document is the heart of your claim.
The Mandatory Columns:
- Quantity: How many?
- Description: Brand, Model, Color, Size. Be hyper-specific.
- Age: Approximate age in years. This determines depreciation.
- Condition: Average, Good, Excellent. (Be honest; “Average” is normal for used items).
- Replacement Cost: What it costs to buy this item new today at a standard retailer (not eBay).
- Source of Proof: Note “Receipt attached,” “Photo attached,” or “Bank statement attached.”
“1 Toaster – $40”
“1 Breville Bit More 4-Slice Toaster (Model BTA730XL) – 2 years old – $179.95 – Proof: Photo of toaster on counter”
Why Specificity Pays:
If you write “Toaster,” the adjuster is generally allowed to price it based on the cheapest toaster available at a big-box store ($15). If you write “Breville BTA730XL,” they generally must price it based on that specific model ($180). Laziness in description can directly cost you money.
Phase 5: The “Item Map” Protocol
This is the operational secret that often speeds up the review process. Instead of sending a pile of random receipts, number your items.
1. In your spreadsheet, add a column “Item #”.
2. Rename your proof files to match that number.
The Perfect Packet Structure:
Spreadsheet Line: Item-014 | Gaming Monitor | $400
Attached Files:
📄 Item-014-Proof-Receipt.pdf
📸 Item-014-Proof-Photo.jpg
When the adjuster sees “Item-014” on the list and sees a file named “Item-014,” they can verify it in seconds without emailing you questions. This often reduces the back-and-forth friction significantly.
Field Note: The “200-Item Reject” and How to Fix It
I once saw a claim stuck in limbo for three months. The renter had submitted a massive Excel sheet with 200 items, mostly clothes and kitchenware, but zero details. Just “Shirt – $20” repeated 50 times. The adjuster rejected the whole list as “unverifiable.”
The Fix: We didn’t try to fix all 200 items at once. We took the top 15 most expensive items (which accounted for 60% of the value) and enriched them. We found models, dug up Tier 2 bank statements, and mapped the photos. We sent a “Priority Review Packet” for just those 15 items. The adjuster approved those immediately, and that built enough trust to bulk-approve the smaller items later.
Common Mistakes That Kill Credibility

1. Using Stock Photos from Google
❌ Note: Never download a picture of your TV from the Samsung website and send it as “proof.”
This is arguably the worst thing you can do. The metadata in the photo will show it was downloaded from the web, not taken by your camera. Adjusters check this. If they find a stock photo presented as “evidence,” they may flag your claim for misrepresentation. If you don’t have a photo, say you don’t have a photo. Don’t fake it.
2. “Bundling” Clothing
Do not write “Clothes – $5,000.” This will likely be rejected. You should break it down: “5 pairs of Levi’s Jeans,” “10 button-down shirts (Banana Republic),” “3 Hoodies (Nike).” Adjusters generally cannot approve a lump sum for clothing without a breakdown of the quantity and quality of the garments.
3. Cleaning Up Too Soon
A natural instinct after a disaster is to clean up the mess. However, that mess is your evidence. Do not throw away damaged items (like a burnt toaster or water-damaged laptop) until the adjuster tells you in writing that it is okay. The physical item itself is the ultimate proof of ownership. If you must clean for safety, take detailed photos of the debris pile first.
The Submission Message Checklist
Instead of copying a generic template that might not fit your situation, check that your email or portal message includes these key components. This makes you look professional and organized.
- ✅ Subject Line: Includes your Claim Number and Last Name (e.g., “Contents Inventory – Claim #12345 – Smith”).
- ✅ Deliverables List: Explicitly states what is attached (e.g., “Attached is the Master Inventory Spreadsheet and the mapped proof packet”).
- ✅ The “Mapping” Note: Mentions that file names correspond to item numbers on the list (this alerts them to the organization).
- ✅ The “Tier 3” Note: Briefly mentions that context photos are used for items without receipts (so they don’t immediately ask for missing receipts).
- ✅ Next Step Request: Ends with a specific question like “Please advise if any specific items require additional documentation.”
Final Thoughts
You have more proof than you think. In the age of smartphones, almost everyone has a digital trail. Check your Amazon history, your old emails, and the background of your holiday photos.
Gather these proofs, map them to your list, and submit them with confidence. If you want the full master roadmap for every stage of the process, check our Property Insurance Claim Documents Checklist. For now, focus on getting that spreadsheet specific and your top 10 items proven.
❓ FAQ
🧾 “Do I really need receipts for every single item?”
No. Adjusters typically focus on high-value items (usually over $100-$200). For smaller items like clothes or kitchenware, they will often accept a reasonable list if your high-value items are well-documented and proven.
💵 “What counts as proof if I paid cash?”
For cash purchases, “Tier 3” evidence is your best friend. A photo of the item in your apartment proves you possessed it. An affidavit (sworn statement) from a roommate can also work, but visual proof is typically viewed as stronger evidence.
🎁 “How do I prove I owned it if it was a gift?”
Ask the gift-giver if they have the receipt or email confirmation. If not, a photo of you using the item (e.g., wearing the jewelry or using the laptop) is acceptable proof of possession in many cases.
📦 “Do I need to keep the damaged stuff?”
Yes! The physical debris is often the ultimate proof. Do not throw away burnt or water-damaged items until the adjuster gives you written permission. Take a photo of the “heap” before bagging it.
⚠️ Disclaimer: PropertyClaimChecklist.com provides practical guidance, process checklists, and example follow-ups to help you organize a property claim and move it forward. It is not policy language, claim documentation, legal content, or a substitute for your insurer's instructions. Always rely on your carrier's requirements and your actual policy terms for what must be submitted and how decisions are made.