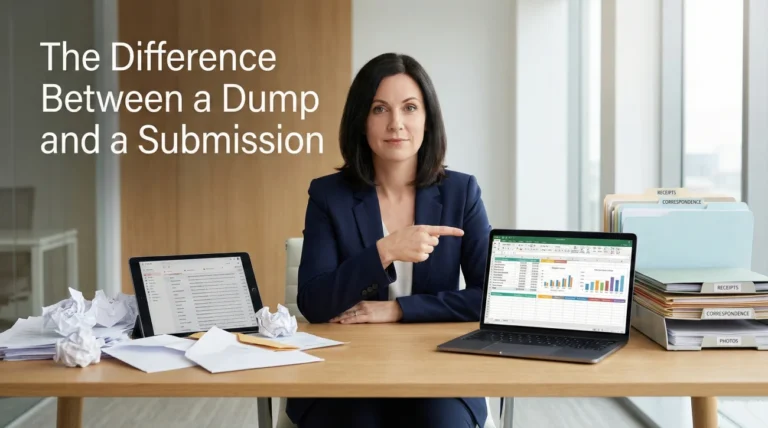
- The Trap: Dumping 500 photos into a single folder named “Claim” creates chaos for the adjuster and delays your payment.
- The “3-Bucket” System: Divide everything into three master folders: “01_Evidence_Raw,” “02_Working_Docs,” and “03_Submission_Packets.”
- Naming Rule: Never rename files in the Raw folder. Only rename the copies in your Working folder to describe the content (e.g., “Kitchen_Floor_01.jpg”).
- Receipt Hygiene: Create a dedicated sub-folder for receipts and sort them by category (ALE vs. Repairs) to speed up reimbursement.
- Action Item: Set up this folder structure immediately. If you are starting late, use our “Backfill Protocol” below to catch up without burnout.
The “Digital Shoebox” Problem
In the old days, people kept receipts in a shoebox. Today, we have the digital equivalent: a smartphone “Camera Roll” mixed with screenshots, blurry photos, PDF invoices, and random emails. I call this the “Digital Shoebox.”
When a disaster strikes, you might take 1,000 photos in the first week. You also receive dozens of PDFs from contractors. If you try to manage this by scrolling through your phone’s gallery or searching your email inbox every time the adjuster asks for a file, you will fail. I have seen valid claims stall for months simply because the homeowner couldn’t find the specific receipt they knew they had “somewhere.”
The goal is to move from a “Digital Shoebox” to a “Digital Filing Cabinet.” You need a system that allows you to find any document quickly, ideally within a minute or two. Learning how to organize photos and documents for insurance claim submission is not just about being tidy; it is about establishing control over the process so you can get paid faster.
The 3-Folder Master Structure

You do not need complex software. You just need a clean folder structure on your computer or cloud drive (like Google Drive, Dropbox, or OneDrive). I recommend setting up these three master folders immediately:
Folder 1: 01_Evidence_Raw (Do Not Touch)
This is your vault. Dump every single photo and video you take directly from your camera into this folder. Do not rename them. Do not edit them. Do not delete the blurry ones. This preserves the original metadata (date/time/location) which is crucial for proving when the damage happened. If an adjuster ever questions a photo’s authenticity, you come back here to get the original.
Folder 2: 02_Working_Docs (The Sorting Room)
This is where you do your work. Copy files from the Raw folder to here. In this folder, you can rename photos (e.g., “LivingRoom_WaterLine.jpg”), crop receipts to make them readable, and organize them into sub-folders like “Structure,” “Contents,” and “ALE Expenses.” This is your daily workspace.
Folder 3: 03_Submission_Packets (Ready to Send)
This folder is for the final, polished PDFs you send to the insurance company. Adjusters love this folder. Instead of sending 50 loose JPEGs, you combine them into a single PDF named “Kitchen_Photos_Packet.pdf” and save it here. This folder becomes your history of exactly what you sent and when.
The “Backfill” Strategy: Recovering from a Late Start
Ideally, you would start this system on Day 1. But in reality, most people read this advice two weeks after the disaster, when they already have 500 unsorted photos and a messy inbox. Do not panic. You do not need to rename 500 files to get back on track. Use this “Triage Protocol” instead:
- ✅ Step 1: Dump Everything. Take all your existing photos and dump them into “01_Evidence_Raw.” Do not worry about sorting them yet. Just secure them.
- ✅ Step 2: Sort by Date. In your file explorer, sort the Raw folder by “Date Created.” This automatically groups your photos by the day of the event, the day of the inspection, and the day of the teardown.
- ✅ Step 3: Create “Day Folders”. Inside “02_Working_Docs,” create folders named by date (e.g., “2023-10-01_Day_of_Loss”, “2023-10-05_Mitigation_Start”). Drag copies of the relevant photos into these folders.
- ✅ Step 4: Rename Only the Best. Go into each Day Folder and pick the best 5 or 10 photos that tell the story. Rename only those (e.g., “Kitchen_Standing_Water.jpg”). Leave the rest as backups.
This method allows you to organize weeks of chaos in about 30 minutes without getting overwhelmed by renaming hundreds of redundant files.
Field Note: The “Batch 1” Confusion
I worked on a large fire claim where the homeowner sent emails with subject lines like “Photos” and “More Photos.” Over two months, they sent 15 emails. The adjuster, overwhelmed by other files, missed email #8, which contained the critical photos of the antique furniture.
Six months later, the furniture claim was denied for “lack of documentation.” The homeowner insisted they sent it. The adjuster couldn’t find it. We had to dig through sent items to prove it was sent. If the homeowner had used a “Submission Packet” folder structure and named the file “Submission_08_AntiqueFurniture.pdf,” the adjuster would have saved it correctly the first time. Vague organization leads to lost evidence.
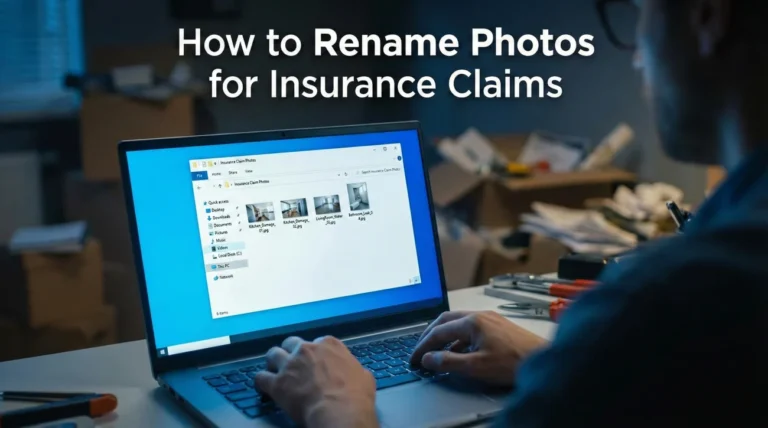
The Art of File Naming

Never send a file named “IMG_8832.JPG” or “Scan_001.PDF.” That name tells the adjuster nothing. They have to open it to see what it is. If they have 100 files to review, they might skip yours.
Adopt a strict naming convention in your “Working Docs” and “Submission Packets” folders. To avoid confusion, I prefer using underscores or standard hyphens. A robust format is:
YYYY-MM-DD_Category_Detail.ext
Examples:
- 📄 2023-10-15_Receipt_Hotel_Week1.pdf
- 📷 2023-10-12_Photo_Roof_Hole_Closeup.jpg
- 📑 2023-11-01_Estimate_Joes_Drywall_Bid.pdf
This sorts your files chronologically and descriptively. When an adjuster sees a list of files named like this, they know you are organized and serious. It builds trust and makes their job easier, which speeds up your approval.
Managing the Receipt Avalanche

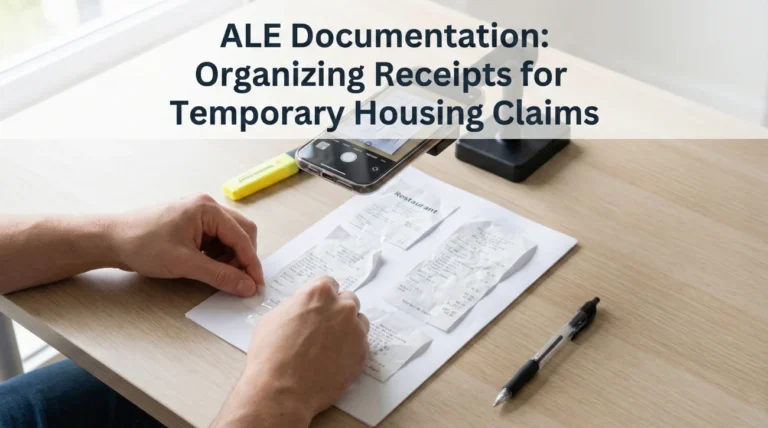
Receipts are the hardest part of evidence management because they are small, physically fragile, and easy to lose. Within the “02_Working_Docs” folder, create a specific sub-folder called “Financials.” Inside that, create two buckets:
For hotels, meals, pet boarding, and temporary rent. These are reimbursed differently than repairs.
For materials (lumber, paint), tools, and contractor invoices. These go toward the structure claim.
I advise clients to take a photo of every receipt the moment they get it (at the register or restaurant table) and upload it immediately to the “Raw” folder. Do not wait until you get home. Receipts fade, get crumpled in pockets, or get thrown away. Digitizing them instantly is the only safe workflow.
The Evidence Master Index: Your Claim’s Table of Contents
If you have a large claim with dozens of files, folders alone might not be enough. This is where a “Master Index” becomes a powerful tool. It is a simple spreadsheet that acts as a Table of Contents for your claim.
Create a spreadsheet with these four columns:
- Date: The date on the document.
- File Name: The exact name of the file in your submission folder.
- Description: A short note on what it proves (e.g., “Proof of roof condition prior to storm”).
- Sent Date: The date you emailed or uploaded it to the carrier.
When you send a batch of files to your adjuster, attach this index as the first page (or paste the relevant rows into the email body). It removes ambiguity. It tells the adjuster exactly what they are looking at and prevents them from saying “I didn’t know what that file was for.” It is a small administrative step that saves weeks of back-and-forth clarification.
The “3-2-1” Backup Rule

Digital files are safer than paper, but they are not invincible. Hard drives crash. Phones get lost. Cloud accounts get locked. For a major claim worth tens of thousands of dollars, you cannot rely on a single copy.
I recommend a modified version of the IT industry’s “3-2-1” rule for your claim data:
- 💾 3 Copies: Keep three total copies of your claim folder.
- ☁️ 2 Media Types: Use two different technologies (e.g., one on your laptop’s hard drive, one in the Cloud like Google Drive).
- 📍 1 Offsite: Ensure one copy is not physically in your house (the Cloud covers this). If your house burns down, your computer burns with it. The Cloud is your safety net.
This might sound paranoid, but this evidence is the currency you use to buy your house back. Treat it with the same security as your bank account password. This discipline is a core part of the property insurance claim evidence checklist strategy.
Sharing with the Adjuster
Once you have your “03_Submission_Packets” folder ready, how do you send it? Do not just share the Google Drive link. Insurance company firewalls often block external sharing links. The adjuster clicks it, sees “Access Denied,” and moves on.
Instead, download the specific files from your “Submission Packets” folder and attach them directly to an email or upload them to the carrier’s official portal. If the files are too big, ask the adjuster for their preferred secure upload method. Never assume a shared folder link works unless they confirm they have accessed it.
⚠️ Privacy Warning: If you do share a cloud link (like a Dropbox folder) with your adjuster or contractor, ensure you check the sharing permissions. Share only with specific email addresses, not “Anyone with the link.” You don’t want your personal financial data accessible to the public.
Final
Organization is not just about neatness; it is about leverage. When you can produce a specific photo or receipt in seconds, you signal to the adjuster that you are in control of the facts. A messy claim file is easy to deny or delay. A structured, named, and backed-up claim file forces the process to move forward. Start your folders today, even if you only have five photos.
❓ FAQ
📂 Should I use a specific app to organize my claim?
You can, but a simple folder structure on Google Drive or Dropbox is often better because it is free, universal, and you own the data. Specialized apps can trap your data if you stop paying the subscription.
📸 Do I need to rename every single photo?
No. Keep the Raw folder as-is. Only rename the few dozen key photos you move to the “Working Docs” folder to send to the adjuster. Renaming 1,000 photos is a waste of time; renaming the 50 key evidence photos is smart.
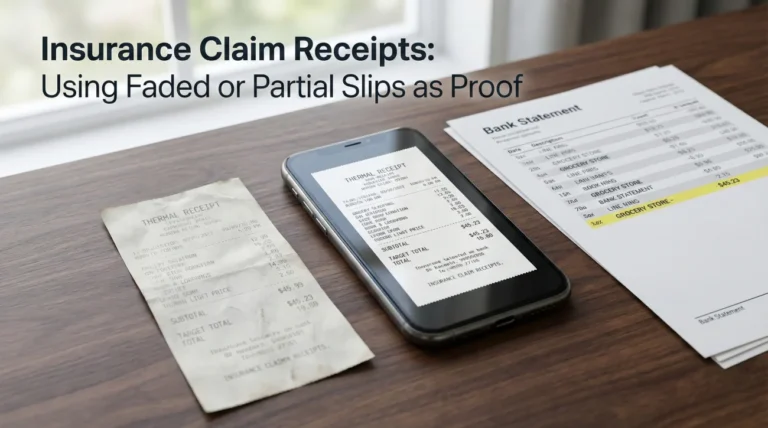
🧾 Is a photo of a receipt as good as the original?
Yes, for insurance purposes, a clear, legible photo or scan is standard. In fact, thermal receipts fade over time, so the digital photo is often better than the paper original after a few months.
📧 Can I just leave everything in my email inbox?
That is risky. Searching emails becomes a nightmare when you have hundreds of threads. It is safer to download attachments and save them into your structured folders so you have a clean, offline copy.
☁️ Is Google Drive or Dropbox safer?
Both are excellent. The key is “Cloud” vs. “Local.” Just choose one reputable provider and stick to it. Avoid obscure services that might go out of business or have weak security.
🗑️ When can I delete the bad photos?
Ideally, never, until the claim is closed and paid. Storage is cheap. Even a blurry photo might prove a weather condition or timeline fact later on. Move them to a “Discard” sub-folder if they annoy you, but don’t delete.
📱 How do I get photos off my phone easily?
Install the cloud app (Google Drive/Dropbox) directly on your phone. Use the “Camera Upload” feature or manually select and upload photos to your “01_Evidence_Raw” folder daily.
📝 Should I keep a spreadsheet index of my files?
For large claims, yes. A simple Excel sheet listing the file name, date, and description helps you track what you have. For smaller claims, good file naming is usually enough.
📤 What if the file names get too long?
Keep them concise. Use “Date_Item.jpg” (e.g., “10-12_KitchenSink.jpg”). Avoid writing full sentences in the file name. Put the detailed description in the email body or a separate note.
🔒 How do I protect my digital files?
Use a strong password and enable Two-Factor Authentication (2FA) on your cloud account. This prevents hackers from accessing your personal data and claim details.
⚠️ Disclaimer: PropertyClaimChecklist.com provides practical guidance, process checklists, and example follow-ups to help you organize a property claim and move it forward. It is not policy language, claim documentation, legal content, or a substitute for your insurer's instructions. Always rely on your carrier's requirements and your actual policy terms for what must be submitted and how decisions are made.