- The Core Rule: “Sent” does not mean “Received,” and “Received” does not mean “Open and Read.”
- The Loop: Never send a file without explicitly asking a “Yes/No” question that forces a reply.
- The 48-Hour Rule: If you do not get a confirmation within 2 business days, you must re-send with a specific “2nd Request” header.
- Portal Trap: Uploading to a portal is not enough; you must send a notification email to alert the human adjuster.
- Action Item: Use our “Confirmation Loop” method below to stop your file from sitting in a digital pile.
The “Black Hole” of Claim Documents
In my years of handling claims operations, the single most common reason for a 30-day delay is surprisingly simple: the adjuster didn’t know you sent the document. It wasn’t malice, and it wasn’t a denial. It was just a “miss.”
You hit send on an email with 15 attachments. You see it in your “Sent” folder. You assume the clock has started ticking. Meanwhile, on the adjuster’s side, that email might have been flagged as spam because of the attachment size, or it might have landed in a generic “inbox” bucket that no one checked because they were on field inspections for three days.
Three weeks later, you call to ask about the status, and they say, “We are still waiting for your contents list.” The frustration you feel in that moment is preventable. You cannot rely on passive transmission. You need an active system to confirm insurance received documents before you start waiting for results. We call this the “Confirmation Loop.”
The Difference Between Transmission and Cognizance

To master claim communication, you must understand the difference between technical transmission and human cognizance.
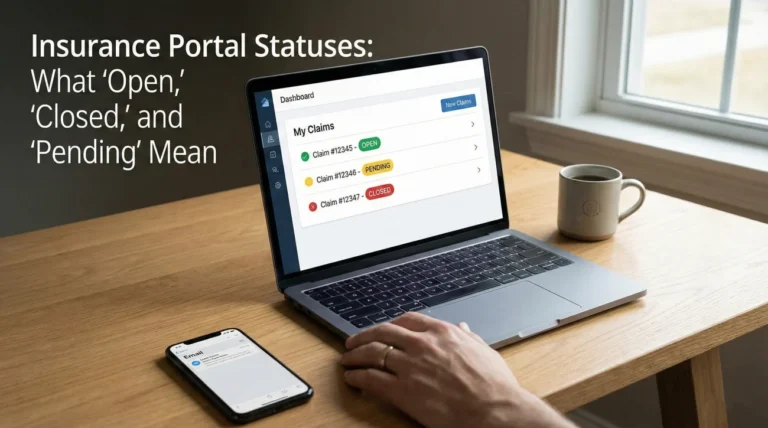
- 📡 Transmission: Your server sent data to their server. A portal upload status says “Success.” A certified mail receipt says “Delivered.” This is legal proof (which is important for disputes), but it often does not move your claim forward operationally.
- 👀 Cognizance: The human adjuster has opened the file, looked at the name, and mentally registered that “The Smith file is ready for review.”
Your goal is not just transmission; it is cognizance. A file that is “technically delivered” but unseen is useless to you. The Confirmation Loop is designed to bridge this gap. It forces the human on the other end to signal that they have moved from passive receipt to active awareness.
Sending files with a generic statement like “Attached please find the requested documents,” which ends the conversation.
Sending files with a specific question like “Please reply to confirm these files open correctly,” which triggers a human check.
Field Note: The Portal Phantom
I worked on a fire loss claim where the homeowner was incredibly organized. They uploaded 200 photos and a detailed inventory to the carrier’s online portal on a Friday night. The portal gave them a green checkmark next to every file. They felt great.
Two weeks passed. Zero movement. When we finally got the desk adjuster on the phone, he was confused. “I haven’t seen any photos,” he said. We insisted they were in the portal. He refreshed his screen. Nothing. It turned out the portal had a “quarantine” feature for large batch uploads that required a supervisor’s approval to release to the main file. No one had been notified to approve it.
The files were there, but they were invisible. We lost 14 days because we trusted the green checkmark. Since then, my default rule is simple: In practice, I treat a portal upload as insufficient unless I send a parallel email notification. You must poke the human to tell them the machine has the data.
The 3-Step Confirmation Loop System
This is the standard operating procedure (SOP) I use for every critical document submission. It removes the guesswork and creates a clean paper trail without needing to be aggressive.

Step 1: The “Action” Submission
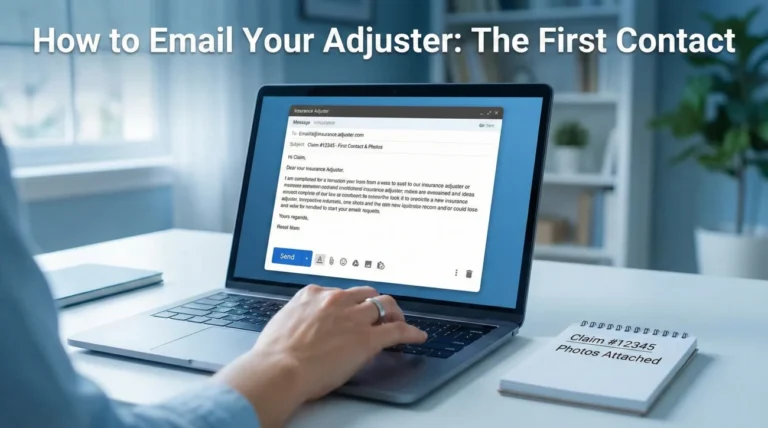
When you send the initial email, the subject line must be unrecognizable as spam. A subject line that simply says “Documents” is easily missed. Standard practice is to always include the Claim Number and Property Address clearly in the subject.
Inside the email, avoid simply listing the files. Instead, include a direct request for the adjuster to confirm that the files are legible. Asking about legibility is a practical lever because it forces the adjuster to actually open the attachments to check them, rather than just glancing at the paperclip icon. Once they reply that the files are clear, you have written proof of cognizance.
For reference, a clear submission email often follows this structure:
Hello [Adjuster Name],
Please find attached the files requested for the [Category] review.
Action Requested: Please reply to this email to confirm that you have received these files and that they are legible on your end. I want to ensure the formatting didn’t break during transmission.
Thank you,
[Your Name]
Step 2: The 48-Hour Wait
Wait about two business days. Do not call after 2 hours. Give them time to clear their inbox. During this time, keep your “Sent” email open on your screen or flagged.
💡 Note: During major catastrophe events (like widespread hurricanes) where claim volume is high, you might extend this window to 3-4 days to be reasonable, but keep the follow-up cadence consistent.
Step 3: The “Resend” Nudge
If silence persists, do not write a new email complaining. Find your original email in your “Sent” folder and hit “Reply All” to yourself and the adjuster. This keeps the original timestamp visible below, proving you aren’t just sending this for the first time.
In this follow-up, simply ask if they can locate the attachments or if you need to resend them. This “helpful” tone is often more effective than a demand, as it prompts them to search their inbox to avoid the extra work of receiving the files again.
A polite follow-up might look like this:
Checking in on the below email sent on [Day of Week].
Could you please confirm receipt of these documents so I can mark this task as complete on my side? If you cannot locate the attachments below, let me know and I will resend them immediately.
Regards,
[Your Name]
For Portal Uploads: If you use a portal, apply this same logic. Send a brief email immediately after the upload notifying the adjuster that new items are in the system and asking them to verify visibility. This alerts the human that the machine has new data.
I have just uploaded [Number] photos to the carrier portal as requested.
Note: Sometimes portal notifications lag. Please log in to verify the upload was successful and that the images are viewable in your system. Please confirm via email once you have successfully downloaded them.
Thanks,
[Your Name]
Common Confirmation Mistakes
Even smart people make these errors because they assume insurance companies work like normal businesses. They do not.
1. Using “Read Receipts” as Proof
Outlook “Read Receipts” are useless in claims. Most corporate email servers block them automatically for security, or the adjuster simply clicks “No” when the pop-up appears. Do not rely on them. You need a typed reply.
2. Sending “WeTransfer” or Google Drive Links
This is a huge operational barrier. Insurance company firewalls routinely block external file-sharing sites like WeTransfer, Dropbox, or Google Drive links. The adjuster clicks the link, gets a “Access Denied” screen, and closes your ticket. Always attach the actual PDF or JPG files to the email, or use the carrier’s approved secure upload link if they provide one. If you must use email and the files are too big, break them into multiple emails (e.g., “Part 1 of 3”).
3. Bad Subject Lines
Sending an email with the subject “Documents” or “My Claim” is a recipe for disaster. Adjusters handle 100+ claims at once. If your subject line doesn’t have the Claim Number, it might not even get indexed into their digital filing system. Always use the formula: Claim # + Property Address + Topic.
When to Use Certified Mail
Email is fast, but physical mail is heavy. Choosing the right delivery method is just as important as the content itself when you are working through your property insurance claim documents checklist. There are specific times when you should skip the “email confirmation loop” and go straight to USPS Certified Mail with Return Receipt.
| Scenario | Method | Why? |
|---|---|---|
| Routine photos/receipts | Speed and ease of processing. | |
| Signed Proof of Loss | Certified Mail | This is a sworn legal document with a deadline. You need hard proof of delivery date. |
| Demand Letter / Appeal | Certified Mail | Signals you are serious and creates a documented timestamp that can matter later if timelines become disputed. |
| Original Checks | Certified Mail / FedEx | Never send financial instruments without tracking. |
Final
Silence is not acceptance. In the insurance world, silence usually means “pending” or “lost.” By establishing a Confirmation Loop, you are not being annoying; you are being professional. You are helping the adjuster keep their file organized while protecting your own timeline. A 30-second email asking “Did you get this?” can save you 30 days of waiting. Make it a habit for every single file you send.
❓ FAQ
📩 How do I know if the insurance adjuster got my email?
You cannot know for sure unless they reply. Do not rely on “sent” folders or read receipts. You must explicitly ask them to “please reply to confirm receipt” in the body of your email.
🚫 What if the adjuster ignores my emails?
If you get no reply after 48 hours, resend the email with a “2nd Request” subject line. If that is ignored, call their supervisor or the main claims department number and ask a representative to verify receipt while you are on the phone.
📦 Should I send claim documents by certified mail?
For routine documents, email is faster. Use Certified Mail with Return Receipt for critical legal documents like a Proof of Loss, a demand letter, or if the adjuster has repeatedly claimed they “never received” your emails.
📎 Why do my emails to the insurance company bounce back?
This usually happens because the attachments are too large. Many corporate servers block emails over 10MB or 20MB. Try splitting your documents into multiple smaller emails or ask the adjuster if they have a secure upload link.
💻 Is uploading to the portal enough proof of submission?
Not always. As detailed in the “Portal Phantom” section above, green checkmarks can be misleading if the system requires manual approval. I always recommend sending a follow-up email to confirm the adjuster actually sees what you uploaded.
📱 Can I text photos to my insurance adjuster?
Only if they explicitly allow it and use a business texting platform. However, texting is bad for recordkeeping. It is better to email photos so you have a timestamped subject line and a clear paper trail.
🗣️ Does a phone conversation count as confirmation?
Verbal confirmation is weak. If they say “I got it” on the phone, immediately send a follow-up email: “Thanks for confirming on our call today that you received the kitchen photos.” This logs the verbal confirmation in writing.
⏱️ How long does an adjuster have to acknowledge a claim?
This varies widely by state and carrier. While some states set specific timelines (often 15 to 30 days), operational best practice is to expect a document confirmation within 2-3 business days regardless of the legal deadline.
📤 What is the best file format for insurance documents?
PDF is the gold standard for documents. JPG is best for photos. Avoid sending Word docs (which can look different on their screen) or proprietary formats (like HEIC from iPhones) unless you convert them first.
🔗 Can I use Dropbox or Google Drive to send large files?
Usually no. Insurance company firewalls often block external file-sharing links for security. It is safer to send PDF attachments directly or ask if they have their own secure upload portal.
⚠️ Disclaimer: PropertyClaimChecklist.com provides practical guidance, process checklists, and example follow-ups to help you organize a property claim and move it forward. It is not policy language, claim documentation, legal content, or a substitute for your insurer's instructions. Always rely on your carrier's requirements and your actual policy terms for what must be submitted and how decisions are made.