- Never sign a blank or open-ended form; always verify the specific scope, dates, and parties listed before providing your signature.
- Keep a digital, timestamped copy of every signed document you submit to maintain a flawless paper trail.
- Use a simple written confirmation loop to force the receiving party to acknowledge they have your document and log it into their system.
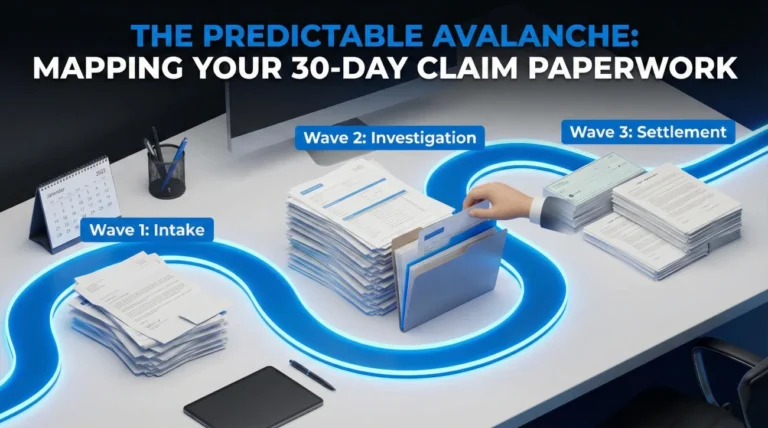
The Reality of Signing Paperwork During a Claim
When you are in the middle of a property loss, the paperwork can feel overwhelming. You want things to move quickly, and when someone hands you an insurance claim authorization form, the natural instinct is to just sign it so the process can keep moving. I see this happen constantly in claims operations. People are stressed, they are tired, and a signature feels like a small hurdle to clear to get to the next step.
But in my experience, treating your signature casually is one of the easiest ways to lose control of your claim file. An authorization form is not just a procedural checklist item. It is a key that unlocks access to your property, your records, or your data. When you sign it, you are granting permission for a specific action to take place. If that permission is not tightly defined, things can drift off course very quickly.
I am not a lawyer, and I cannot give you legal advice on what rights you are or are not waiving. Authorization language varies by insurer and vendor, but boundaries are the constant. From an operational standpoint, I can tell you what often happens when paperwork is sloppy. I often notice that vague authorization forms can lead to significant delays, crossed wires with vendors, and a disorganized claim file. In this guide, I will share the verification steps I often use to keep files clean, the boundaries you should look for, and the recordkeeping habits that will protect your timeline.
Key Point: Every signature you provide should be attached to a specific, bounded action. If the form does not clearly state what is happening, who is doing it, and when the permission expires, it is not ready to be signed.
The Verification Checklist: What to Check Before You Sign
Before you put a pen to paper or click “accept” on a digital portal, you need to pause and review the document. In day-to-day claims operations, the fastest wins usually come from catching paperwork errors before they enter the system. Once a flawed document is uploaded, it is incredibly difficult to pull it back or correct the record.
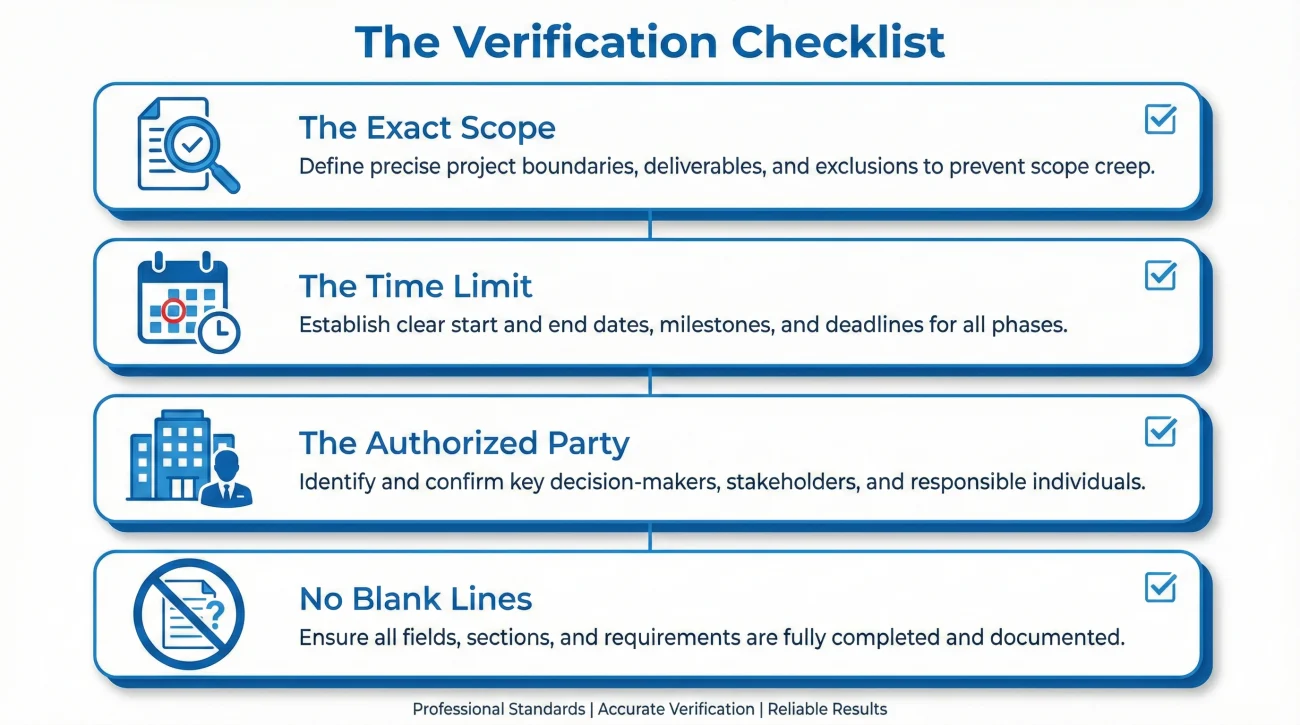
I recommend running every authorization document through a strict operational verification check. You are looking for boundaries. If any of these boundaries are missing, the form is incomplete.
- 📄 The Exact Scope: What exactly are you allowing them to do? Is it permission to inspect the roof, or permission to remove drywall? It must be specific.
- 📅 The Time Limit: Does the authorization expire? Open-ended permissions tend to create operational headaches. There should be a start date and an end date.
- 🏢 The Authorized Party: Who exactly is being given permission? It should list a specific company or individual, not a vague category like “any necessary vendors.”
- ❌ Blank Lines: Are there empty fields on the document? Never leave blank lines that can be filled in later by someone else.
I use a simple rule when reviewing any file: if I cannot read the document and instantly understand who is doing what and for how long, the document fails the test. When you sign a form that says “authorize access to property,” that is too broad. It does not say if they are accessing the property once on a Tuesday, or if they have open permission to show up unannounced for the next six months.
Scope Wording Cheatsheet: Acceptable Boundaries
When you ask for clarification, it helps to know what a “bounded” scope looks like. Here are common phrases I prefer to see on authorization forms that clearly limit what the vendor or adjuster can do:
- ✅ “For inspection and scoping purposes only.”
- ✅ “No demolition or tear-out authorized.”
- ✅ “Access limited to the kitchen and living room.”
- ✅ “Valid only for the dates of [Start Date] to [End Date].”
- ✅ “Permission to extract standing water only.”
- ✅ “Does not authorize structural repairs.”
- ✅ “Authorization applies only to [Specific Company Name].”
- ✅ “Does not constitute an assignment of benefits.”
Vendor Form Red Flags
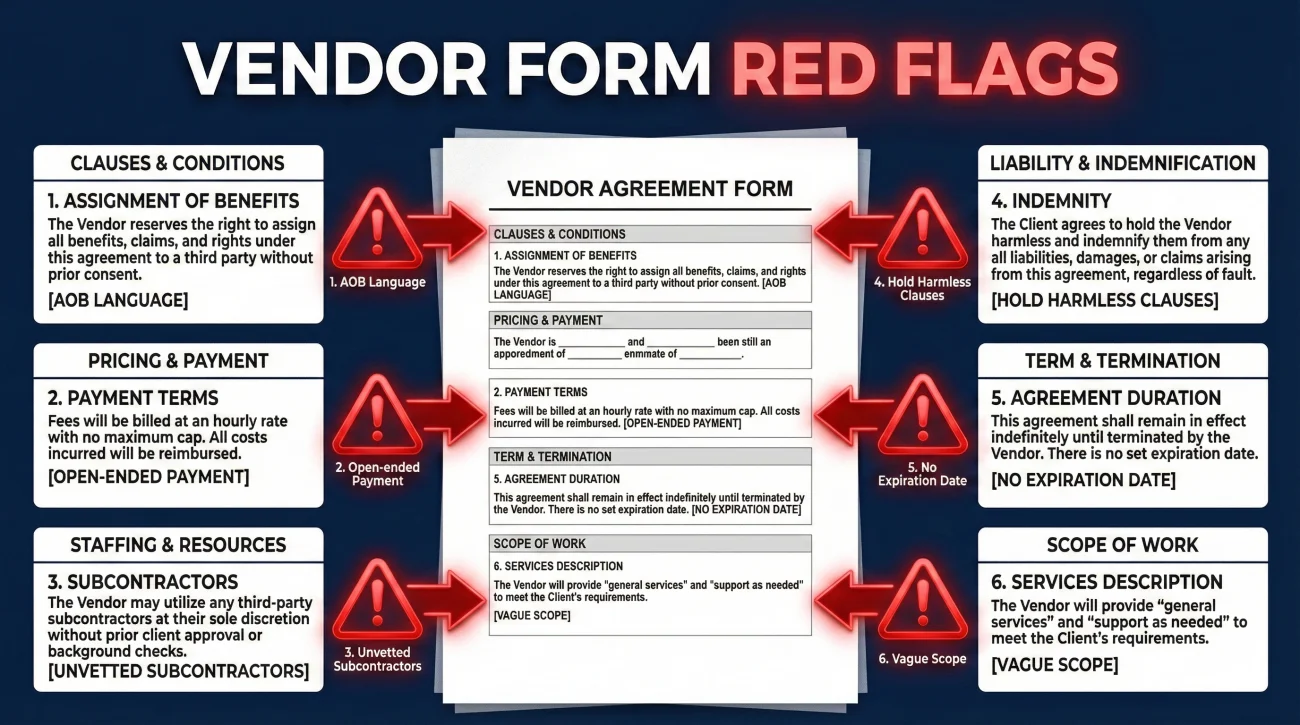
Not all forms are designed to protect your file. When reviewing documents from third-party contractors or vendors, pause and ask questions in writing if you see any of these six warning signs:
- 🚩 Assignment of Benefits (AOB) language: Phrasing that transfers your claim rights directly to the vendor.
- 🚩 Open-ended payment responsibility: Clauses stating you are personally liable for “any costs not covered” before a clear scope is agreed upon.
- 🚩 “Any necessary vendors”: A blank check allowing the company to subcontract to anyone without your further approval.
- 🚩 “Hold harmless” clauses: Broad language that limits your ability to hold the vendor accountable if they damage your property during an inspection.
- 🚩 No termination date: The authorization lasts indefinitely.
- 🚩 Missing scope limits: Vague permission to “service the property” instead of specific tasks like “tarp the roof.”
Typical Scenarios Where Signatures Are Requested
Throughout the lifecycle of your file, you will be asked to sign different types of permissions. Understanding the operational intent behind these requests helps you organize your records better. Here is a breakdown of what I commonly see and how to handle the documentation for each.
Vendor and Contractor Access
You may be asked to sign a document allowing a third-party vendor (like a water mitigation crew or a specialty inspector) to access your home. The operational risk here is that the vendor might assume this signature also guarantees payment directly from you, or that it allows them to begin demolition without further approval.
When dealing with vendor access, ensure the document explicitly states it is for “inspection only” or “scoping only” if you have not yet agreed to the actual work. Operationally, you want to keep the “permission to look” entirely separate from the “permission to act or bill.”
Information and Records Release
In some cases, especially involving additional living expenses or specific property histories, you might be asked to sign a release allowing the adjuster to request records from third parties. Again, the danger here is an overly broad scope. If the form allows them to request “any and all records,” it is operationally reckless.
A clean file requires that the release is restricted to the specific incident. It should name the exact records being requested (for example, “utility bills for the months of June and July”) rather than a blanket authorization. This keeps the document pull focused and prevents your file from being cluttered with irrelevant data that slows down the review process.
How to Handle Vague or Open-Ended Forms
One of the most common patterns I see is a file stalled because the homeowner refused to sign a form, but they never communicated *why* they refused. The desk adjuster simply notes “non-compliant” in the log, and the timeline stops. You have to communicate your operational boundaries clearly and neutrally.
If you are handed a form that is too broad, missing dates, or has blank lines, you should not just ignore it. You need to request a corrected version in writing. This shows that you are actively participating and organized, but that you require precise paperwork.
Hello [Adjuster Name],
I received the authorization form you requested on [Date]. Before I can sign and return this, I noticed that the fields for [Date of Expiration] and [Specific Scope of Access] are currently blank.
Could you please provide a revised version of this document that specifically lists the exact dates this permission covers, as well as the specific tasks the vendor will be performing?
Once I have the completed form with those boundaries, I will review, sign, and return it promptly so we can keep the file moving.
Thank you,
[Your Name]
Notice the tone here. It is not aggressive, it does not use legal threats, and it does not accuse anyone of trying to pull a fast one. It is simply a calm, administrative request for a complete document. This is how you maintain control of the communication hygiene.
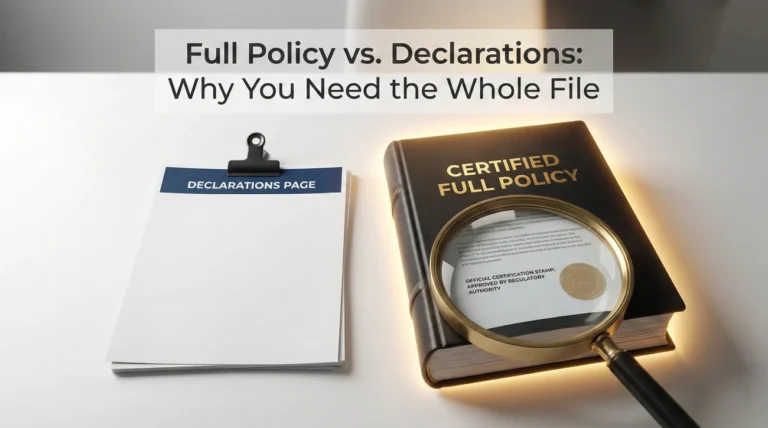
The Keep-Copy Rule: Never Send Your Only Proof
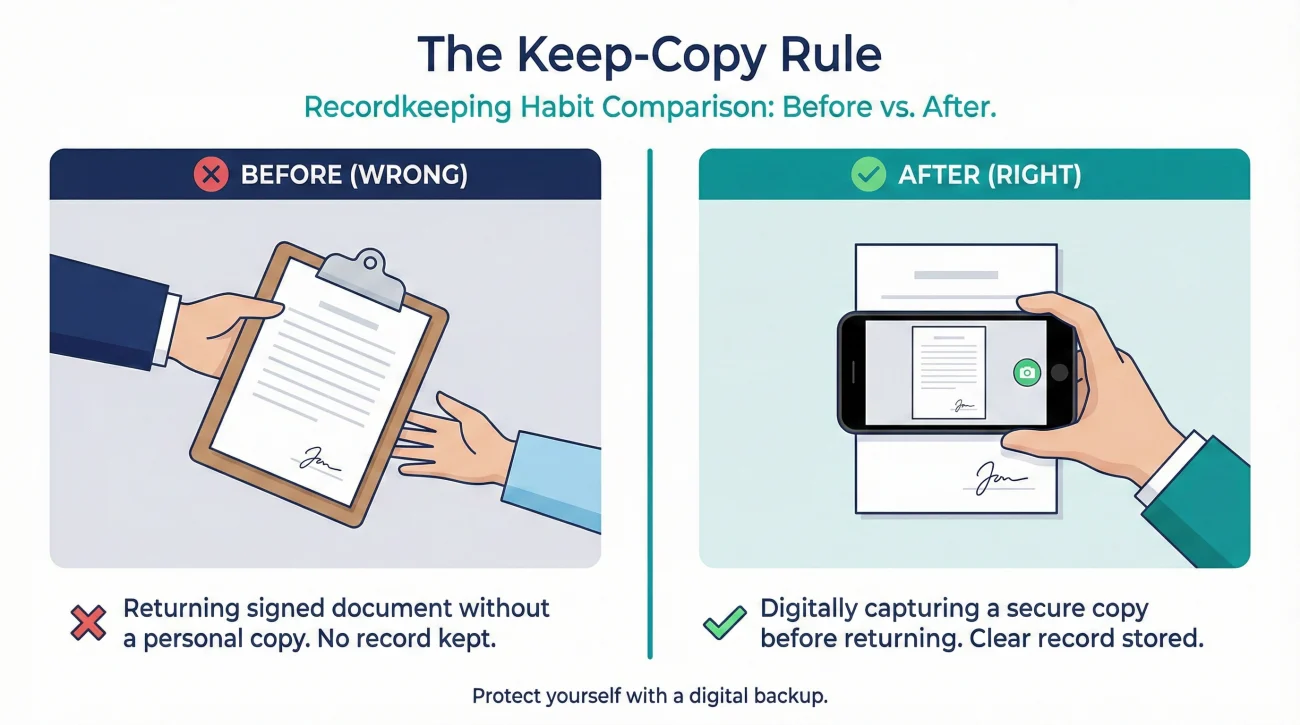
This is perhaps the most critical operational habit you can develop. In my experience, the moment a document leaves your hands, you must assume it could get lost, misfiled, or attached to the wrong claim number. If you sign a piece of paper and hand it to a field inspector without taking a picture of it first, you have lost your record of what you agreed to.
You must keep a duplicate of every single signature you provide. If you sign a physical piece of paper on your kitchen counter, stop the inspector for ten seconds, place the paper flat on the table, and take a clear, well-lit photo of the document with your signature on it. If you sign a document digitally, immediately download the final executed PDF and save it to your local device.
Signing a form on a clipboard, handing it back to the contractor, and assuming the insurance company will put a copy in your portal.
Signing the form, snapping a clear photo of the fully executed document, and saving it to your dedicated claim folder before handing the clipboard back.
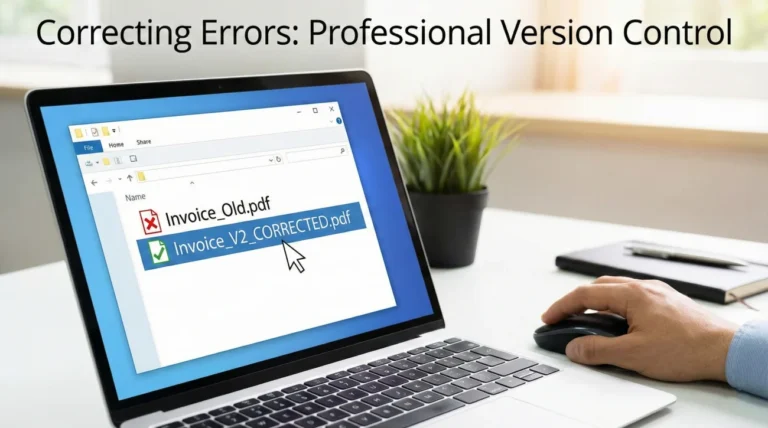
Once you have your copy, you need to name the file properly so you can find it later. I highly recommend adding this signed form to your property claim documents checklist. A good file naming convention is simple and date-first.
For example, instead of saving the file as scan_001.pdf, you should save it as 2023-10-15_Signed_Property_Access_Auth.pdf. When you look at your folder three months from now, you will know exactly what that document is and when you signed it.
Mini-Scenarios: When Good Process Saves the Timeline
Let me share a typical point where files go missing and how good process prevents it. A homeowner was asked to sign a permission form allowing a specialty flooring inspector to take core samples. The homeowner read the form, realized the “scope of work” line was blank, and sent an email asking the adjuster to specify that the permission was only for the living room and kitchen, not the entire house.
The adjuster sent a revised form. The homeowner printed it, signed it, scanned it, and saved a copy named 2023-11-02_Signed_Flooring_Core_Sample_Auth.pdf. They then emailed the PDF to the adjuster.
Two weeks later, the specialty flooring company called the homeowner, stating they could not schedule the inspection because they never received the authorization. Because the homeowner had a flawless paper trail, they did not have to start over. They simply replied to their original email chain, attached the signed PDF again, and copied both the adjuster and the flooring company.
Let me share another pattern I commonly see. A vendor sends a scoping form that includes the phrase “allows access for [Vendor Name] and any necessary vendors.” The homeowner signs it to keep things moving. Two days later, a random, unvetted subcontractor shows up unannounced to tear out drywall because the primary vendor delegated the work under that blanket permission. If the homeowner had requested to change “any necessary vendors” to only the specific company listed, they would have maintained control over who enters their property and when.
This is what operational readiness looks like. You do not panic when a document is misplaced or a process goes off track; you just lean on your organized evidence pack and written boundaries.
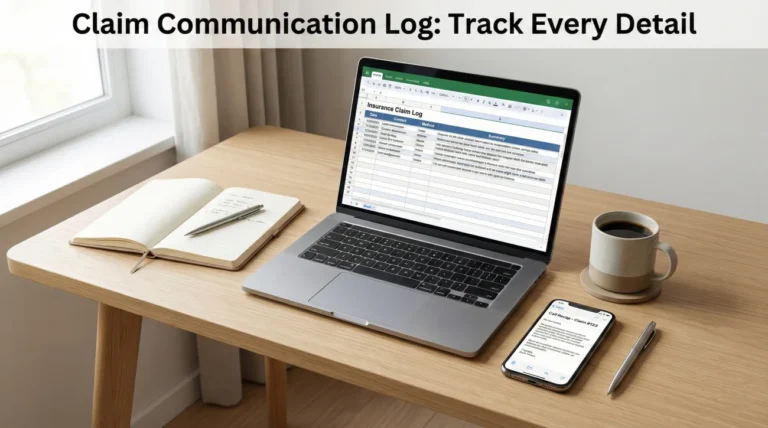
The One-Page Authorization Log
If you have multiple vendors, inspectors, and adjusters accessing your property or records, keeping track of who is allowed to do what becomes difficult. I recommend creating a simple tracking table in your claim communication log or notebook.
| Date Signed | Vendor / Party | Approved Scope | Expiration Date | Confirmation Received |
|---|---|---|---|---|
| 2023-11-02 | ABC Mitigation | Water extraction only (kitchen) | 2023-11-09 | Yes – Email 11/02 |
| 2023-11-05 | XYZ Flooring | Core samples (living room) | 2023-11-06 | Yes – Portal message |
The Confirmation Loop: Forcing Acknowledgment

Sending the document is only half the job. The other half is ensuring it was received and logged into their system. If you just upload an insurance claim authorization form to a portal and close your laptop, you have an open loop. You do not know if the upload actually tied to your file or if the desk adjuster was notified.
Every time you submit a signed document, you must trigger a confirmation loop. You want written proof that the other side has your file and recognizes it.
[Action] + [What you need in writing] + [Confirmation request]
Here is how you apply that formula in a real-world follow-up message:
Subject: Upload complete – Signed property access authorization
Hello [Adjuster Name],
I have just uploaded the signed property access authorization form to the claim portal. I have also attached a PDF copy to this email for your direct reference.
Could you please reply to confirm that you have received this document and that it has been successfully added to my main claim file?
Thank you.
This script is effective because it forces a binary response. They either reply “Yes, received” (which gives you a time-stamped proof of receipt), or they do not reply, which gives you clear grounds to escalate a simple administrative follow-up three days later.
Documenting When Permissions End
There is one final operational step that many people overlook: documenting the end of an authorization. If you gave a mitigation company permission to access your home for two weeks to dry out water damage, and their work is complete, you should document the closure of that phase.
I always recommend putting a note in your claim communication log when a specific authorized task is finished. If you feel it is necessary to formally revoke an open-ended permission that you mistakenly signed earlier, you must do so in writing. A simple email stating, “This email serves as written notice that the property access authorization signed on [Date] is now revoked as the inspection phase is complete,” creates a clear endpoint in your file’s history.
“A clean file has clear start dates, and just as importantly, clear end dates.”
When you maintain this level of documentation discipline, your file becomes much easier for a new adjuster to read if your claim gets reassigned. They will see exactly what was permitted, when it happened, and that the phase is closed, reducing the chance of repeated requests.
Final Thoughts on File Hygiene
Your signature is the mechanism that moves the claim forward, but it is also the mechanism that can bind you to vague, open-ended processes if you are not careful. By treating every authorization form as a serious piece of operational data, you protect your timeline.
Always verify the scope, never leave blank lines, and demand specific dates. When you combine these habits with polite, written confirmation loops, you stop being a passive participant in your claim and start managing your file like a seasoned professional. Keep your records clean and keep your communications neutral.
❓ FAQ
📝 What should I do if an authorization form has blank lines?
Never sign a document with blank lines. Request a revised copy with the exact details, dates, and scopes filled in. If you must sign a paper form in person, ask for a fully completed version first before applying your signature.
📱 How do I save a copy if I sign a document on a tablet?
Before handing the tablet back or hitting submit, use your smartphone to take a clear photo of the screen showing your signature and the filled-out text. Request a PDF copy immediately via email.
📅 What if they refuse to add an expiration date?
You can politely explain that your recordkeeping process requires specific timelines. Ask them what a reasonable timeframe for the task is, and request that those agreed-upon dates be typed into the form.
🛑 Can I revoke an authorization I already signed?
Yes, in most cases you can withdraw permission. You must do this in writing. Send a clear, dated email to your adjuster and any involved vendors stating that the prior authorization is immediately revoked.
🗂️ Where should I store my copies of signed forms?
Save them in your central digital claim folder. Use a consistent file naming system, such as starting the file name with the date you signed it, so it naturally organizes itself chronologically.
🗣️ What if the adjuster pressures me to sign immediately over the phone?
Politely decline to sign anything blindly. State that your personal process requires you to read and review all documents in writing first. Ask them to email the form so you can review it on your computer.
🧾 What if the vendor says the signature implies I guarantee payment?
Do not sign it if you have not agreed to the cost. Request that they add a specific clause stating the signature is for “inspection and scoping access only” and does not authorize repairs or financial liability.
📩 How do I know if they actually received my signed document?
Do not assume they have it just because you uploaded it. Send a brief email stating you uploaded the document and ask for a direct reply confirming it has been added to your file.
🏠 What if the form says ‘access to property’ with no room limits?
If the damage is isolated, ask for the scope to be narrowed. Request that the wording be changed to specifically list the affected areas, such as “access limited to the kitchen and adjoining hallway.”
🔄 What happens if the insurer loses the form I signed?
This is why you keep a copy. If they say it is missing, do not panic. Simply reply to an existing email thread, attach your saved PDF, and note that you are resubmitting the document originally signed on that date.
⚠️ Disclaimer: PropertyClaimChecklist.com provides practical guidance, process checklists, and example follow-ups to help you organize a property claim and move it forward. It is not policy language, claim documentation, legal content, or a substitute for your insurer's instructions. Always rely on your carrier's requirements and your actual policy terms for what must be submitted and how decisions are made.