- An unorganized dump of photos and receipts will almost always delay your review; you need a defined evidence checklist structure to act as a roadmap.
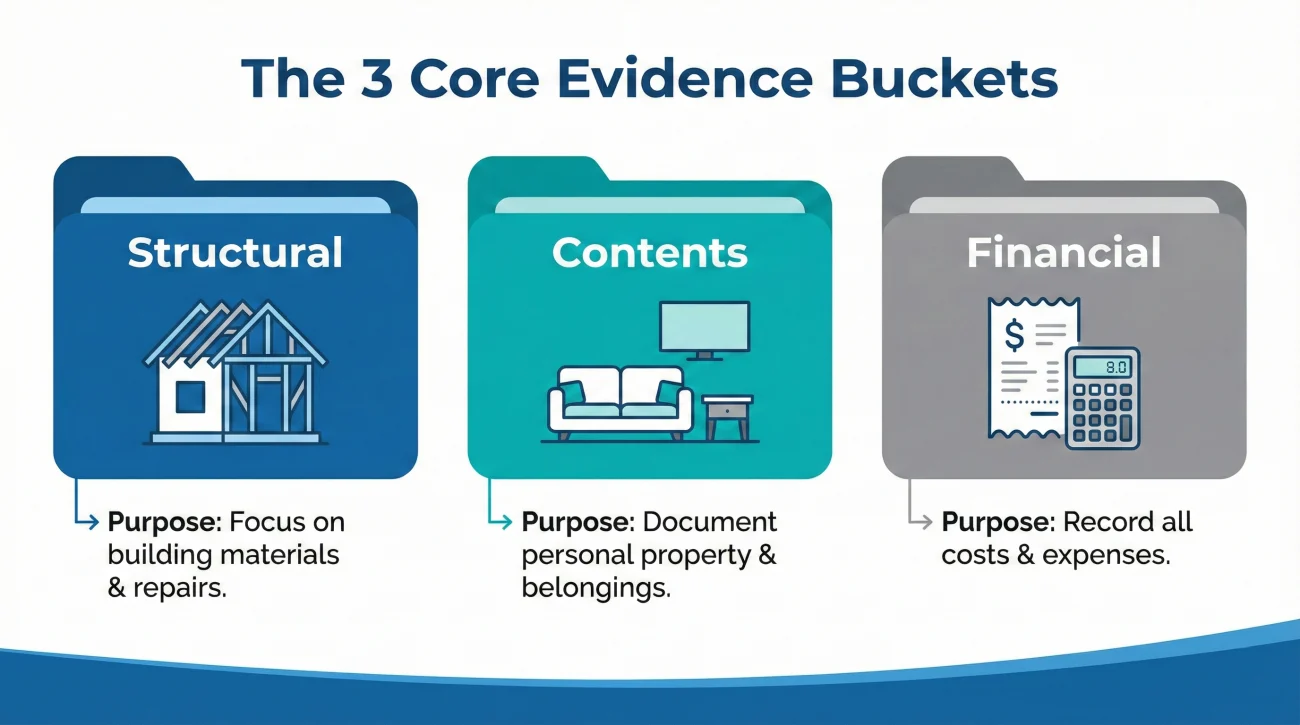
- Divide your proof into three core buckets: Structural Scene, Personal Property Inventory, and Financial Mitigation.
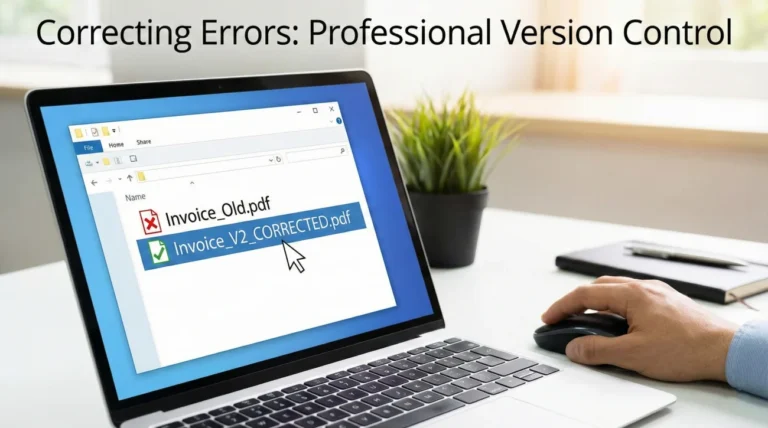
- Always keep original files untouched in a master folder and only share copies that have been properly labeled and mapped to an index.
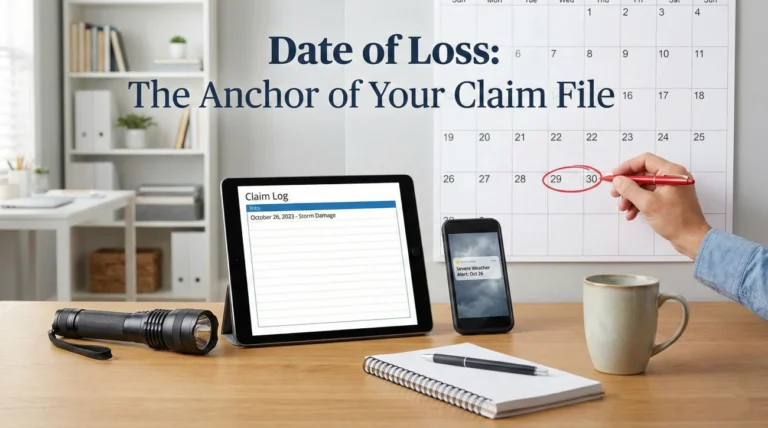
- Use a simple evidence timeline log to prove exactly when damage occurred and when temporary repairs were made.
- Before sending large files, always ask the desk reviewer for their preferred format and confirm receipt of your structured packet in writing.
Why Most Claim Files Stall Before They Even Start
In my experience working in claims operations, the single most common reason a file sits untouched on a desk for weeks has nothing to do with the actual damage. It usually comes down to how the proof is packaged. I have seen countless people try to do the right thing by sending in hundreds of photos, a stack of faded receipts, and a long emotional email explaining what happened. While the intent is to be thorough, the operational reality is that an unorganized data dump paralyzes the review process.
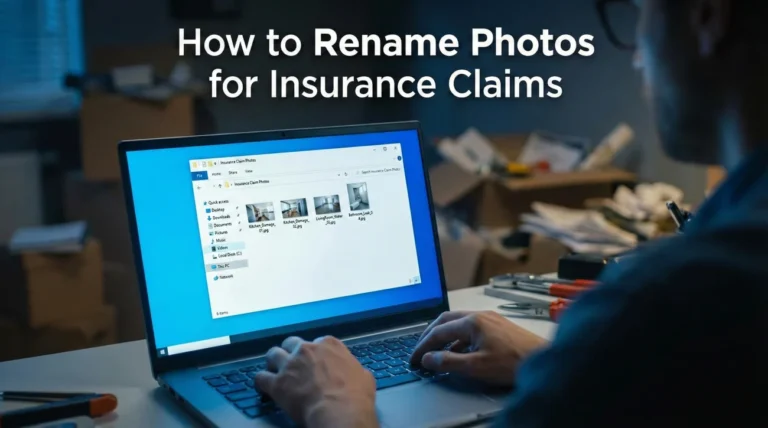
When a reviewer opens an email with forty attachments simply named “IMG_001” through “IMG_040,” they have to spend hours guessing which room they are looking at, what time the photo was taken, and what damaged item is being shown. Often, they simply don’t have that time. The file gets set aside, delays build up, and communication breaks down. You can significantly reduce this risk by changing how you capture and route your proof.
To keep things moving, you need a functional evidence checklist structure. This isn’t just a list of things to take pictures of; it is a systematic way to categorize your files so that anyone looking at them can instantly understand the story of your loss without needing you in the room to explain it. Today, I want to walk you through the exact blueprint I use to help people turn a chaotic pile of documents into a clean, claim-ready packet.
🗝️ Key Point: If a reviewer has to guess what a piece of evidence represents, that evidence loses much of its value. Your structure must do the explaining for them.
The Three Core Buckets of Claim Evidence
When you are staring at a damaged property, it is easy to panic and just start taking random photos. Instead, I always advise taking a breath and mentally dividing your documentation process into three distinct buckets. Think of these as the main folders on your computer desktop. Everything you capture will route into one of these specific areas.
What each bucket answers:
• Structural: What happened to the building.
• Contents: What items were damaged and what they were.
• Financial: What you paid out of pocket and why.
Bucket 1: The Scene and Structural Reality
This is where you prove what the physical space looked like immediately after the event and before any major cleanup began. This bucket is strictly for the building itself: the walls, the floors, the ceiling, and the source of the damage. When you are building this part of your evidence checklist structure, you are acting as a crime scene photographer.
Your goal here is to establish the perimeter of the damage. I highly recommend starting with a continuous video walkthrough of the property to show the flow of the rooms, followed by wide-angle photos of each affected room, and finally, close-up shots of the specific structural damage. Keep this evidence completely separate from photos of your ruined couch or television.
Bucket 2: Personal Property and Inventory
This second bucket is entirely dedicated to the “contents” of your home, meaning your furniture, electronics, clothing, and personal items. This is often the most overwhelming part of a claim, which is why isolating it into its own structure is crucial.
In this folder, you will route your home inventory list, the specific photos of the damaged items (capturing brand names and model numbers), and your proof of ownership. By keeping contents separate from structural damage, you make it much easier to cross-reference a specific ruined item with a receipt or a manual later on.
Bucket 3: Financial Proof and Mitigation
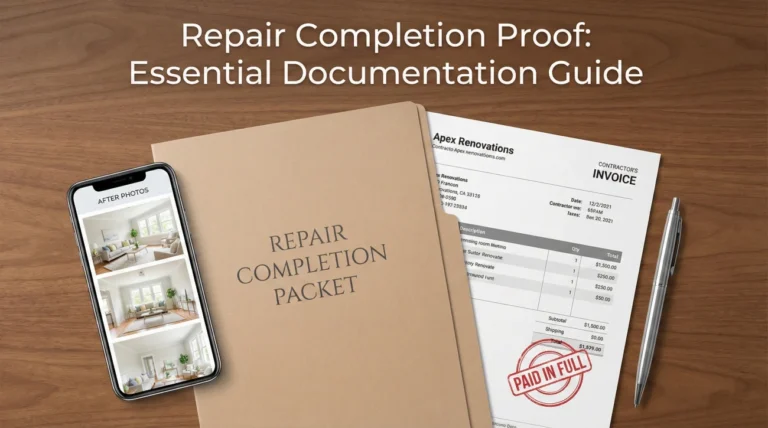
The final bucket is your paper trail. In my operational day-to-day, this is where I see the most easily avoidable mistakes. This structure holds your contractor quotes, invoices for temporary emergency repairs (like a tarp on the roof or water extraction), mitigation logs, and any out-of-pocket expenses directly related to securing the property.
Having a dedicated space for financial documents ensures that when it comes time to discuss reimbursement for emergency services, you aren’t hunting through a generic “insurance stuff” folder. Every receipt is logically grouped and ready to be summarized.
Saving everything to a single folder on your phone called “House Claim,” mixing photos of water damage with PDFs of hotel receipts.
Creating three distinct master folders: “1_Structural_Damage,” “2_Personal_Property,” and “3_Mitigation_Receipts,” making it impossible to mix up evidence types.
Operational Reality: Building the Evidence Map
Let me share a quick field note on why this separation matters so much. I commonly see situations where an individual submits a 50-page PDF containing a mix of wide room shots, close-ups of a ruined television, a contractor’s estimate, and a receipt from a hardware store, all merged into one giant file with no index. When that hits a processing desk, the reviewer has to manually deconstruct that file to send the structural photos to a field adjuster, the TV photos to a contents specialist, and the receipts to a financial auditor.
That manual deconstruction takes time, often weeks. By using a disciplined evidence checklist structure from day one, you are essentially doing that sorting work for them. You are handing them a pre-organized package that routes the right information to the right department immediately. By pre-sorting your proof into these specific buckets, you drastically reduce the internal hand-off loops between different adjusters, which helps prevent files from getting stuck in transition.
The Secret Weapon: The Master Index

The glue that holds these three buckets together is what I call a Master Index. This is simply a spreadsheet or a clean text document that acts as the table of contents for your entire claim file. You do not need special software for this. A basic table works perfectly.
When you are assembling your complete property claim evidence pack, the index is the very first thing the reviewer should see. It tells them exactly what files exist, what folder they are in, and what they prove. If you have 20 photos of water damage in the kitchen, your index should have a single line summarizing that batch, pointing them to the “Structural Damage” folder.
To keep the index clean and highly scannable, follow these basic rules for each entry:
- ✅ One line per batch (group similar items together to save space).
- ✅ Include the file range (e.g., Photos 01 through 15).
- ✅ State the purpose of the evidence clearly.
- ✅ Log the date you sent the batch.
- ✅ Track the current status of the files.
| Folder / Bucket | File Name Range | Description of Evidence | Status |
|---|---|---|---|
| 1_Structural | Kitchen_Water_01 to 15 | Wide and close-up damage to drywall and flooring | Sent 10/12 |
| 2_Contents | LivingRoom_TV_01 to 04 | Damaged electronics + serial numbers | Sent 10/12 |
| 3_Financial | Receipt_Dryout_Oct10.pdf | Emergency water extraction invoice from Vendor X | Sent 10/12 |
File Hygiene: Protecting Your Originals
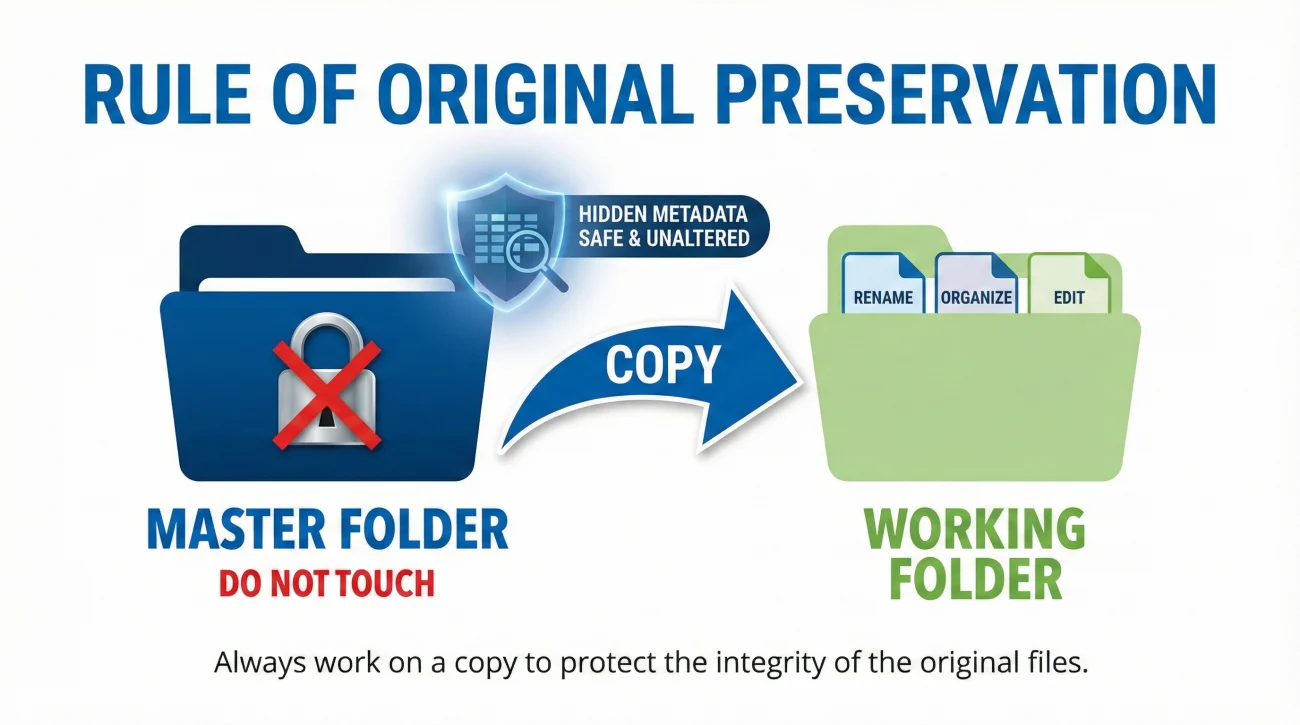
One of the most critical habits I try to instill in anyone handling documentation is the rule of original preservation. When you are moving files into your new structure, you will likely be renaming them and perhaps resizing them to fit into an email. I highly advise against doing this to your original files.
Metadata (the hidden data inside a digital photo) often helps establish exactly when and where a picture was taken. This data can easily be stripped away if you compress a photo or send it through a messaging app. If there is ever a question about the timeline of the damage, that original metadata serves as your strongest supporting proof.
- ✅ Step 1: Create a folder named “RAW_ORIGINALS_DO_NOT_TOUCH.”
- ✅ Step 2: Dump every photo, video, and digital receipt exactly as captured into this folder.
- ✅ Step 3: Make a copy of that folder. Name the copy “WORKING_FILES.”
- ✅ Step 4: Build your evidence checklist structure and do all your renaming, organizing, and index mapping inside the WORKING_FILES folder only.
⚠️ Warning: Avoid submitting your only copy of a document, and hold off on deleting original photos from your phone until the entire process is closed and settled in writing. Hard drives fail and portal uploads go missing commonly.
Scripts: Submitting Your Structured Evidence
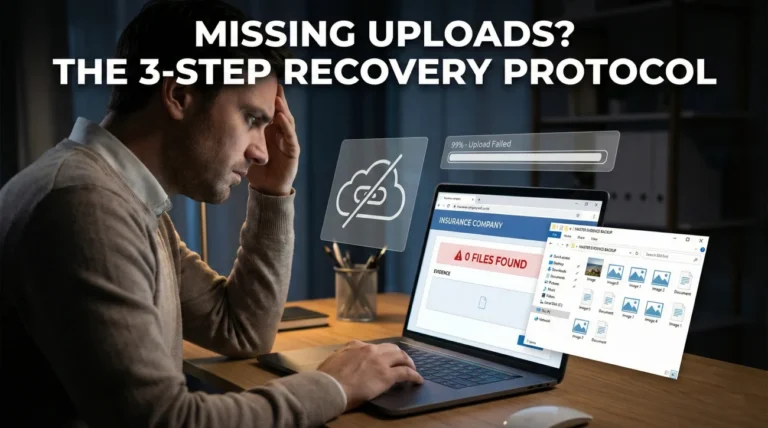
Once you have built a clean evidence checklist structure, the way you communicate its delivery is just as important as the files themselves. You do not want to just fire off a massive email blindly. Email servers often reject large attachments, and web portals can time out, leaving you assuming the files were received when they actually failed to send.
Before you send anything, I recommend establishing the rules of engagement. Reach out to ask about file size limits and preferred formats.
Subject: Inquiry regarding file submission requirements – [Claim Number]
Hello [Name],
I have completed the initial evidence organization for my claim, which includes an index, structural photos, and mitigation receipts.
Before I send these over, could you please reply with your preferred method for receiving large files (e.g., direct portal upload, email batches, or a secure link)? Please also let me know if there are any specific file size limits I should be aware of.
Thank you for your guidance.
The Delivery Cover Message
When you actually send the structured pack, use your message to act as a summary. Tell them exactly what is attached and ask for a written confirmation that the files opened successfully. This prevents the common scenario where a file sits for a month because the reviewer “couldn’t open the PDF” but forgot to tell you.
Subject: Initial Evidence Packet and Index Submission – [Claim Number]
Hello [Name],
Please find attached the first batch of evidence regarding the damage on [Date].
To make review easier, I have organized this into three sections, detailed in the attached Master Index PDF:
1. Structural Damage Photos (15 files)
2. Initial Contents Inventory (1 PDF)
3. Emergency Mitigation Receipts (2 files)
Could you please reply to confirm that you have received this email and that you are able to open all the attachments successfully?
Thank you,
Common Setup Mistakes That Ruin the Structure

Even with good intentions, it is easy to make organizational mistakes when you are dealing with the stress of property damage. Here are a few patterns I see constantly that you should actively avoid.
Mistake 1: Relying entirely on phone albums.
Trying to manage a complex evidence structure using only the “Favorites” or custom albums on your smartphone almost always fails. It is too easy to accidentally delete items, and phone albums do not translate well when you have to export them to a desktop or a portal. Move your files to a computer where you can clearly view folder structures and rename files properly.
Mistake 2: Inconsistent file naming.
If you start labeling files clearly (e.g., “Kitchen_SouthWall_Damage.jpg”) but get tired halfway through and leave the rest as “IMG_9942.jpg,” the structure breaks down. The reviewer will trust the first few files, but once they hit the unlabelled ones, the friction returns. Consistency is more important than perfection. Pick a simple naming rule and stick to it.
Mistake 3: Forgetting the timeline log.
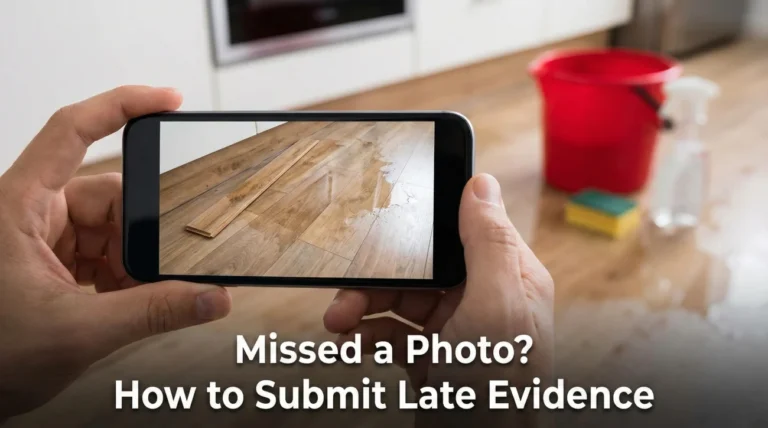
Photos show what happened, but they don’t always explain the sequence of events clearly, especially if damage worsened over a few days or if temporary repairs were done in phases. Always accompany your structure with a simple timeline log that states what happened on what date. This removes any guesswork about the order of events.
Final Thoughts on Evidence Management
Building an evidence checklist structure is not about doing extra work just to be neat; it is a defensive strategy. Every minute you spend organizing your proof into logical buckets, renaming files clearly, and updating your master index is a minute you save in delays, miscommunications, and frustrating phone calls later down the line.
I know that in the aftermath of property damage, sitting down to create folders and spreadsheets is the last thing you want to do. But from an operational standpoint, this is where you take control of the narrative. You transition from being someone overwhelmed by documentation to someone who is actively managing a clean, undeniable record of facts. Set up your buckets, protect your originals, keep your index updated, and always confirm receipt in writing. That is how you keep the process moving forward.
❓ FAQ
🎯 What is the best way to organize my claim photos?
Divide them by room and damage type. Create main folders for structural damage, personal property, and mitigation, then use clear file names instead of default camera numbers.
📂 Do I need a separate folder for every single room?
Yes, if multiple rooms are damaged, keeping them in separate sub-folders prevents confusion and makes it easier for reviewers to cross-reference with your inventory.
🤔 How do I submit my evidence so it doesn’t get lost?
Always include a master index or cover sheet detailing exactly what you are sending, send it in manageable batches, and always ask for written confirmation that the files were received and opened.
📝 What should my claim checklist look like?
It should be a simple document tracking the category of evidence, the file name, a brief description of what it proves, and the date you submitted it.
📸 Should I put receipts and photos in the same document?
No. Keep financial documents (receipts, quotes) in a separate folder from your damage photos. You can link them together using references in your master index.
⏳ When should I start organizing my claim files?
As soon as you can. Creating your folder structure early and moving photos into it regularly helps prevent a massive backlog of unorganized files later.
❌ What happens if I just email all my photos at once?
Your email will likely bounce back due to size limits, or the reviewer will be overwhelmed by unlabelled files, which almost always results in severe processing delays.
📎 How do I link a receipt to a specific damaged item?
Assign an ID number to the item on your inventory list (e.g., ITEM-04), and write that same ID number on the digital file name of the receipt and the photo of the item.
📱 Can I just use my phone’s photo album to track everything?
It is highly discouraged. Phones are great for capturing, but organizing, renaming, and backing up files should be done on a computer to ensure file integrity and safety.
🛡️ What is an evidence index and do I need one?
An evidence index is a summary table acting as a map for your files. Having one is highly recommended to ensure reviewers know exactly what evidence you have provided without guessing.
⚠️ Disclaimer: PropertyClaimChecklist.com provides practical guidance, process checklists, and example follow-ups to help you organize a property claim and move it forward. It is not policy language, claim documentation, legal content, or a substitute for your insurer's instructions. Always rely on your carrier's requirements and your actual policy terms for what must be submitted and how decisions are made.