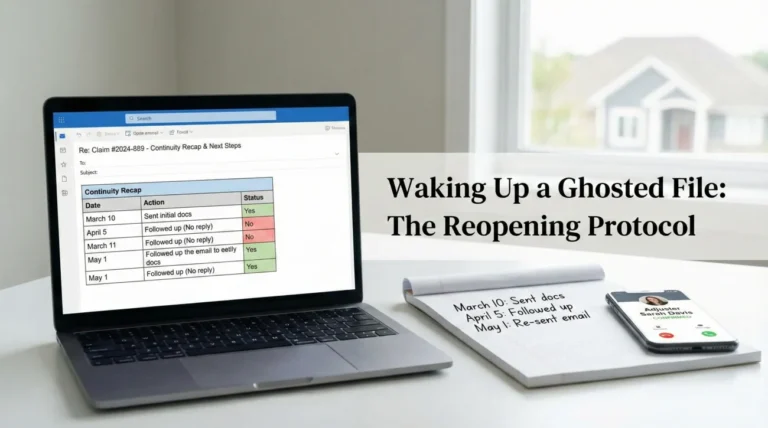
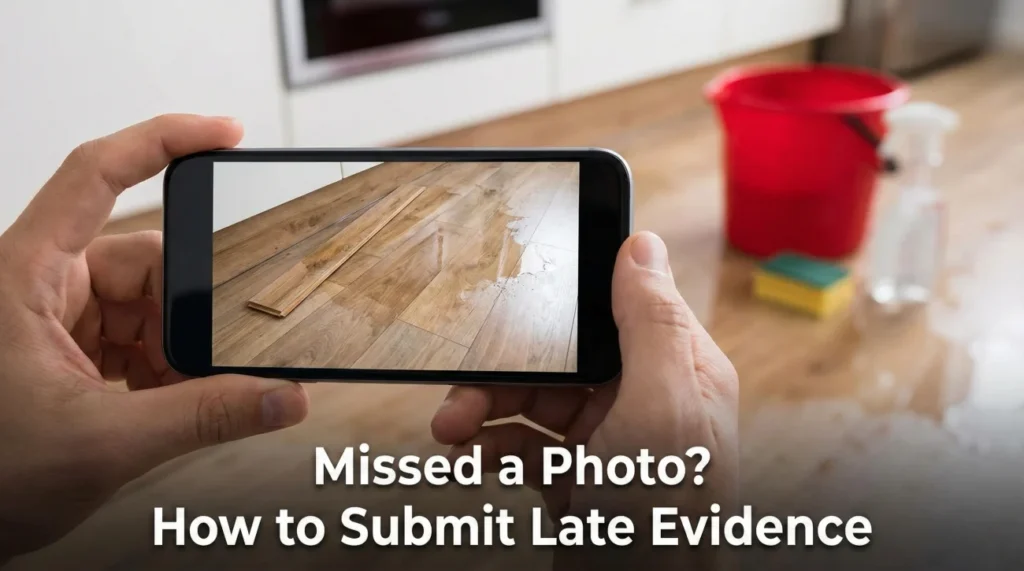
- Missing a photo during the chaos of emergency cleanup is completely normal; you can still submit photos taken days later if you properly anchor them to the timeline.
- Never alter a photo’s EXIF metadata to fake the capture date. Many claim systems flag edited timestamps, which can quickly turn a simple mistake into a fraud review.
- Use the “anchoring technique” to validate late evidence: explicitly link your new photos to a verified day-one document, like an emergency plumber’s invoice or a mitigation report.
The Reality of Emergency Cleanup vs. Perfect Documentation
When water is actively destroying your hardwood floors, or smoke is settling into your furniture, your first instinct is not to run a professional photoshoot. Your instinct is to stop the damage. You start tearing out baseboards, throwing ruined items onto the driveway, and running shop vacuums. It is usually only days later, when the adrenaline wears off, that you realize you completely forgot to take close-up photos of the damage exactly as you found it.
In my experience in claims operations, this is the exact moment homeowners panic. They assume the missing “before” photo means the adjuster will deny the line item. They worry the claim is ruined, and occasionally, they make the fatal mistake of trying to digitally alter a photo’s date to cover up the gap.
Taking a photo three days later, whether the drywall is already torn open or the ruined couch is sitting in a dumpster, is perfectly acceptable because your primary duty is to mitigate the loss. However, you cannot just quietly upload those late photos and hope the adjuster figures it out. You have to take control of the narrative and explain the timeline gap before the software does it for you.
Why “Naked” Uploads Trigger File Reviews
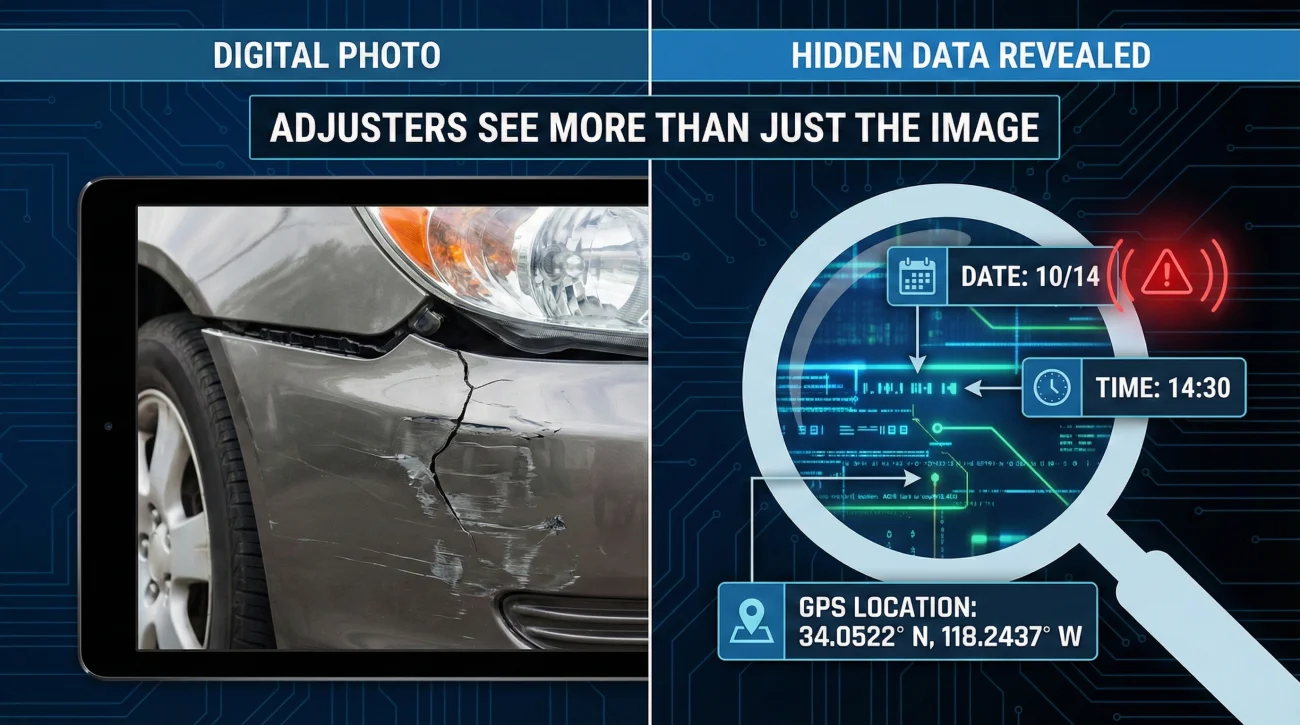
To understand how to submit late evidence, you need to understand how the desk adjuster reviews it. When you upload a photo to an insurance portal, the system does not just see the image. It extracts the EXIF data, which is the hidden digital metadata embedded in every smartphone picture that records the exact date, time, and sometimes the GPS location of the capture.
If your official date of loss was a Sunday, and you silently upload a batch of photos with EXIF data showing they were taken the following Thursday, the adjuster’s workflow hits a brick wall. They are looking at a gutted room, they see a Thursday timestamp, and they have zero context. They have to stop processing your estimate and ask: “Did a secondary event happen? Did the insured cause this extra damage during demolition? Are they trying to claim old damage?”
⚠️ Warning: Never use apps to strip or fake the EXIF date to match the date of loss. Many corporate claim systems scan for metadata tampering. If they detect an edited timestamp, your file can be flagged for an additional review, which heavily damages the credibility of your entire claim.
If you submit a photo taken on Thursday, simply tell them it was taken on Thursday, and explain what happened between Sunday and Thursday. When you own the timeline, the adjuster can keep moving.
The 3-Step Anchoring Technique for Late Photos
When you have a piece of evidence that is weak on its own, like a photo of a broken pipe taken after the wall was already patched, you must logically tie it to a strong, early piece of evidence. In operations, we call this anchoring. Here is the process for submitting an after-the-fact photo successfully.
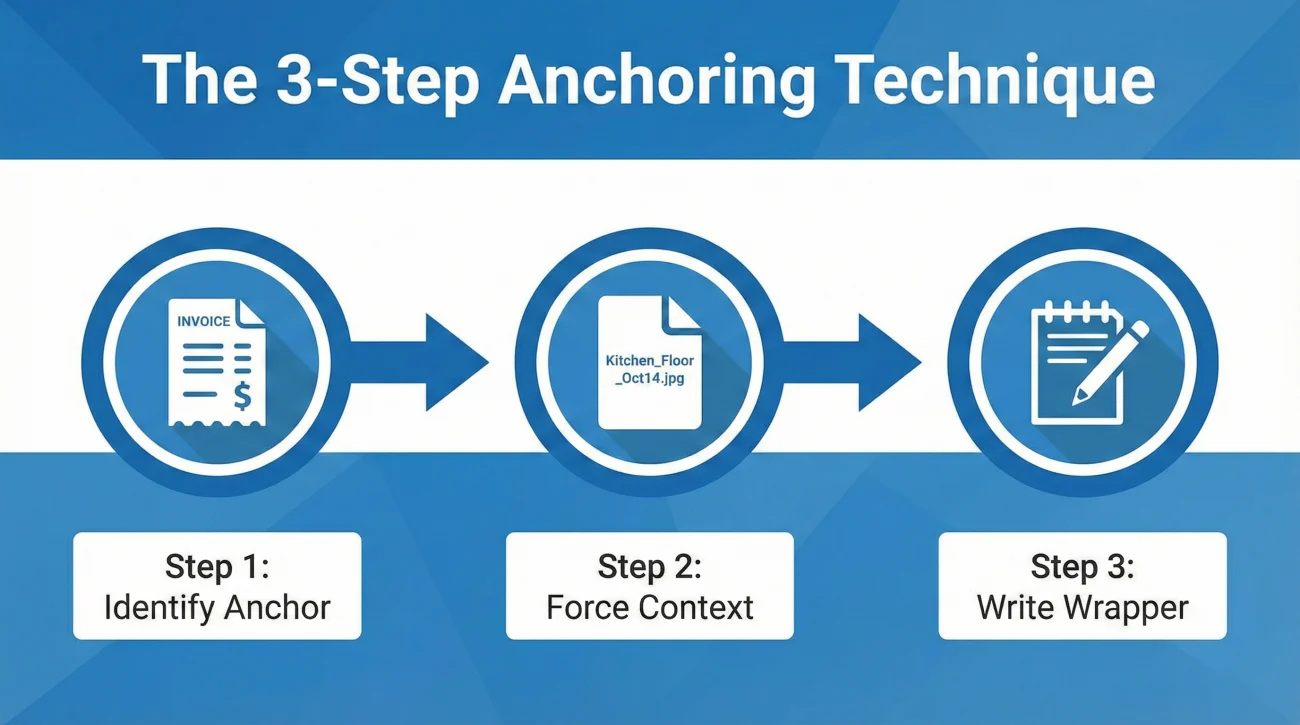
Step 1: Identify Your Anchor Document
Find something verifiable that proves the damage existed on day one. If you are taking a late photo of a torn-out vanity, your anchor document is the invoice from the plumber who came out on the day of the loss to cap the leak.
What Makes an Anchor Document Strong?
- ✅ Emergency Invoices: A day-one receipt from a plumber, roofer, or electrician confirming they were on-site to stop a specific issue.
- ✅ Mitigation Logs: A moisture map or tear-out log from the water restoration crew detailing exactly what they removed and why.
- ✅ Timestamped Communications: A day-one email or portal message where you explicitly reported a specific damaged area, even if you could not photograph it yet.
Step 2: Force Context with File Names
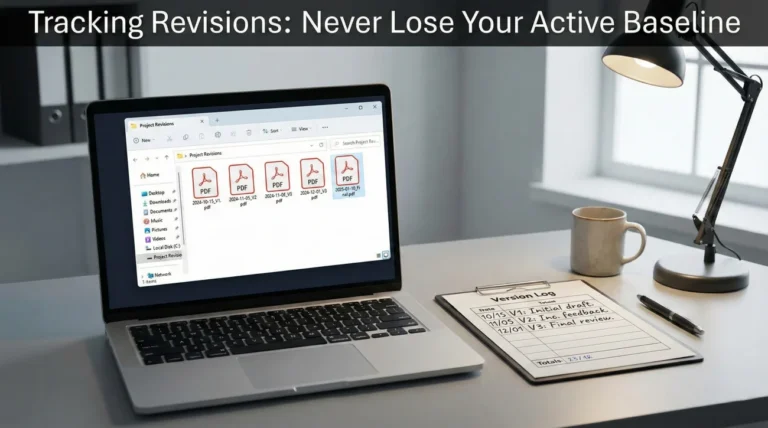
Do not upload a photo named IMG_9942.jpg. A desk adjuster staring at a random image number has to do the mental heavy lifting. Instead, use the file name to explicitly state what the photo is and when it was taken. This simple administrative habit prevents the photo from being misinterpreted.
IMG_8842.HEICKitchen_Subfloor_Taken_Oct14_Post_Demo.jpgStep 3: Write the Context Note
Whether you are sending an email or typing into a portal message box, you must provide a written “wrapper” for the photo. State the actual capture date, briefly explain the cleanup phase (e.g., “taken after the drywall was removed”), and explicitly map the photo to your anchor document.
Field Note: Saving the “Trash Pile” Evidence
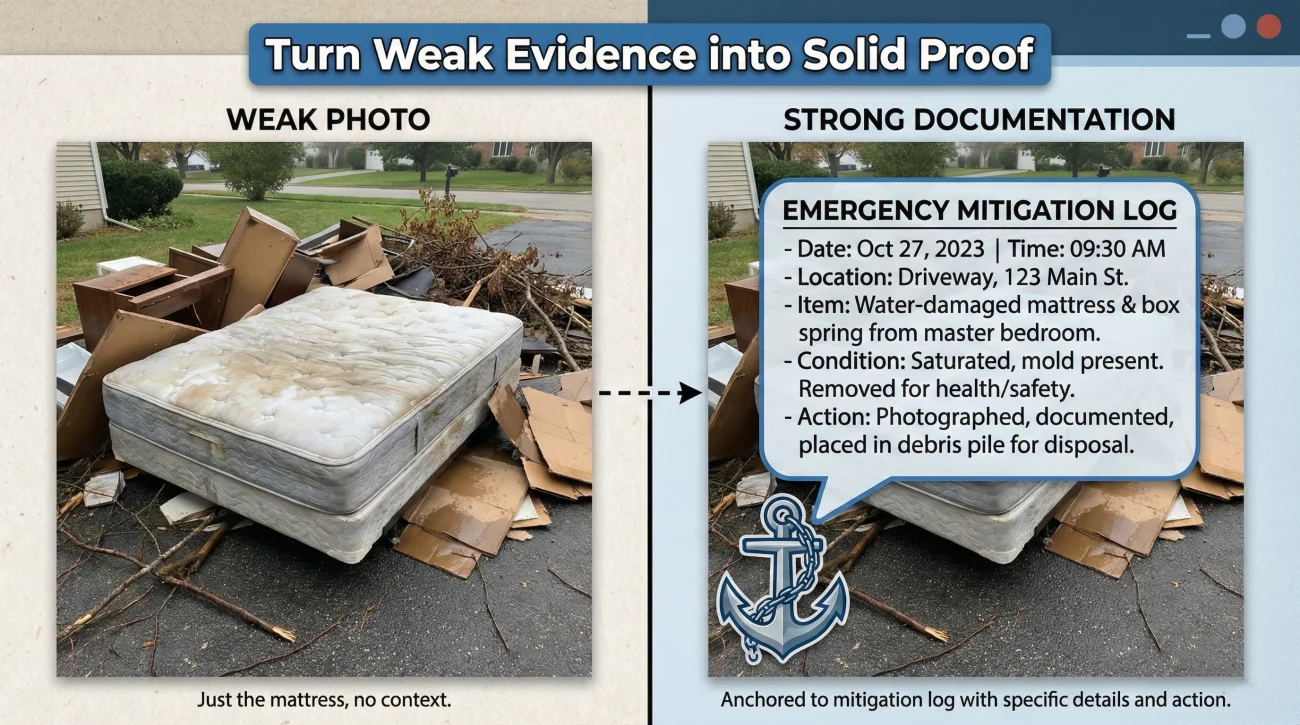
To see how this works in practice, consider the common scenario of discarded items. I frequently see homeowners panic because they threw away a sewage-soaked mattress for obvious health reasons, but forgot to photograph it in the bedroom. Two days later, they go out to the driveway and take a picture of the mattress sitting in a pile of debris.
If they just upload that picture, the adjuster will likely reject it. A photo of a mattress on a driveway does not prove it was damaged inside the house by a covered peril. It just proves the homeowner owns a ruined mattress.
“The fix is entirely in the documentation. The homeowner writes a note: ‘Photo taken Tuesday. This is the primary bedroom mattress. For sanitation reasons, it was removed immediately after the sewage backup on Sunday. You can cross-reference this photo with the emergency mitigation log, which confirms they extracted Category 3 water from the primary bedroom.’ Suddenly, the weak driveway photo becomes undeniably mapped to the loss.”
By logically connecting the late photo (the driveway) to the anchor document (the mitigation log), the adjuster has context to process the line item, which may reduce the need for a second field inspection.
Batch Upload Hygiene: Organizing Your Submission
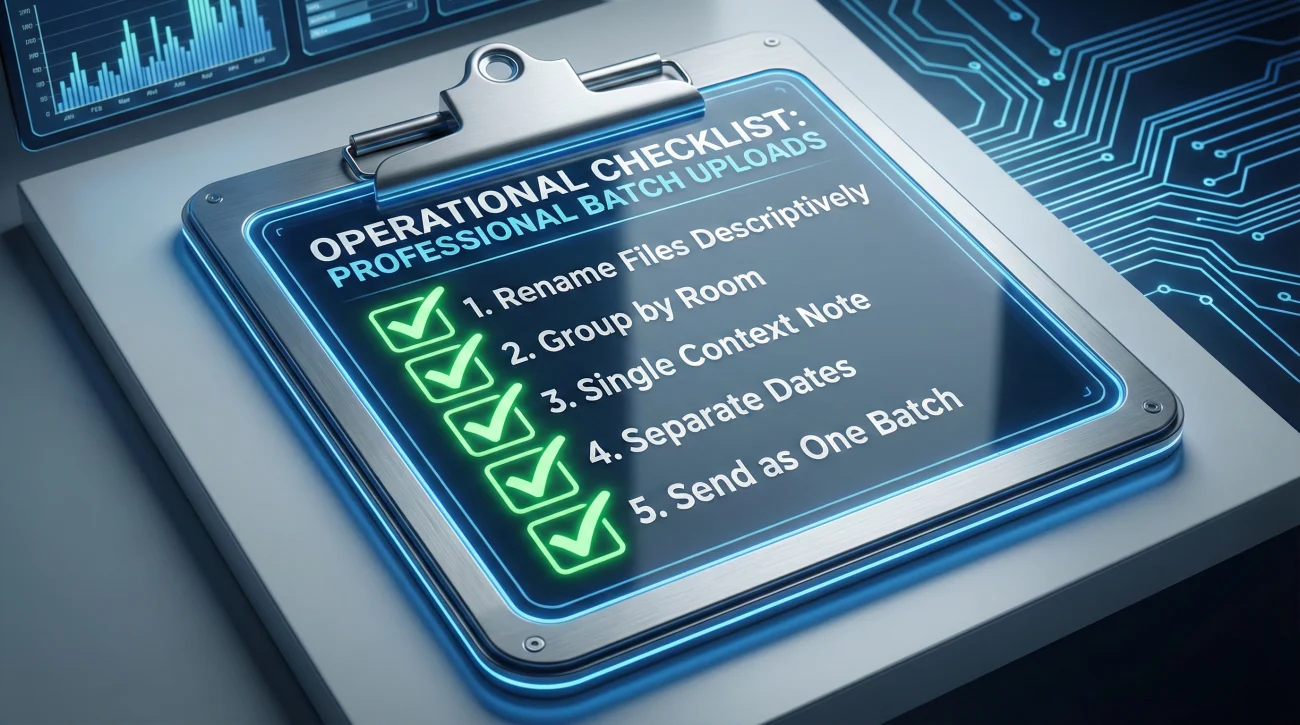
Instead of dripping late photos into the system one by one and causing confusion, gather them up and send them as a single, well-documented batch. Before you upload or email supplemental evidence, run through this quick operational checklist:
- ✅ File names: Rename every photo descriptively before uploading.
- ✅ Logical order: Group the photos by room, not by the random order they were taken.
- ✅ One map note: Write one clear context note for the entire batch, mapping them to your anchor documents.
- ✅ Keep dates separated: Do not mix photos taken on day one with photos taken on day four in the same unlabeled folder.
- ✅ No drip-feeding: Send the batch together rather than uploading one photo every few hours.
- ✅ Confirm receipt: Always end your message by asking the adjuster to confirm the photos were added to the file.
How to Package Supplemental Images in One Message
Below is an example of how you can structure an email or portal message to deliver after-the-fact evidence professionally using the batch hygiene rules.
Subject: Claim # 12345678 – Supplemental Evidence Submission – Hidden Damage
Hello [Adjuster Name],
I am submitting three additional photos to be added to my evidence file. Please note that these photos were taken today, [Date], which is three days after the initial incident. They represent hidden damage discovered during the mitigation process.
Photo 1: Kitchen_Subfloor_Taken_Oct14.jpg
– Context: Taken after the emergency crew removed the ruined laminate flooring.
– Notes: This shows the warped subfloor that was not visible during the initial walk-through. This maps to the ABC Mitigation tear-out log submitted yesterday.
Photos 2 & 3: Bathroom_Vanity_Removed_Oct14.jpg
– Context: Taken today after the plumber pulled the vanity away from the wall.
– Notes: These photos expose the source of the leak and the rotten drywall behind the cabinet. You can cross-reference this with the XYZ Plumbing emergency invoice.
Please confirm receipt of these images so I know they are safely attached to the file for review.
Best regards,
[Your Name]
If you are struggling to keep track of how all these documents, invoices, and photos map together, I highly recommend reviewing our complete property claim evidence checklist to build a master index that keeps your file organized.
Realistic Scenarios: Mapping Different Perils
To see how crucial this contextual step is, let’s look at two common scenarios where homeowners often forget to take day-one photos. Notice how proper documentation prevents unnecessary delays.
Scenario 1: The Hidden Water Leak
A slow pipe leak ruins the drywall behind a kitchen cabinet. During the initial inspection, the adjuster cannot see behind the heavy cabinetry and leaves the source unverified. Two days later, a contractor pulls the cabinet away, exposing the rotten drywall and the burst pipe. The homeowner snaps a photo.
Instead of just emailing a random picture of a wall, they write: “Supplemental photo taken Wednesday. Contractor pulled the kitchen cabinet forward, revealing the leak source. This maps to the day-one plumbing invoice.” The reviewer connects the dots, which often reduces the need for a second field visit to verify the damage.
Scenario 2: Smoke-Damaged Contents
A kitchen fire fills the house with smoke. The homeowner immediately drags the smoke-stained living room curtains and a ruined armchair out to the patio to get the smell out of the house. They completely forgot to photograph them inside. Later, they take pictures of the items sitting on the patio.
They upload the batch with a note: “Photos taken on Tuesday. Curtains and armchair removed to the patio on Sunday to mitigate smoke odor inside. These items correspond to lines 4 and 5 on the submitted contents inventory.” The adjuster can now safely process the contents without assuming the items were just old patio furniture left outside.
Final Thoughts on Closing the Timeline Gap
The claims process is unforgiving to messy timelines, but it is highly accommodating to clear, factual documentation. If you realize you missed a crucial photo on day one, do not let panic push you into making poor decisions like faking metadata or staging a scene.
Embrace the reality of the situation. Take the photo exactly as the property sits today, clearly label it, and use your paper trail to build a bridge back to the original event. When you treat your late photos as logical supplements rather than trying to pass them off as day-one evidence, you maintain your credibility and keep your claim moving forward without unnecessary red flags.
❓ FAQ
📸 Will my claim be denied just because I took photos days later?
No, a late photo alone usually does not cause a denial. Claims are delayed or denied when late photos contradict your original story or if you try to hide the fact that they were taken late.
🗑️ Can I take pictures of damaged items after I put them in the trash?
Yes. Taking a photo of an item in a debris pile is much better than having no photo at all. Just explicitly state in your note that the item was removed for safety or mitigation purposes.
🕵️ Does the insurance company actually check the date on my digital photos?
Yes. Claims software automatically reads the EXIF data (metadata) embedded in your digital photos, which shows the exact date and time the image was captured.
⏰ What if I honestly don’t remember the exact day I took the late photo?
If you cannot find the metadata, be honest. Write: “This photo was taken approximately 3 to 4 days after the incident, during the initial cleanup phase.” Do not guess a specific date if you are not sure.
📱 Should I take screenshots of my photos to hide the late date?
No. Stripping the metadata by taking a screenshot looks incredibly suspicious to a desk adjuster. Submit the original file and simply provide written context for the timeline.
🧾 What if I don’t have a photo at all, but I have a receipt for the item?
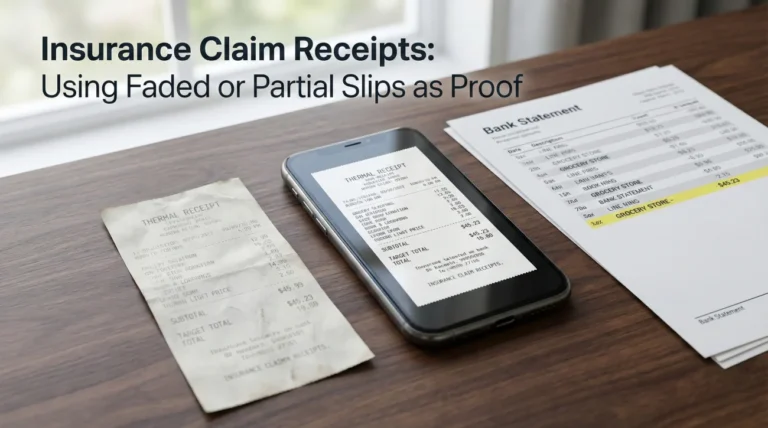
If the physical item is gone and you have no photos, you must map the item to other proof. Use receipts, credit card statements, or even older family photos that happen to show the item in the background.
🤷 How do I submit photos of damage that was hidden behind drywall?
Wait until the mitigation crew or contractor opens the wall, take the photo, and submit it as a supplemental image, clearly noting that the damage was concealed during the initial inspection.
🛠️ Do I need my contractor to take the late photos for me?
While contractors often take their own photos, you should always take your own set of backup photos. You want to maintain personal control over your evidence file.
📝 Should I write my context note directly on the printed photo?
It is better to keep the digital photo clean. Put your context note in the body of the email, the portal message, or on a separate document index sheet that references the photo’s file name.
🔄 Can I submit late photos even after the field adjuster has already visited?
Absolutely. The claim is not locked just because the field adjuster left. You can, and should, submit supplemental evidence if new damage is discovered during the mitigation or repair process.
⚠️ Disclaimer: PropertyClaimChecklist.com provides practical guidance, process checklists, and example follow-ups to help you organize a property claim and move it forward. It is not policy language, claim documentation, legal content, or a substitute for your insurer's instructions. Always rely on your carrier's requirements and your actual policy terms for what must be submitted and how decisions are made.