- Portal glitches are a common operational reality; do not assume malice if your uploaded files disappear.
- Avoid deleting your original photos after hitting submit. Always maintain a local master folder of your evidence.
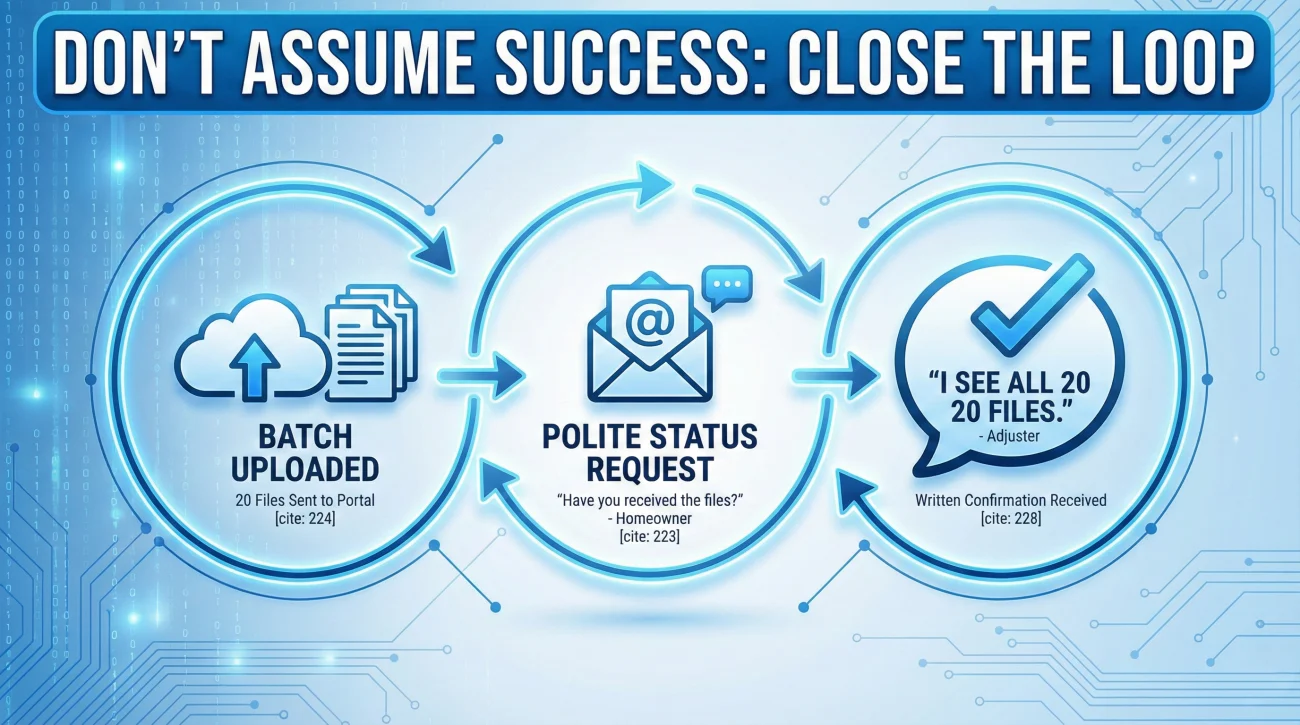
- When re-uploading, break your files into smaller batches and request a written confirmation of receipt from your reviewer.
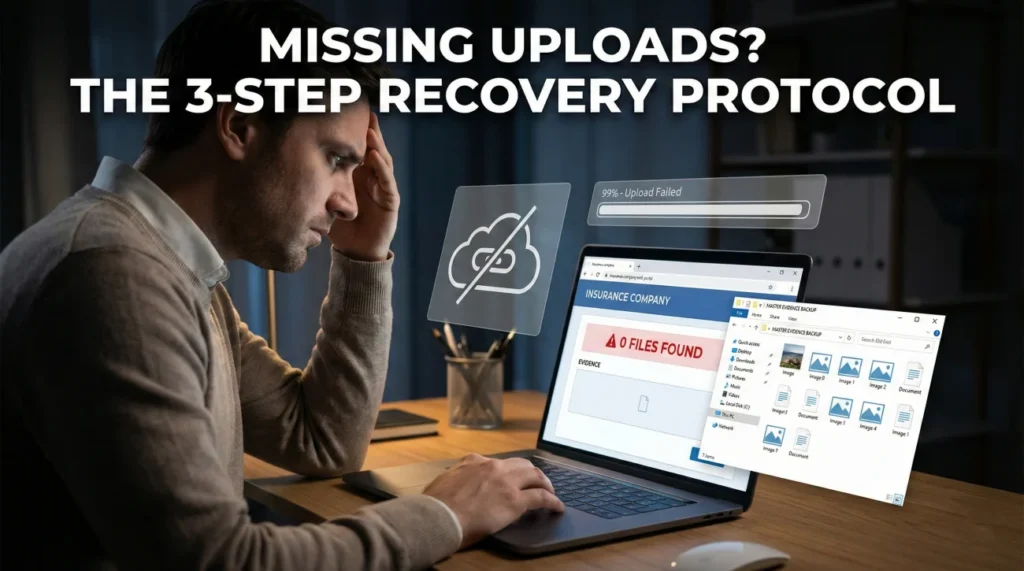
The Panic of the Empty Portal
You spent hours sorting through your damage photos. You logged into the system, attached the files, watched the progress bar hit one hundred percent, and saw a confirmation screen. You breathed a sigh of relief, thinking the documentation phase was finally moving forward. Then, two weeks later, you receive a message stating that they cannot process your file because there is no visual proof of the damage.
When dealing with an uploaded photos missing insurance claim situation, the immediate reaction is usually panic, followed closely by intense frustration. It feels like your effort was erased, and worse, it feels like the timeline is resetting to zero.
In my time working in claims operations, I have seen this exact scenario play out more times than I can count. I want to reassure you: this is commonly a system communication failure, not a deliberate attempt to hide your evidence. Large files, session timeouts, and portal maintenance periods often cause data drops. The goal right now is not to figure out why the software failed, but to stabilize your documentation and get the evidence back in front of the reviewer without losing your momentum.
I am going to walk you through a calm, structured recovery process. We will verify your local backups, safely re-transmit the data, and build a tracking loop so that if the system drops a file again, you catch it immediately.
Why Portal Uploads Disappear
To fix the problem, it helps to understand what usually happens behind the screen. Most property owners assume that once a file leaves their computer, it instantly lands on the desk of the person reviewing their file. The operational reality is much clunkier. Your files often travel through a third-party server, get compressed, run through a virus scan, and are eventually assigned to a specific digital folder.
If any of those automated steps time out, the file drops. The system might show you a “success” message because the upload from your browser finished, even if the internal routing failed an hour later. Keep in mind that portal rules, hidden file size caps, and accepted formats vary significantly between different carriers and vendors.
Key Point: A missing upload is an IT issue, but it becomes a timeline issue if you do not have a system to catch it and recover quickly.
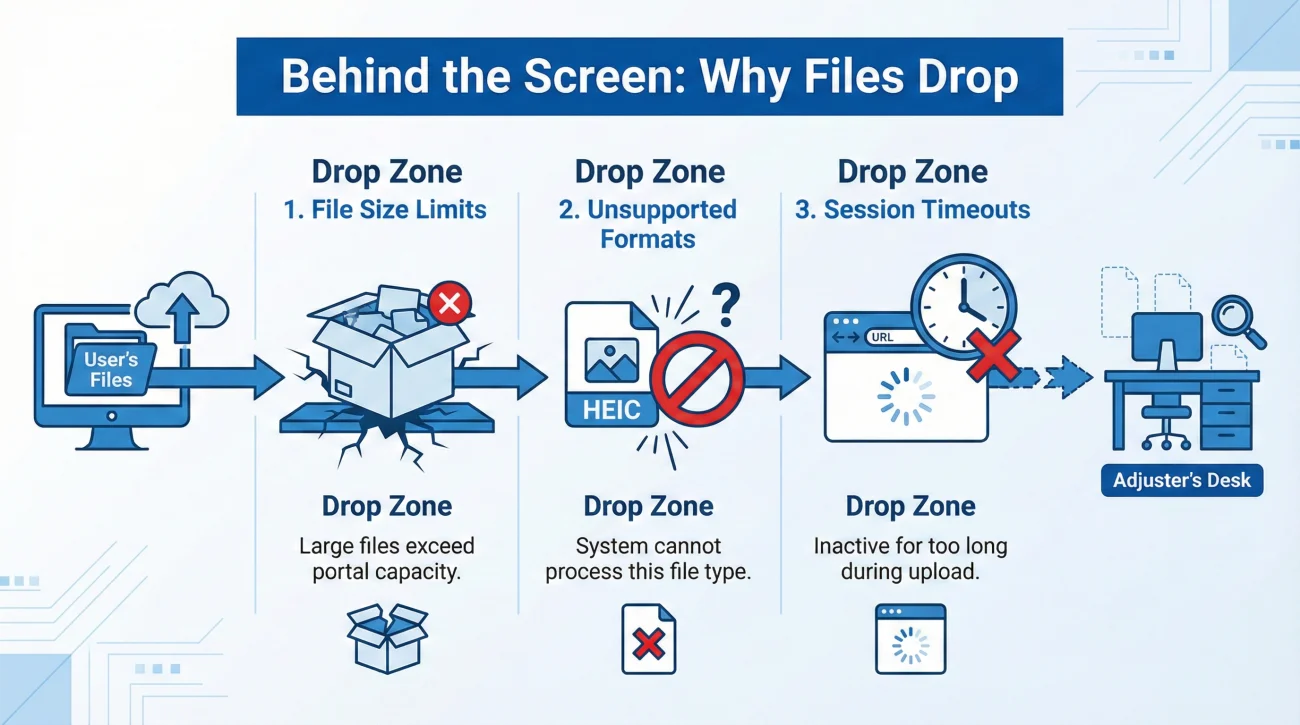
Here are the common reasons files fail to appear on the other side:
- 🛑 File Size Limits: You tried to upload forty high-resolution images at once, exceeding a hidden megabyte cap for a single session.
- 🛑 Unsupported Formats: You uploaded HEIC files from an iPhone. While some portals auto-convert these, many do not, leading to silent failures when the system expects standard JPGs or PNGs.
- 🛑 Session Timeouts: You left the browser window open too long while naming files, and the security token expired before you hit submit.
Field Note: The Partial Upload
The most confusing pattern I see is the “silent drop.” A homeowner will upload fifty images of a flooded basement. The portal struggles with the load, drops forty-five of them, and only saves the first five pictures of the staircase. The reviewer opens the file, sees only stairs, and logically concludes the documentation is incomplete. They are not ignoring your basement photos; they literally cannot see them.
Securing Your Local Master File
Before you log back into any portal or send any messages, a reliable approach is to secure your own foundation first. One of the biggest mistakes you can make when an uploaded photos missing insurance claim issue arises is realizing you deleted the photos from your phone to free up space after the first upload.
⚠️ Warning: Avoid treating a web portal as your primary storage drive. A portal is a delivery mechanism, not an archive. Your local hard drive or personal cloud should act as the single source of truth.
If you have not done so already, create a dedicated folder on your computer. Move all your original damage photos there. Do not alter the original files. If you need to resize or rename them for the portal, make copies and put them in a sub-folder labeled “Portal Upload Batch.”
This simple habit removes the panic. If a system loses your files, you do not have to dig through your phone’s camera roll or wonder if you captured a specific angle. You just open your master folder and initiate a new transfer.
The Re-Upload Strategy (Batching)
If the portal failed once when you tried to push a massive amount of data through it, trying the exact same method again will likely result in another failure. You need to change your delivery approach.
In day-to-day claims ops, the fastest wins usually come from breaking complex tasks into small, highly organized steps. When dealing with digital evidence, this means batching.
How to Batch Your Evidence
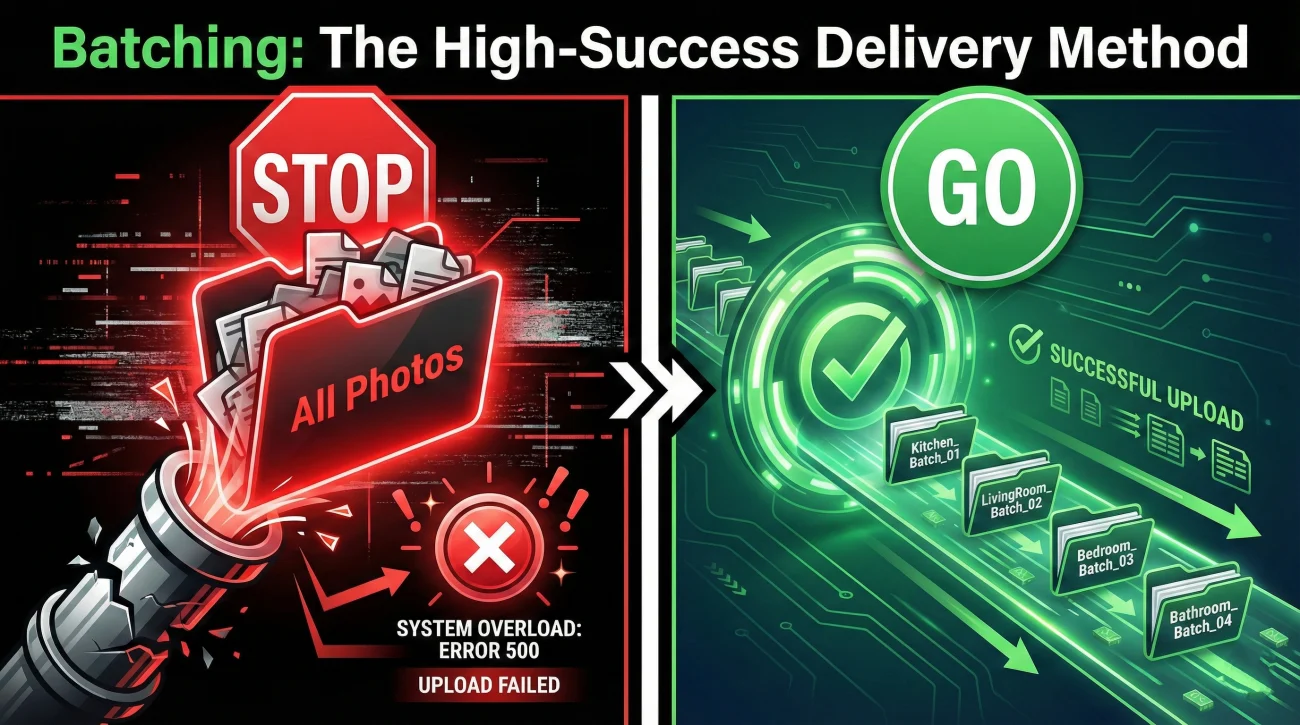
Instead of dragging and dropping a massive folder of photos, divide them by room or damage type. Create small batches and adjust the volume based on the portal’s limits. This keeps the total file size low and helps prevent the portal from timing out.
| Standard Upload Method (High Failure Rate) | Batched Upload Method (High Success Rate) |
|---|---|
| Selecting dozens of files at once. | Selecting a small batch related to the “Kitchen”. |
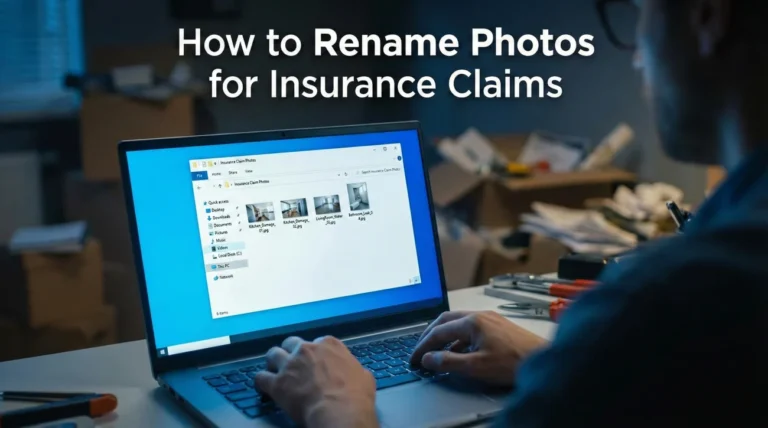
| Relying on default filenames (IMG_4920.jpg). | Using descriptive filenames (Kitchen_Ceiling_01.jpg). |
| Assuming all files attached successfully. | Checking the portal’s “uploaded documents” list after each small batch. |
By batching, if an error does occur, you only lose a few minutes of work rather than an entire afternoon. You also make it much easier for the person on the other end to review the file. A folder labeled “Kitchen Damage Batch 1” tells them exactly what they are looking at before they even open the images.
Managing the Communication Loop
Once you have re-uploaded your files using the batch method, you cannot simply log off. In claims operations, leaving things to chance often leads to delays. A highly reliable practice is to close the loop by requesting confirmation that the files are visible on their end.
This is where communication hygiene becomes critical. You do not want to send an angry message accusing the system of deleting your files. That puts the reviewer on the defensive and does not solve the technical issue. Instead, you want to send a polite, neutral request for a status check.
Hello [Name],
I am writing to confirm that the photo evidence I submitted through the portal is visible on your end. I recently noticed that some previous files did not seem to transmit completely through the system.
Today, I uploaded [Number] photos broken down into [Number] batches. These cover the [Room/Area] damage.
Could you please take a quick look when you have a moment and reply to confirm you can view all [Number] files? I want to ensure you have everything required to review the file without delays.
Thank you,
[Your Name]
This script works because it is entirely process-focused. It identifies a potential technical hurdle without assigning blame, states exactly what was sent, and ends with a clear request for written confirmation.
What Counts as Confirmation?
Not all confirmations are created equal. A verbal “yeah, we got them” over the phone leaves no audit trail. You are looking for one of three things to consider the loop truly closed:
- ✅ A direct reply email stating “I can see the 20 photos.”
- ✅ A message back through the portal’s internal messaging system confirming receipt.
- ✅ A portal screen showing your uploaded document list with timestamps (which you can screenshot and save).
Real-World Scenario: Catching the Gap
To understand how this looks in practice, let us look at a mini-scenario demonstrating what good process looks like when technology fails.
Consider a situation where a property owner is documenting extensive water damage to their living room hardwood floors. They take great photos, organize them, and upload them on a Tuesday. They log the upload in their notes. Two weeks later, they receive a generic status update stating that the review is pending “evidence of flooring damage.”
The owner gets frustrated, calls the main hotline, waits on hold for forty minutes, and yells at a representative that the photos were sent weeks ago. The representative checks the file, says the photos are not there, and tells them to upload them again. The owner loses a day of momentum and creates an adversarial tone.
The owner checks their own log, confirms they sent twenty files on Tuesday. They do not argue with the system. They open their local master folder, create two small batches of photos, and upload them again. They immediately send a short message via the portal or email: “I received the notice regarding missing flooring photos. It appears the system may not have captured my upload from [Date]. I have just re-uploaded 20 images in two batches. Please confirm receipt so we can keep the review moving.”
The second approach is how you maintain control. You acknowledge the operational gap, you fill it immediately from your backups, and you establish a written trail showing that you are actively managing the documentation.
Alternative Delivery Methods
In some cases, a portal may be undergoing maintenance or suffering from a persistent bug that rejects your files no matter how small you make the batches. If you have tried the batching strategy and the files are still disappearing, you may need to pivot.
💡 Pro Tip: Do not spend hours fighting broken software. If it fails repeatedly, politely ask for a different door.
Portal vs. Email vs. File-Share Links
When asking for an alternative, it helps to know the pros and cons of each method:
- 📄 The Portal: The preferred method because it automatically tags files to your claim number, but it is prone to timeouts.
- 📄 Direct Email: Great for creating a written audit trail, but highly risky for large photos. Corporate email firewalls often strip out massive attachments silently, leaving you in the exact same position.
- 📄 File-Share Links (Dropbox, Google Drive): Excellent for high-resolution videos and large folders, but many corporate security policies block adjusters from clicking external links.
Because of these limitations, do not simply email a massive zip file or a cloud link to a general contact address without asking first. Use this formula to pivot safely:
[Note the portal failure] + [Ask for alternative method] + [Confirm file size limits for email]
Logging Your Transmissions
The final layer of defense against missing files is a simple tracking habit. I often see people rely entirely on their memory to track what they sent and when. Under the stress of managing property damage, memory is unreliable.
You need a basic evidence timeline log. This does not require complex software. A simple notepad or a basic spreadsheet works perfectly. Every time you submit a batch of photos or documents, write down:
- 📄 The date of transmission.
- 📄 A brief description of what was sent (e.g., “Kitchen drywall batch 1”).
- 🖼️ Save a screenshot of the upload confirmation page when available, as it serves as a helpful conceptual timestamp.
- ✅ The date you received written confirmation that the files were visible.
If the confirmation date remains blank for more than a few days, that is your trigger to send a polite follow-up. If someone later claims a document is missing, you can look at your log and say, “I transmitted that batch on the 14th and received confirmation on the 16th. Let me know if you need me to push it through the system again.”
Final
Dealing with an uploaded photos missing insurance claim scenario is undeniably frustrating, but it is a highly solvable administrative hurdle. It only becomes a major roadblock if you allow the system failure to dictate your timeline.
By maintaining a local master file and following a simple routine to batch, confirm, and log your evidence, you strip away the uncertainty. You stop wondering if your evidence is floating in a digital void and start managing the process with clarity. Remember, the goal is not perfect software; the goal is ensuring the person reviewing your file has the exact visual proof they need to move things forward. Stay calm, check your backups, and maintain your communication hygiene.
❓ FAQ
📸 Why can’t I see the photos I uploaded to my claim portal?
This is commonly caused by a system timeout, unsupported file formats, or exceeding a hidden file size limit during your session. The system may drop the files internally even if it looked like the upload finished.
⏱️ Will missing portal uploads delay my claim process?
Yes, if the reviewer cannot see the visual evidence, they cannot proceed with that portion of the review. Catching the missing files early and re-uploading them prevents long delays.
🔄 Do I have to re-upload my claim evidence if the system loses it?
In most cases, yes. If the files did not save to the server, they cannot be recovered by the IT department. Re-uploading in smaller batches is usually the fastest way to fix the issue.
🗑️ Can an adjuster delete my photos from the portal?
Generally, reviewers do not have the ability or reason to delete your files. If files disappear, it is almost always an automated system error or a storage glitch, not human interference.
📦 How many photos should I upload at once?
To avoid timeouts, keep your batches small. Uploading a small group of photos related to one room at a time is much safer than trying to force dozens of high-resolution images through the system at once.
📧 Should I email my claim photos instead of using the portal?
Only if you ask for and receive permission in writing. Large photo attachments often get blocked by corporate email security filters, which can create the exact same “missing file” problem.
💾 What happens to original photos if the portal crashes?
A portal crash does not affect the files on your phone or computer. This is why it is vital to always save a local master copy of your evidence and avoid deleting photos after uploading them.
🗣️ How do I ask if they got my upload?
Send a short, polite message stating exactly what you sent (e.g., “I uploaded 20 photos in two batches today”) and ask them to reply to confirm the files are visible on their screen.
🧾 How do I prove I sent my claim photos?
The best proof is the written reply from the reviewer confirming they can see the files, or a screenshot of the portal showing the uploaded timestamps. Always ask for confirmation and keep a log.
📵 What if the portal won’t accept photos from my phone?
Many portals struggle with HEIC formats used by modern smartphones. Try saving or converting the images to standard JPG or PNG formats on your computer before uploading them.
⚠️ Disclaimer: PropertyClaimChecklist.com provides practical guidance, process checklists, and example follow-ups to help you organize a property claim and move it forward. It is not policy language, claim documentation, legal content, or a substitute for your insurer's instructions. Always rely on your carrier's requirements and your actual policy terms for what must be submitted and how decisions are made.