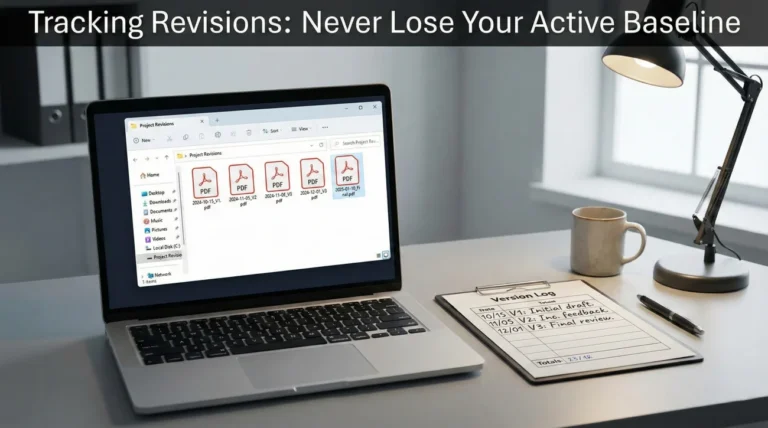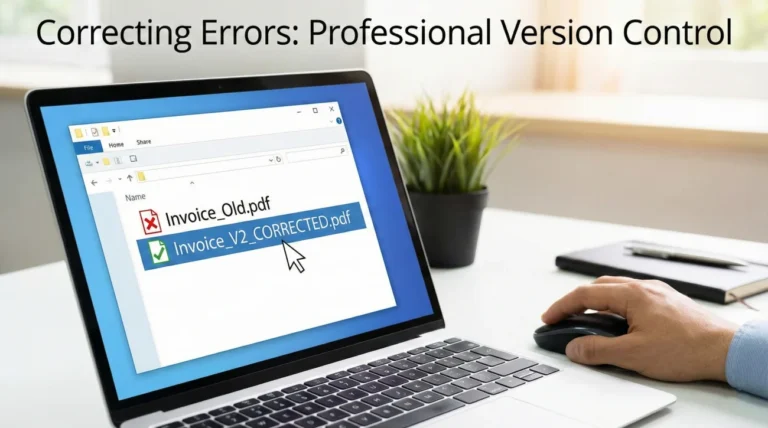
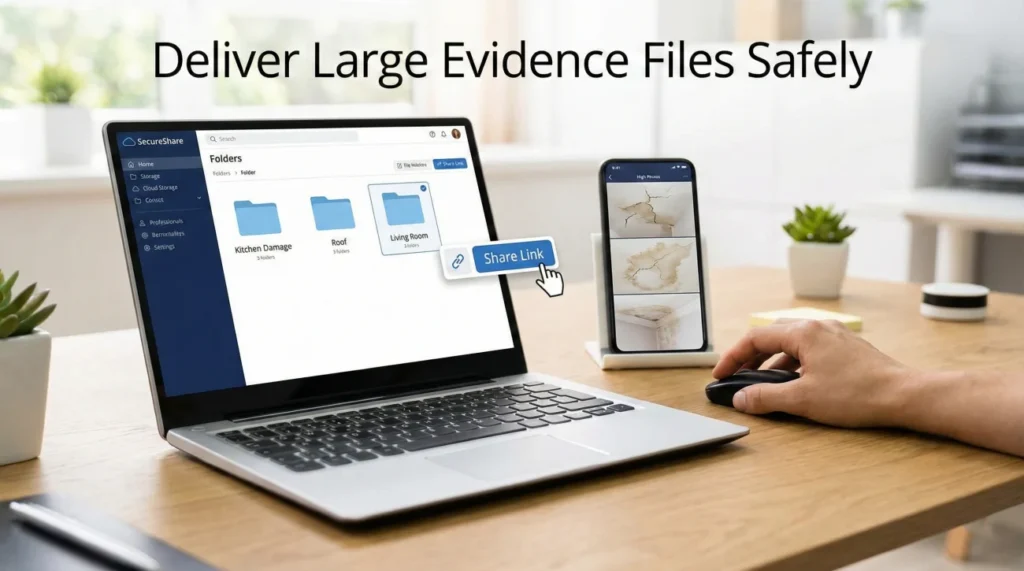
- Never alter originals: Shrinking photos to fit an email can strip critical metadata like timestamps and, in many cases, location data.
- Use the “Copy Workflow”: Always create a separate folder for delivery, keeping your original master files completely isolated and safe.
- Avoid email fragmentation: Sending 20 separate emails creates confusion and missing files. Consolidate your delivery.
- Confirm receipt: No matter how you send large files, always get written confirmation that the adjuster can open and view the contents.
The Silent Roadblock of High-Resolution Evidence
In my experience handling claim operations and documentation workflows, one of the most stressful moments for a policyholder happens right after they have done everything correctly. You have taken hundreds of clear, high-resolution damage photos. You have organized them. You hit send on your email to the adjuster, and five minutes later, you get an automated bounce-back message saying your email was rejected because the files are too large.
When you encounter the issue of photos too large to send insurance claim reviewers, the instinct is often to panic. I see people immediately open their photos, take screenshots of them to make the file sizes smaller, and try sending them again. While this might get the email through, it creates a massive structural problem for your claim.
Taking screenshots or using basic compression apps strips the metadata from your evidence. That metadata contains the exact time, date, and sometimes the GPS location of when the damage was recorded. Without it, you lose a layer of undeniable proof. My goal here is to share a calm, practical system for delivering massive evidence files smoothly, ensuring the reviewer gets exactly what they need without you sacrificing the integrity of your hard work.
Key Point: The goal is not just to force files through an email server. The goal is to deliver clean, readable evidence that retains all original data so the reviewer can process it without friction.
Protecting the Core Evidence: Original Files vs. Delivery Copies
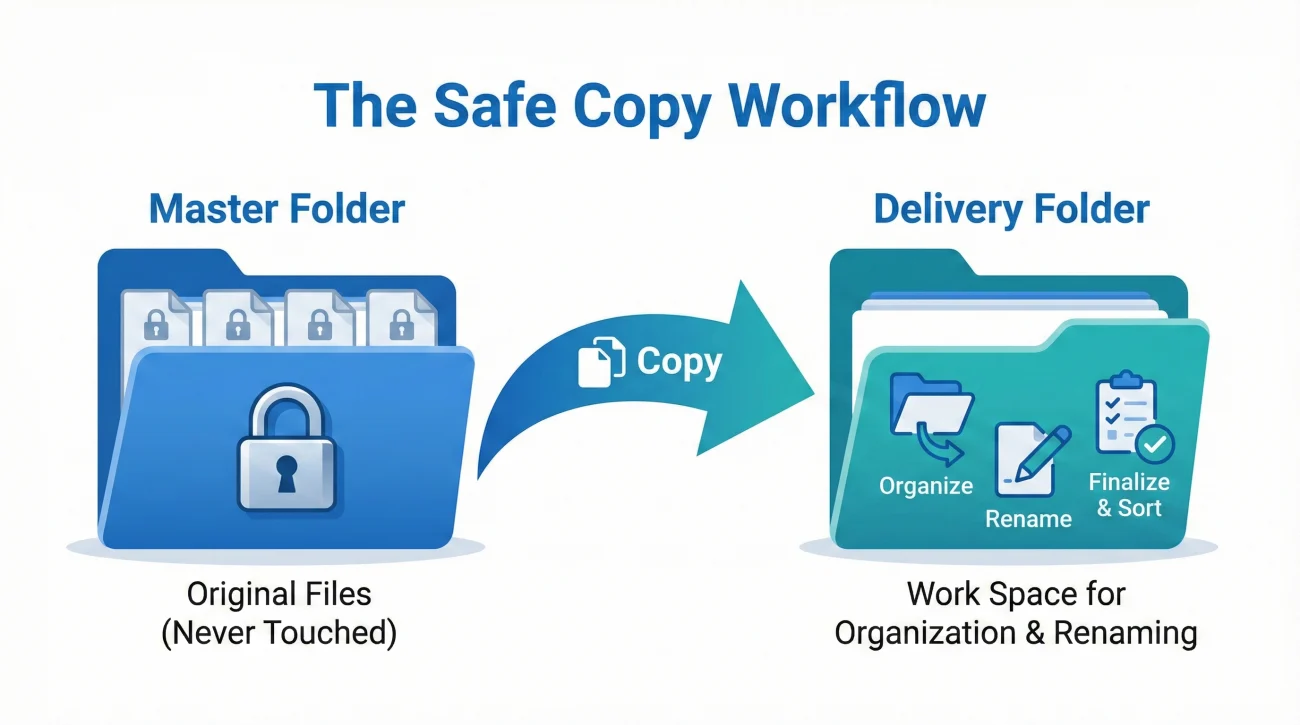
Before we look at how to send the files, we need to talk about file hygiene. When you are dealing with hundreds of megabytes or even gigabytes of photos and videos, one wrong click can accidentally resize or overwrite your only proof.
In day-to-day operations, the fastest wins usually come from strict folder separation. I always recommend building a “master” folder and a “delivery” folder. You never touch the master files once they are saved.
The Safe Copy Workflow
To safely manage your evidence, a common safe pattern many people use on their computer or cloud drive looks like this:
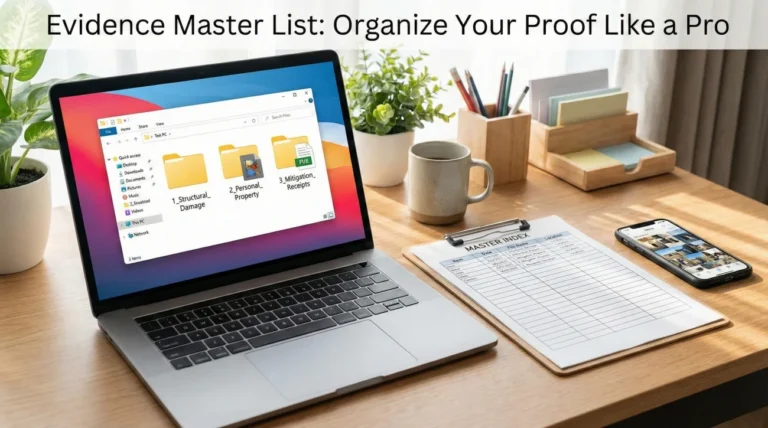
- 📁 Step 1: Create a main folder named “Claim_Master_Do_Not_Edit”. Move every original photo and video directly from your phone or camera into this folder.
- 📁 Step 2: Check the properties of a few photos to ensure the “Date Taken” field is still accurate.
- 📁 Step 3: Create a second folder on your desktop named “Claim_Delivery_Copy”.
- 📁 Step 4: Copy (do not cut or move) the items from the master folder into the delivery folder.
- ✅ Step 5: You now do all your organizing, renaming, and packaging inside the delivery folder. The master folder stays locked away as your backup.
⚠️ Warning: If a specific app or portal forces you to reduce file sizes, only compress the images inside your “Claim_Delivery_Copy” folder. If questions arise later about photo dates or authenticity, you can always point back to your unedited master files.
Safe Pathways for Massive Evidence Files
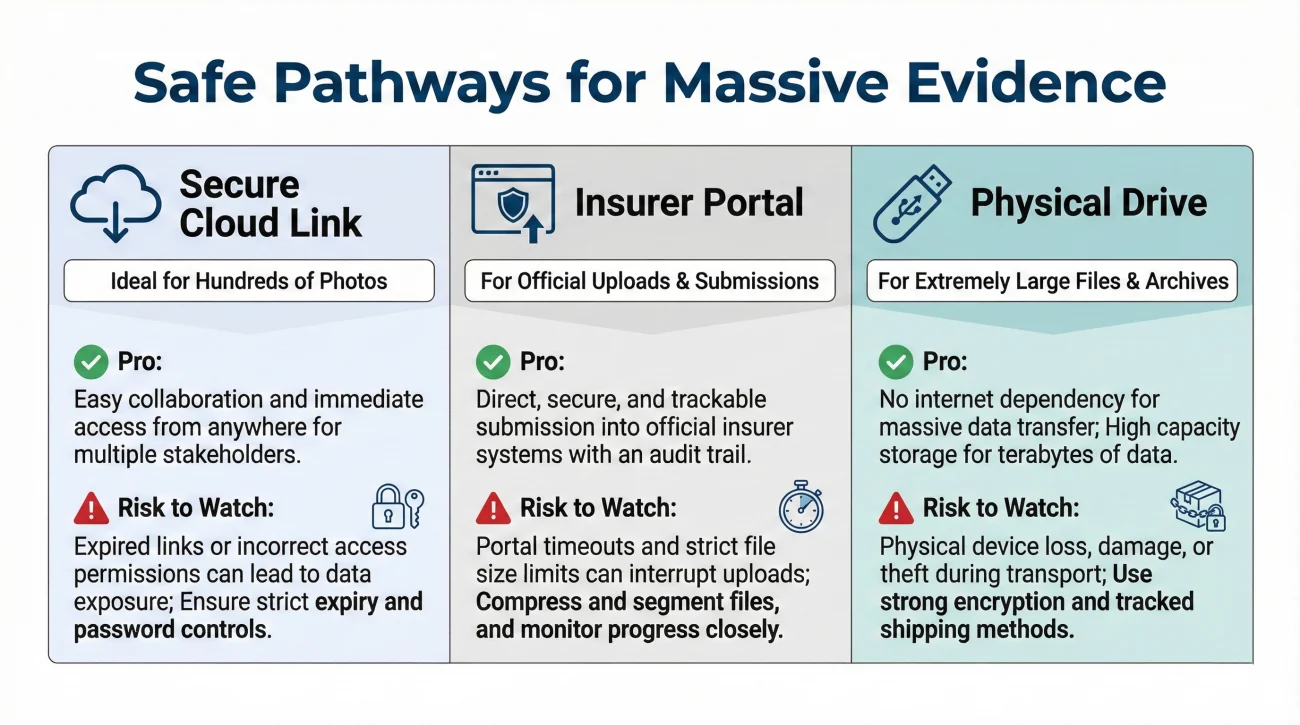
Standard email accounts usually cap attachments at 20 or 25 megabytes. A single high-resolution photo from a modern smartphone can easily be 5 to 10 megabytes. This means you can often only attach three or four photos per email. If you have 150 photos of room-by-room damage, email is simply the wrong tool for the job.
Let us look at the practical ways to bypass this limit while maintaining a highly professional presentation. By organizing your files cleanly, you are actively building a complete property claim evidence pack that reviewers can actually use.
| Delivery Method | When to Use It | What Usually Goes Wrong |
|---|---|---|
| Secure Cloud Storage Link | The best option for hundreds of photos or any video files. | Forgetting to set the link permissions to “Anyone with the link can view,” resulting in access denied errors. |
| Insurer Upload Portal | When explicitly required by the adjuster’s written instructions. | Portals often time out during large uploads, leaving you unsure if the files actually went through. |
| Physical Drive (USB/Flash) | Extremely large files, poor internet connections, or specific formal requests. | Sending a drive without keeping a complete mirror copy at home, or the drive gets lost in the mailroom. |
I frequently see people try to circumvent these options by sending thirty separate emails, labeling them “Photos Part 1”, “Photos Part 2”, and so on. In a busy claims office, receiving thirty emails for one file guarantees that something will be overlooked or misfiled. You want your evidence to arrive as one clean, consolidated package.
Provider-Neutral Safety Check for Cloud Links
If you choose to use a cloud link, there are four common risks that prevent adjusters from viewing your files. Before sending any link, run through this quick scan:
- Permissions: Is the link set so that anyone with the URL can view it?
- Expiration: Does the link automatically expire after 7 days? Adjusters often need access for months.
- Login barriers: Does clicking the link force the reviewer to create a new account?
- Blocked domains: Is the specific cloud service known to be blocked by corporate firewalls?
Preparing Your Folder Structure Before Sending
When you solve the file size problem using a secure cloud link or a zipped folder, you create a new challenge for the reviewer: navigation. Dropping 200 unlabelled photos named “IMG_4921.jpg” into a folder is overwhelming. The reviewer has to guess what they are looking at, which slows down the process.
Before you generate a link or zip your files, structure your delivery folder logically.
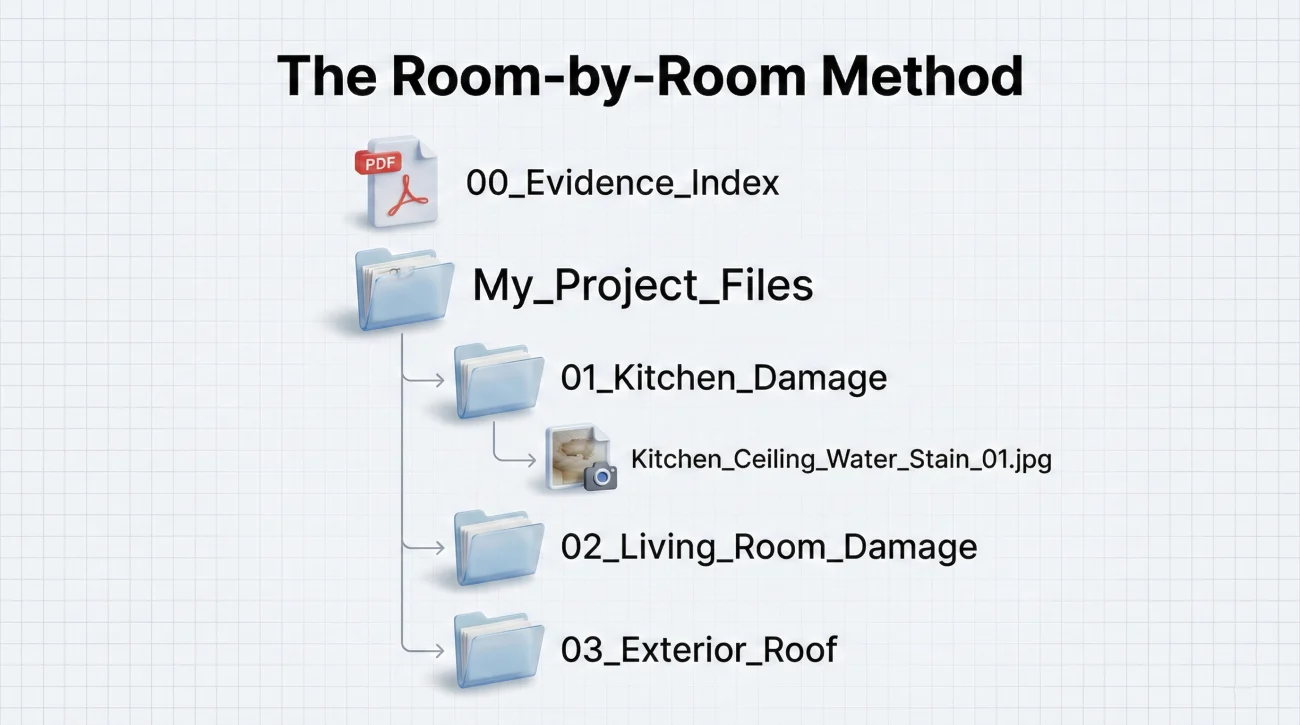
The Room-by-Room Method
Create sub-folders inside your delivery folder. Name them clearly by room or area. For example:
- 01_Kitchen_Damage
- 02_Living_Room_Damage
- 03_Exterior_Roof
- 04_Temporary_Repairs_Receipts
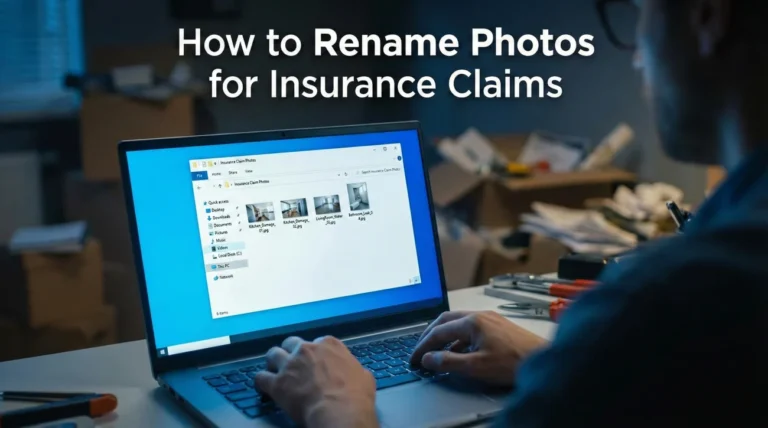
Inside each folder, place the relevant photos. This takes a little extra time on a Sunday afternoon, but it eliminates back-and-forth questions later. If you are uploading to a portal that does not allow sub-folders, you will need to rely heavily on clear file naming (such as “Kitchen_Ceiling_Water_Stain_01.jpg”).
What Reviewers Need in the First 60 Seconds
To understand why this structure matters, consider what a claims reviewer needs in the first 60 seconds of opening your file. They are not looking closely at individual damage photos yet. They are checking a few basic things to orient themselves:
- Does the link actually open?
- Does the total file count match what was stated in the email?
- Are the folder names clear and logical?
- Is there an index document to guide them?
If those elements are present, the cognitive load drops immediately, and they can begin reviewing your evidence without friction.
💡 Pro Tip: Always include a simple text document or PDF in the main folder called “00_Evidence_Index”. This acts as a table of contents, briefly listing what is in each folder. It proves you are organized and sets a professional tone immediately.
The Portal Problem: Navigating Strict Upload Limits
In many cases, an adjuster will send you a link to a proprietary system or portal to upload your photos. These portals are notorious for crashing, timing out, or arbitrarily rejecting files that exceed invisible size limits.
Here is a field note from real operational patterns: Portals frequently compress your photos automatically upon upload. Sometimes, they fail halfway through a batch of 50 photos, and the system does not tell you which ones succeeded and which ones failed. Additionally, if a reviewer needs to zoom in to see a watermark or a specific cracked tile on a portal-compressed image, the photo often becomes a blurry mess. This is exactly why keeping your original, unedited files safely stored on your own device is so crucial.
When forced to use a portal for large files, a defensive routine many people adopt looks like this:
- Uploading in small batches: Instead of dragging and dropping 100 photos at once, try uploading them room by room.
- Keeping a manual log: Check off which rooms have been successfully uploaded to track your progress.
- Taking a screenshot of success: When the portal says “Upload Complete,” taking a screenshot of that confirmation page provides a helpful record for your claim log.
- Following up in writing: Because you cannot always trust automated systems to notify the adjuster, sending an email confirming you have completed the upload is a safe practice.
Communication Hygiene: Scripts for Large Deliveries
How you communicate the delivery is just as important as the delivery itself. When you share a large file link or complete a portal upload, you must create a paper trail. Silence is the enemy of a moving claim.
Let us look at a common scenario. A homeowner sets up a secure cloud folder, drops 80 high-resolution photos in it, and emails the link to the adjuster. A week goes by with no response. When they finally connect, the adjuster says, “I am blocked from accessing cloud links on my company network.” A full week was lost because the delivery method was not confirmed.
When this happens, the next process step is simple: reply and politely ask them to provide their company’s approved alternative delivery method, such as a designated secure upload portal or a physical drive.
Here are copy-paste safe scripts to handle these handoffs professionally. They are polite, neutral, and focused purely on process.
Script 1: Sending a Secure Cloud Link
Hello [Adjuster Name],
The damage photos for this claim exceed standard email size limits. To ensure you receive the high-resolution files with original timestamps intact, I have organized them into a secure folder.
You can access and download the complete evidence package here: [Insert Link]
Please reply to confirm that you are able to open this link and download the files successfully, or let me know if your system requires a different delivery method.
Thank you,
[Your Name]
Script 2: Confirming a Portal Upload
Hello [Adjuster Name],
I am writing to confirm that I have uploaded [Number] photos to the claim portal as requested. Because the system timed out a few times during the process, I want to ensure everything transmitted correctly.
Could you please review the file count on your end and confirm in writing that you have received all [Number] files?
Thank you,
[Your Name]
Common Mistakes When Photos Are Too Large to Send
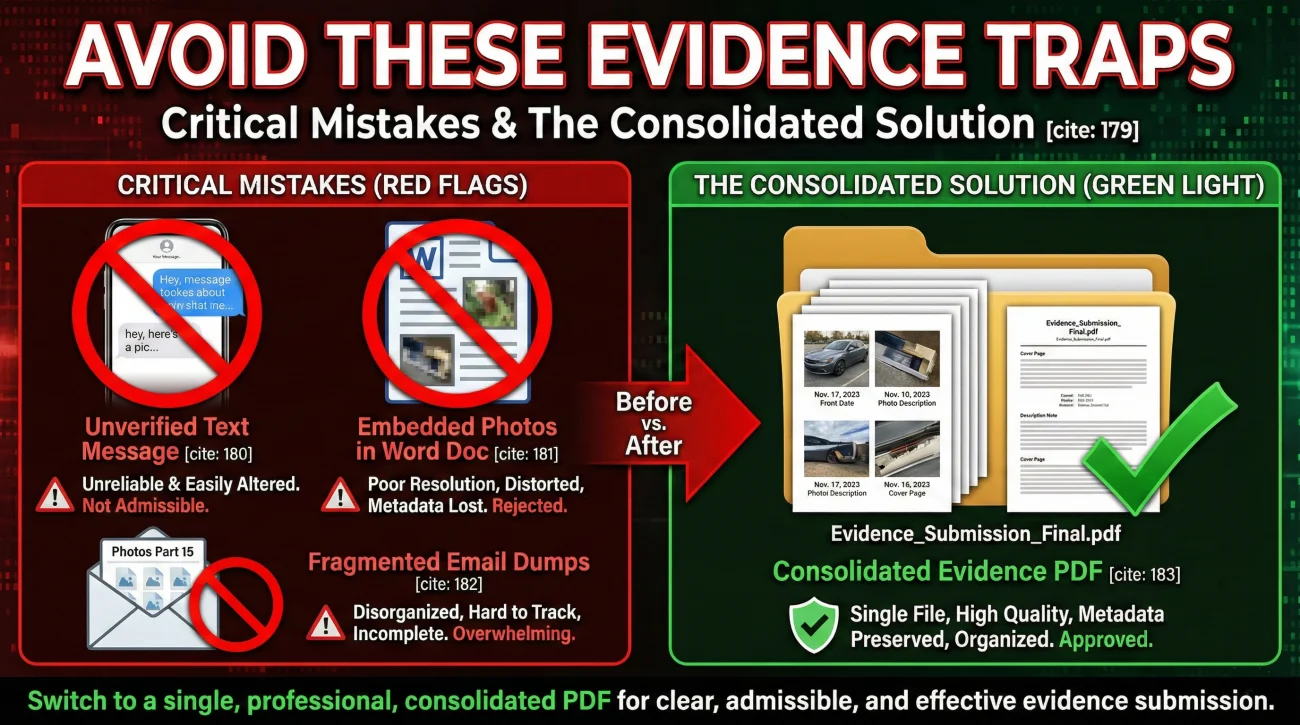
When trying to navigate digital roadblocks, people often make well-intentioned mistakes that cause severe delays later. Avoid these common traps:
Mistake 1: Sending files via text message to an adjuster’s cell phone.
Cellular networks heavily compress images. Furthermore, text messages are terrible for formal record-keeping. The images often get orphaned on a mobile device and never make it into your official, permanent claim file.
Mistake 2: Embedding photos into a Word document.
I see this frequently. People paste 50 photos into a single document to create a “report.” While it looks neat, Word compresses the images drastically. If a reviewer needs to zoom in to see a watermark or a specific cracked tile, the image will be a blurry mess, and the original metadata is entirely gone.
Mistake 3: Assuming receipt without confirmation.
Never assume that just because an email didn’t bounce, the adjuster actually saw it. Large attachments often trigger corporate spam filters. Always ask for written confirmation.
Your Final Pre-Send Checklist
Before you finalize your delivery (whether by link, portal, or physical drive), run through this quick verification process. This ensures that when the reviewer opens your file, they have a frictionless experience.
- Have I confirmed my original files are safely backed up in a separate folder?
- Are the delivery files organized by room or category, rather than one massive unorganized dump?
- If using a link, did I test the link in an “Incognito” or “Private” browser window to ensure it doesn’t require my personal login to view?
- Does my cover email clearly state the total number of files included, so the adjuster knows if something is missing?
- Did I explicitly ask for an email replying “received and accessible”?
By treating the delivery of your evidence with the same care as capturing the photos themselves, you prevent the frustrating cycle of lost files, endless resubmissions, and unexplained timeline delays.
❓ FAQ
📱 How do I send claim photos from my iPhone if they are too big?
Instead of emailing directly from your photo app, save the photos to your phone’s native file system or a cloud app. Then, generate a secure sharing link and email that link to your adjuster, keeping the high quality intact.
📧 What is the standard email size limit for insurance companies?
Most corporate email servers reject incoming emails that exceed 20 to 25 megabytes in total size. This usually limits you to just a few high-resolution images per email.
🗜️ Does zipping a folder ruin the photo quality?
No. Compressing files into a standard ZIP folder does not reduce the image quality or alter the metadata. It simply packages them securely for easier transfer.
☁️ Are cloud storage links acceptable for insurance claims?
In many cases, yes, they are highly preferred for large files. However, some corporate networks have firewalls blocking certain cloud providers. Always ask the adjuster to confirm they can open your specific link.
📸 Will sending photos via text message reduce the quality?
Yes. Text messaging automatically compresses images to save bandwidth, which ruins the resolution and often strips essential metadata like the time and date.
🖥️ What if the insurer’s online portal keeps timing out?
If the portal fails repeatedly, pause and document the failure, then ask for an alternative. Send an email to the adjuster noting the technical issue and offer to provide a secure download link instead.
⏱️ Do I lose metadata if I resize my pictures?
Often, yes. Taking screenshots or using simple resizing apps to shrink the file size will usually delete the original timestamp and location data attached to the file.
📁 Should I put my evidence in a Word document instead?
No. Placing photos into a Word or PDF document drastically compresses them, making it impossible for a reviewer to zoom in and see fine details without blurring.
🛑 What happens if my evidence email bounces back?
It means none of your files were delivered. You need to consolidate your files into a secure folder, upload them to a file-sharing service, and email the access link instead of attachments.
✉️ How do I know if the adjuster actually received my large files?
You only know if they tell you. Always end your delivery email by specifically requesting that they reply and confirm they have successfully accessed and downloaded the files.
⚠️ Disclaimer: PropertyClaimChecklist.com provides practical guidance, process checklists, and example follow-ups to help you organize a property claim and move it forward. It is not policy language, claim documentation, legal content, or a substitute for your insurer's instructions. Always rely on your carrier's requirements and your actual policy terms for what must be submitted and how decisions are made.