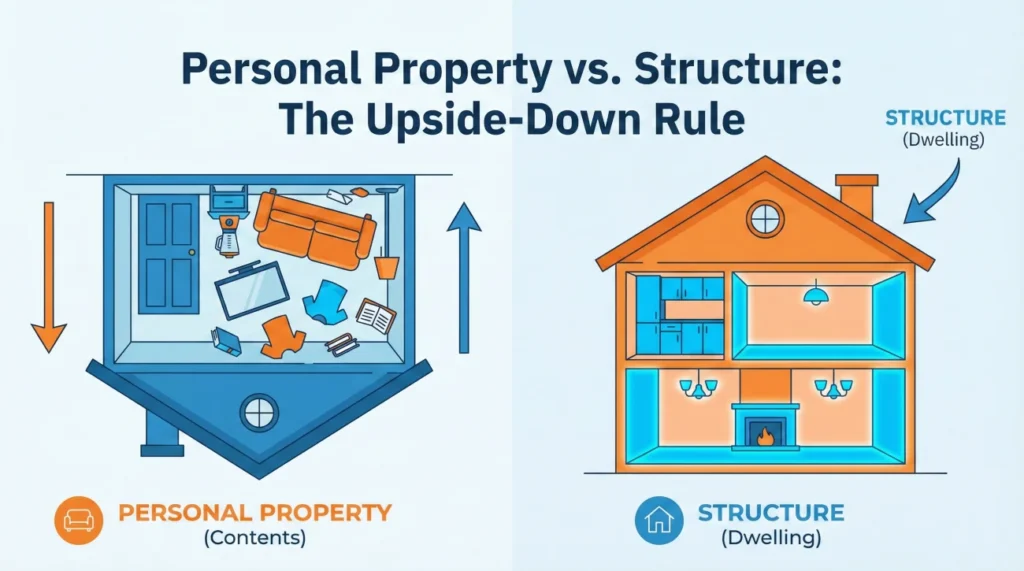
- The Core Distinction: If you could theoretically turn your house upside down and shake it, whatever falls out is your personal property (contents). Whatever stays attached is your structure (dwelling).
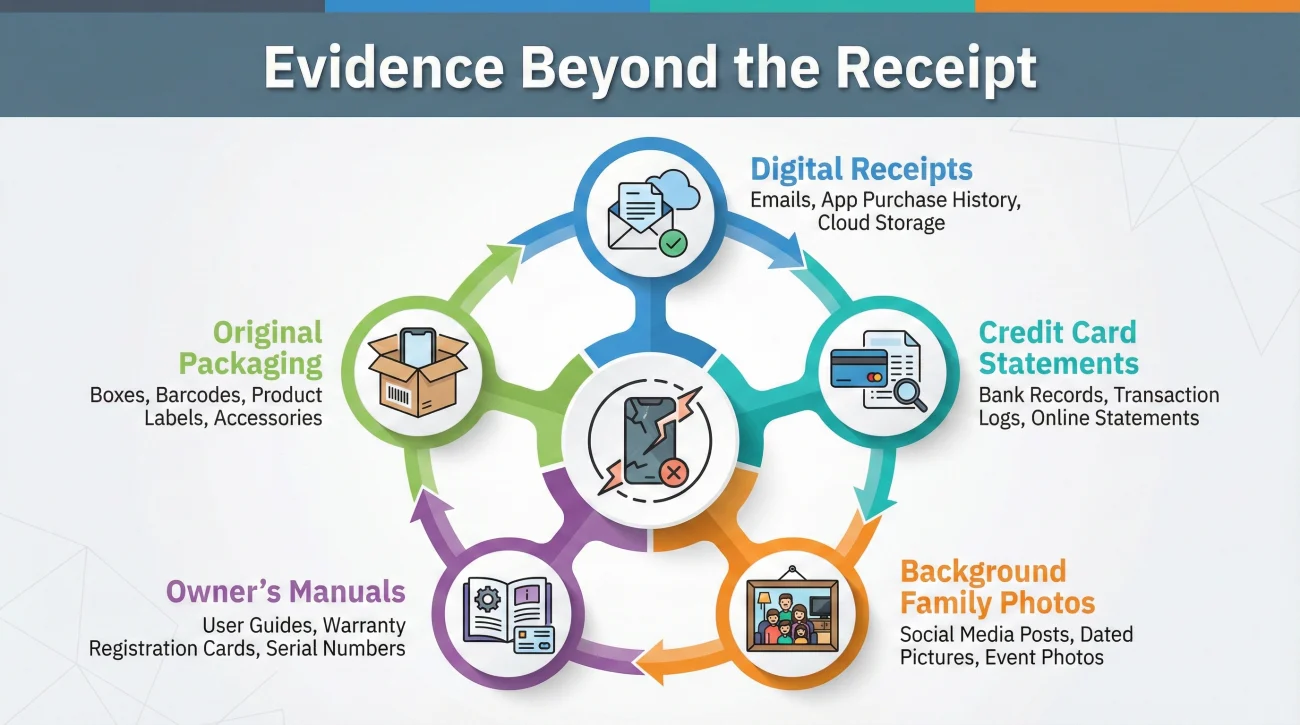
- Evidence is More Than Receipts: Personal property evidence for an insurance claim includes photos, owner’s manuals, credit card statements, warranty registrations, and even background items in old family photos.
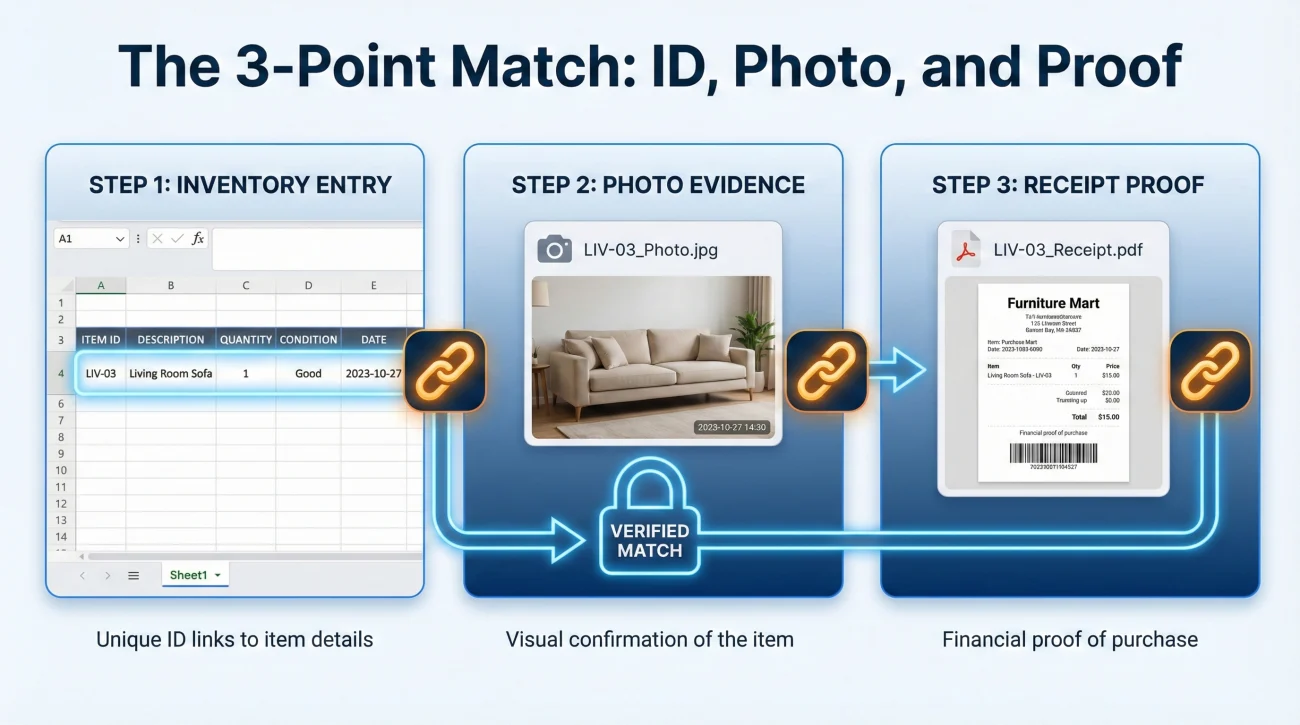
- The ID Mapping Rule: Avoid sending loose photos or random receipts. Every damaged item should have a unique ID (e.g., LIV-01) that connects the photo of the damage to the inventory spreadsheet and the proof of ownership.
- Keep the Originals: Always retain the original, unedited digital files of your photos to preserve timestamps and metadata. Submit copies, never your sole original file.
The Invisible Line Between Structure and Contents
In my years working through the operational side of property claims, I’ve noticed a specific moment where the documentation process tends to derail. It usually happens right after the initial shock wears off, when a homeowner looks at a ruined room and wonders, “How do I prove I owned all of this?”
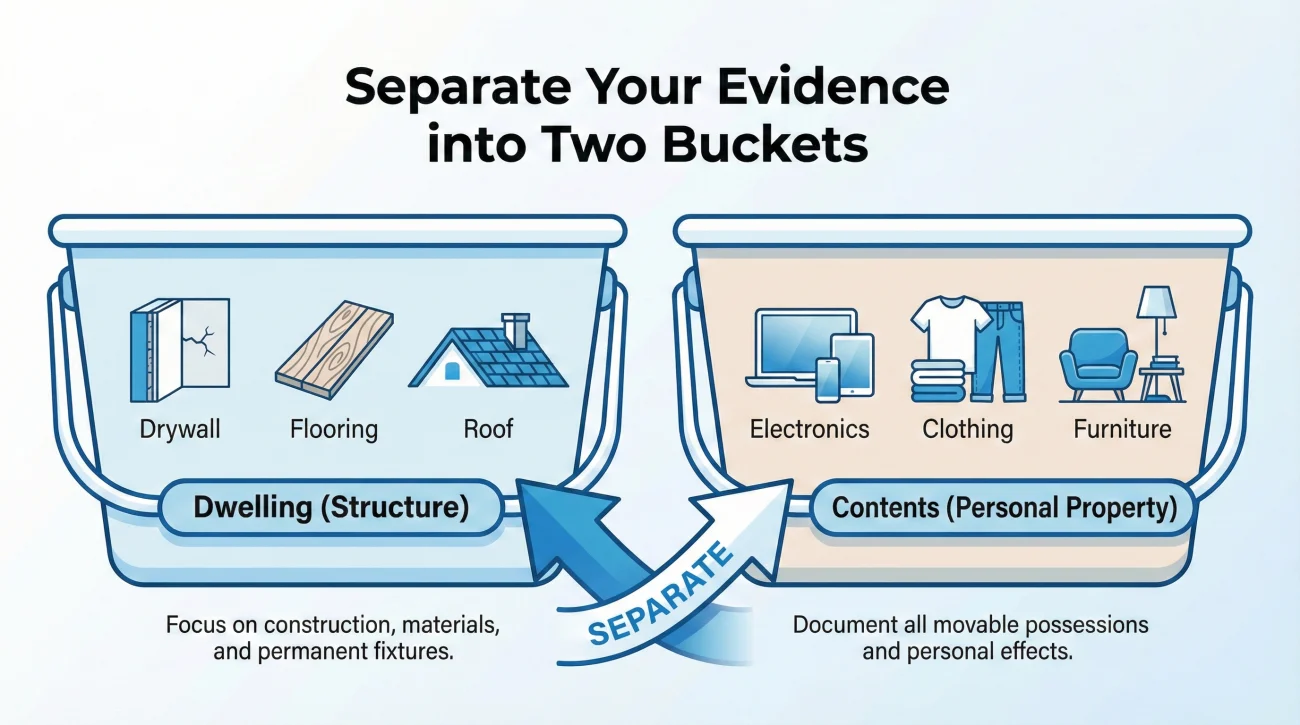
Before you start taking photos or digging for receipts, you need to understand how claim reviewers categorize your home. They look at your property in two distinct buckets: the structure (the dwelling itself) and the contents (your personal property). Mixing the documentation for these two categories is one of the fastest ways to slow down a review.
When compiling your personal property evidence for insurance claim purposes, I always advise people to use the “Upside-Down Rule.” Imagine taking your house, turning it upside down, and giving it a shake.
- 🏠 Structure (Dwelling): The things that stay attached. The drywall, the hardwood floors, the built-in kitchen cabinets, the roof, and the hardwired lighting fixtures.
- 🛋️ Personal Property (Contents): The things that fall to the ceiling. Your sofa, your television, the blender on the counter, your clothing, your rugs, and your electronics.
Your goal is to build a clear, undeniable bridge between the damaged items sitting in your living room and the proof that you owned them. When I look at a well-organized file, I don’t just see a list of items; I see a logical map that makes it straightforward for a reviewer to verify what was lost.
Key Point: The most critical window for documentation is right before debris removal. Once a restoration crew clears a room, your ability to photograph items in their damaged context is gone. Capture your evidence before that window closes.
What Actually Counts as Personal Property Evidence?
A common panic I hear from homeowners is, “I don’t have the receipts for everything I own. My claim is doomed.” This is simply not true. While a crisp, detailed receipt is excellent evidence, it is far from the only acceptable form of proof.
In a practical claim environment, reviewers are looking for confirmation of three core elements. If a receipt is gone, you can prove these elements using alternative documentation.
- 🕒 Existence: Proof that you actually owned the item.
- 📅 Age and Condition: Proof of when it was purchased.
- 🔍 Identity: Proof of the specific make and model.
1. Visual and Digital Evidence
Your smartphone is your best tool. The most critical piece of evidence is a clear photograph of the damaged item in its damaged state, located exactly where the event occurred. But visual proof extends beyond post-damage photos.
| Type of Visual Proof | Why It Matters | How to Capture It |
|---|---|---|
| The “Mugshot” | Proves the item’s identity and extent of damage. | Take one wide shot showing the item in the room, and one close-up of the damage. |
| The Model Number Plate | Proves the exact specification, preventing generic replacements. | Photograph the back, bottom, or inside door of electronics and appliances to capture the serial/model sticker. |
| Historical “Background” Photos | Proves you owned the item prior to the loss. | Scroll through old holiday or birthday photos on your phone. If your ruined television is clearly visible behind your family opening presents two years ago, save that photo as proof of ownership. |
2. Paper and Digital Trails
If the physical receipt was destroyed in a fire or water loss, you must look for the digital footprint the item left behind. In my experience, almost everything we buy today leaves a trail.
- ✅ Credit Card and Bank Statements: Even if it only shows “Best Buy – $850,” it establishes a date and a vendor, which pairs well with a photo of a damaged TV.
- ✅ Email Confirmations: Search your inbox for “order confirmed,” “shipped,” or specific brand names. E-receipts are excellent, verifiable proof.
- ✅ Owner’s Manuals and Warranty Cards: If you kept the manual for your lawnmower or the warranty registration for your laptop in a safe drawer, that paperwork is excellent proof of ownership.
- ✅ Original Packaging: If the empty box for your gaming console is in the garage, take a photo of it. It proves you purchased the specific model.
💡 Pro Tip: If you are dealing with a large loss, consider exporting your Amazon or online retailer order history for the past five years. This single action can instantly provide receipts and exact purchase dates for hundreds of household items.
Field Note: The “Floating Receipt” Problem
Let me share a pattern I see constantly when files get stalled. A homeowner will spend hours gathering evidence and then send an email with 50 attachments. The attachments are named things like IMG_4492.jpg, Receipt_Scan.pdf, and Amazon_Order.png.
Here are five common examples of ambiguous receipt lines that cannot be matched to a specific item without extra help:
- ❌ “Living Room Set – $1,200”
- ❌ “Misc Materials – $450”
- ❌ “Household Goods – $300”
- ❌ “Electronics Dept – $899”
- ❌ “Apparel/Shoes – $210”
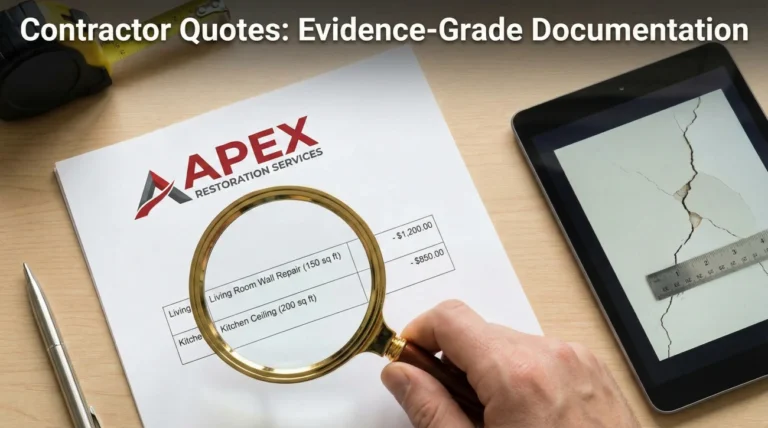
If a reviewer opens the file and sees a receipt for “Electronics Dept – $899” alongside photos of three different ruined TVs, they cannot confidently apply that receipt to a specific item. I call this the “Floating Receipt” problem. The evidence exists, but it is entirely disconnected from the item it represents.
Guessing leads to questions, questions lead to emails, and emails lead to delays. To prevent this, you must build a property claim evidence pack that does the thinking for the reviewer. You do this through a process called “ID Mapping.”
A Simple System to Map Evidence to Your Inventory
ID Mapping is the operational secret to a smooth contents claim. Instead of treating photos, receipts, and inventory spreadsheets as separate things, you bind them together using a simple, unique code for every damaged item.
Step 1: Create a Room-Based ID System
Assign a short prefix to every room in your house. For example:
- LIV = Living Room
- KIT = Kitchen
- MBR = Master Bedroom
- GAR = Garage
As you document items, give them a sequential number. The ruined sofa is LIV-01. The ruined coffee table is LIV-02. The damaged blender is KIT-01. This ID becomes the anchor for everything related to that item.
Step 2: The Three-Point Evidence Match
For every item you claim, you want to align three pieces of data using your new ID.
Spreadsheet Line: Sony TV
Photo File:
IMG_9921.jpgReceipt File:
BestBuy_Scan.pdfSpreadsheet Line: LIV-03 – Sony 65″ TV
Photo File:
LIV-03_Damage_SonyTV.jpgReceipt File:
LIV-03_Receipt_BestBuy.pdfWhen you organize your files this way, you remove all friction. The reviewer looks at line LIV-03 on your inventory spreadsheet. They open the photo folder and instantly see LIV-03_Damage_SonyTV.jpg. They open the receipts folder and instantly see LIV-03_Receipt_BestBuy.pdf. This logic makes verification much easier for the reviewer.
Step 3: The High-Value vs. Bulk Rule
Not everything needs the exact same level of granular detail. I recommend separating your mapping strategy based on the item’s value.
- 💎 High-Value Items (Electronics, Jewelry, Custom Furniture): These require individual, dedicated IDs (e.g., LIV-04), close-up photos of model numbers, and specific proof of ownership.
- 📦 Bulk Items (Everyday Clothing, Pantry Goods, Basic Toiletries): These can often be grouped into a single ID per category per room (e.g., MBR-05 for “Men’s Casual Clothing”), provided you have a wide photo showing the volume of items lost.
Mini-Scenario: Documenting a Destroyed Home Office
Let’s walk through what this looks like in practice. Imagine a pipe bursts above your home office. The water destroys a desktop computer, a laser printer, and a large wooden desk. Here is one safe way many people choose to handle the personal property evidence.
First, the capture: Before touching or moving anything, you take a wide photo of the whole room showing the water pooling on the desk and dripping onto the computer. Then, you get close.
You photograph the computer (OFF-01), ensuring you snap a picture of the serial number sticker on the back. You photograph the printer (OFF-02), capturing the make and model logo. You photograph the water-warped wood of the desk (OFF-03). You save these original photos to a secure cloud folder.
Second, the proof gathering: You sit down with your laptop. You search your email for the computer purchase and find the Dell order confirmation. You save it as a PDF. You check your Amazon history for the printer and save the invoice. You can’t find a receipt for the desk, but you find a photo from your spouse’s birthday last year where the desk is clearly visible in the background. You save that photo.
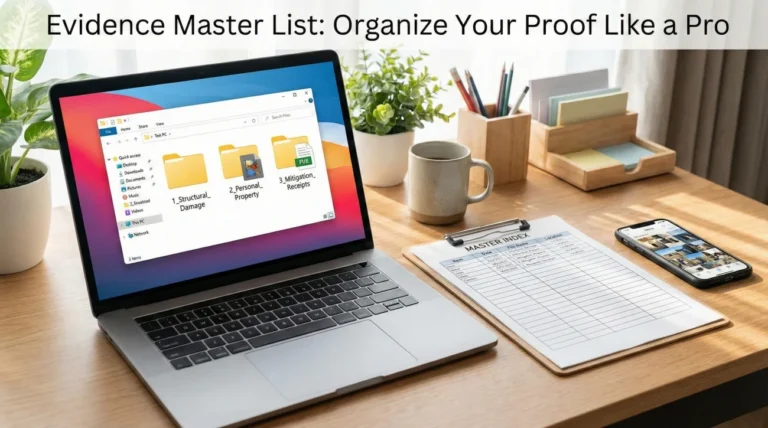
Third, the organization: You build your folder structure on your computer.
Subfolder: Photos
– OFF-01_Damage_DellComputer.jpg
– OFF-01_Serial_Number.jpg
– OFF-02_Damage_BrotherPrinter.jpg
– OFF-03_Damage_WoodDesk.jpg
Subfolder: Receipts_and_Proof
– OFF-01_EmailReceipt_Dell.pdf
– OFF-02_AmazonInvoice_Brother.pdf
– OFF-03_BackgroundPhoto_OwnershipProof.jpg
When you send this to your adjuster, you don’t need to write a long, emotional explanation. The data speaks for itself. It is calm, structured, and organized exactly how a claims system needs to digest it.
Communication Hygiene: Setting Expectations in Writing
A common mistake I observe is homeowners guessing what format the insurance company wants for the personal property inventory. Some companies have a specific Excel template they require; others have a portal. If you spend 20 hours building a spreadsheet only to find out they require their proprietary form, it is incredibly frustrating.
Before you finalize your evidence pack, you should establish a written trail asking for their exact requirements. Keep the tone polite, neutral, and strictly focused on process.
Subject: Claim [Claim Number] – Request for Contents Inventory Format
Hello [Adjuster Name],
I am currently organizing the documentation and evidence for the personal property (contents) damaged during the incident on [Date].
Before I finalize my inventory list and organize my evidence files, could you please provide the specific template, spreadsheet, or portal instructions your team prefers me to use? I want to ensure I submit this information in the exact format you require for an efficient review.
Once I receive your required format, I will map my photos and ownership proofs accordingly and provide you with a timeline for submission.
Thank you,
[Your Name]
Notice what this email does. It shows you are organized, it prevents rework, and it establishes a written record that you asked for instructions. If there is a delay later because they “didn’t get the right form,” you can point back to this email.
Common Mistakes When Documenting Contents
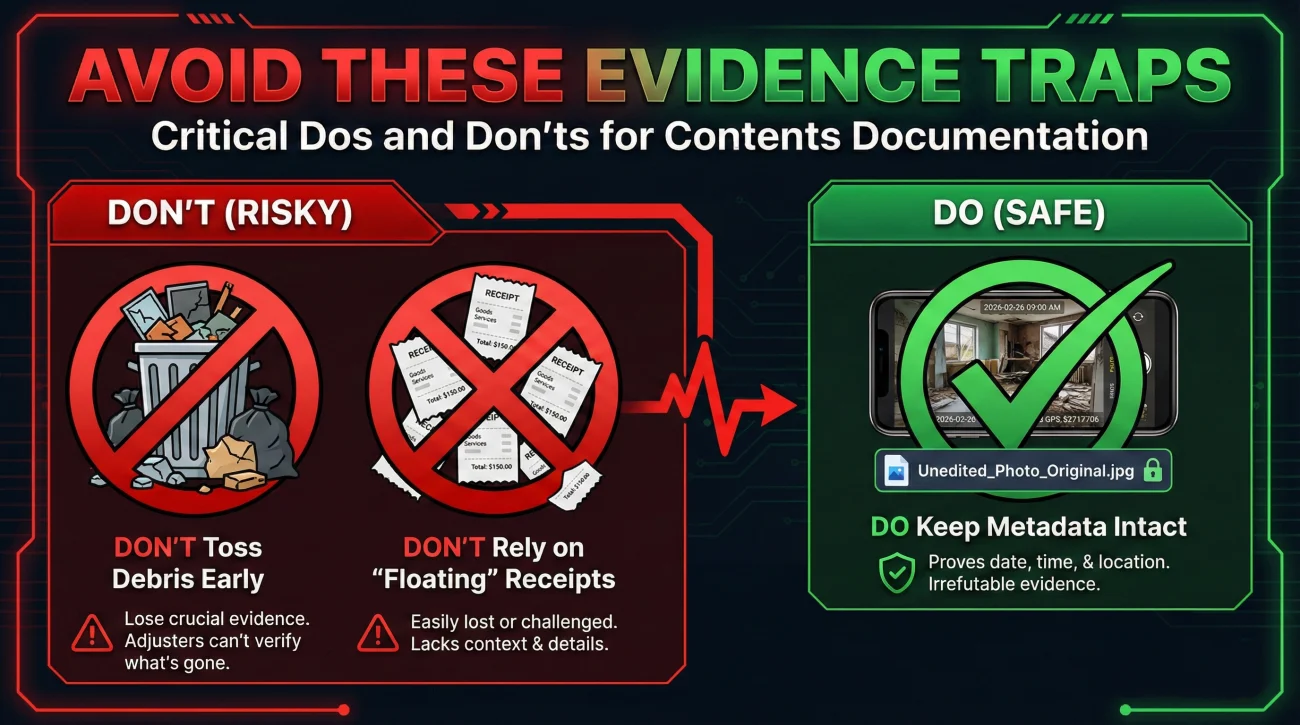
Even with good intentions, the stress of a loss can lead to documentation errors. Here are the most frequent missteps I see, and how to avoid them.
- ❌ Throwing away debris too early: Never discard damaged personal property until the adjuster has physically inspected it, or you have received explicit, written permission from them to dispose of it. If it poses a health hazard, take exhaustive photos and get written permission first.
- ❌ Burying high-value items in bulk categories: As mentioned earlier, do not lump your $2,000 custom suit into a line item called “Men’s Clothing.” High-value or scheduled items must always retain their own specific line IDs and dedicated proof.
- ❌ Ignoring the “soft” contents: People are great at documenting TVs and laptops, but they forget the hundreds of dollars hiding in their bathroom drawers (cosmetics, electric razors, hair tools) or their kitchen pantry (spices, dry goods, expensive cookware). Document everything.
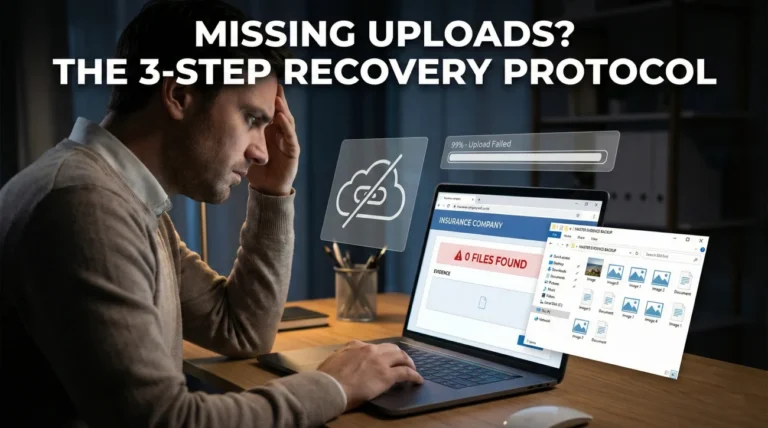
- ❌ Editing or resizing photos: Often, people will compress photos to make them email-friendly, stripping out the metadata (date, time, location data) in the process. Always keep a backup of the original, unedited files. If you must compress to send, keep the originals safe in case the timeline is questioned.
Final Thoughts: Controlling the Evidence
Proving personal property loss is entirely an exercise in organization. The insurance company’s reviewers process hundreds of files a month. When they encounter a file that is fragmented, unlabelled, or reliant on guesswork, that file naturally moves to the bottom of their priority list because it is difficult to process.
By treating your contents claim as a simple mapping exercise: matching every damaged item (ID) to a visual proof (photo) and a historical footprint (receipt or alternative), you take control of the narrative. You remove the guesswork. You present a file that is calm, factual, and ready to be processed.
Start room by room. Assign your IDs. Gather your footprints. Keep everything in writing.
❓ FAQ
🔎 How do I prove what I owned for an insurance claim without receipts?
You can use alternative footprints like credit card statements, email order confirmations, warranty registrations, owner’s manuals, original packaging boxes, or clear background photos of the item in your home before the damage occurred.
👕 Do things like everyday clothing and shoes count as personal property?
Yes. Clothing, shoes, and accessories are all considered contents. Document them carefully, capturing brand tags where possible, rather than just grouping them as a single bulk item.
🗑️ What if I threw away damaged items before taking pictures?
This complicates the process significantly. You must rely entirely on historical proof (old photos showing you owned the items) and written receipts. Always ask for written permission before disposing of any damaged debris.
📸 How many photos do I need for each damaged item?
Generally, aim for at least two: one wide shot showing the item in context within the damaged room, and one close-up detailing the specific damage and identifying marks like a brand name or model number.
🏠 What is the exact difference between structure and contents?
Use the upside-down rule. If you turn the house upside down, what falls out (furniture, electronics, clothes) is personal property (contents). What stays attached (walls, floors, built-in cabinets) is structure (dwelling).
📎 How do I link my receipts to my claim inventory spreadsheet?
Create a unique ID for each item (e.g., KIT-04 for Kitchen Item 4). Put that ID on your spreadsheet, and rename your photo and receipt files to start with that exact same ID so they match perfectly.
📦 Do I need to keep original boxes to prove I owned something?
You do not have to keep the physical boxes forever, but photographing an original box you still have in the garage is an excellent way to prove you owned a specific, high-value model if the receipt is lost.
🔥 What if all my personal property paper receipts were destroyed in a fire?
Rely on digital footprints. Export your purchase history from online retailers like Amazon, request past bank statements to show vendor charges, and search your email archives for digital receipts and shipping confirmations.
💳 Can I use a generic credit card statement as personal property evidence?
Yes. Even if a statement only shows the store name and amount, it is strong secondary evidence when paired with a photograph of the damaged item matching that store’s merchandise and approximate value.
📁 How should I organize my personal property evidence digital folder?
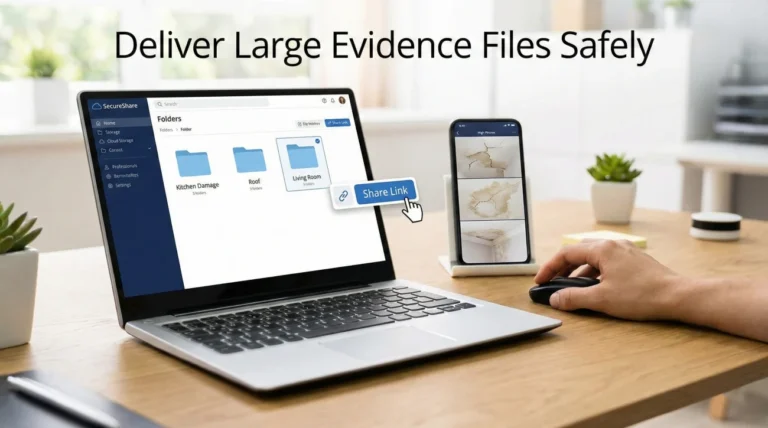
Create a master folder for your claim. Inside, create subfolders for “Photos” and “Receipts.” Ensure every file inside those subfolders is renamed to include the unique Item ID (e.g., MBR-01) that corresponds to your main inventory spreadsheet.
⚠️ Disclaimer: PropertyClaimChecklist.com provides practical guidance, process checklists, and example follow-ups to help you organize a property claim and move it forward. It is not policy language, claim documentation, legal content, or a substitute for your insurer's instructions. Always rely on your carrier's requirements and your actual policy terms for what must be submitted and how decisions are made.