- The Core Conflict: Estimates often default to “repair” because it is the baseline standard, but physical field constraints often make partial fixes impossible.
- Three Distinct Angles: Understand the difference between repairability (it physically breaks), matching (materials no longer exist), and code (local laws prevent partial fixes).
- The Domino Effect: Often, the process of repairing one damaged item breaks the adjacent, undamaged items. Documenting this is a common way to justify a full replacement.
- Give Reviewers What They Need: Files move faster when you provide the specific inputs desk adjusters need to justify a scope change, such as line item references and supporting exhibits.
When “Patching It” Simply Doesn’t Make Sense
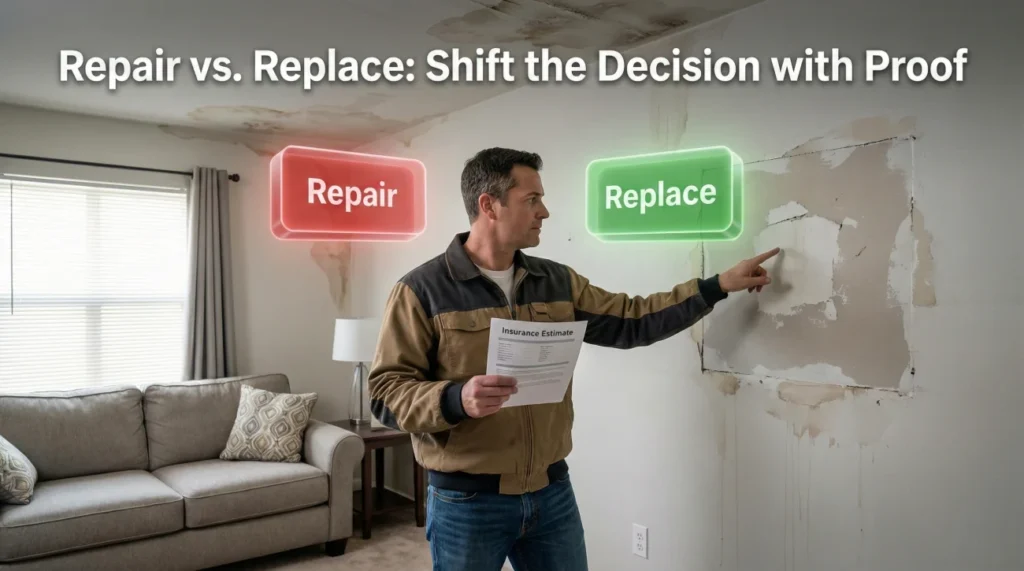
You open your initial estimate, scroll down the line items, and there it is: a line item allocating a few hours of labor and minimal materials to “repair” a section of your property that looks completely unsalvageable. The frustration sets in immediately. Your contractor is telling you the whole thing needs to be torn out, but the paperwork in your hand says otherwise.
Navigating the repair vs replace decision insurance claim process is one of the most common friction points I see in day-to-day claims operations. It is the moment where the desk review collides with physical reality.
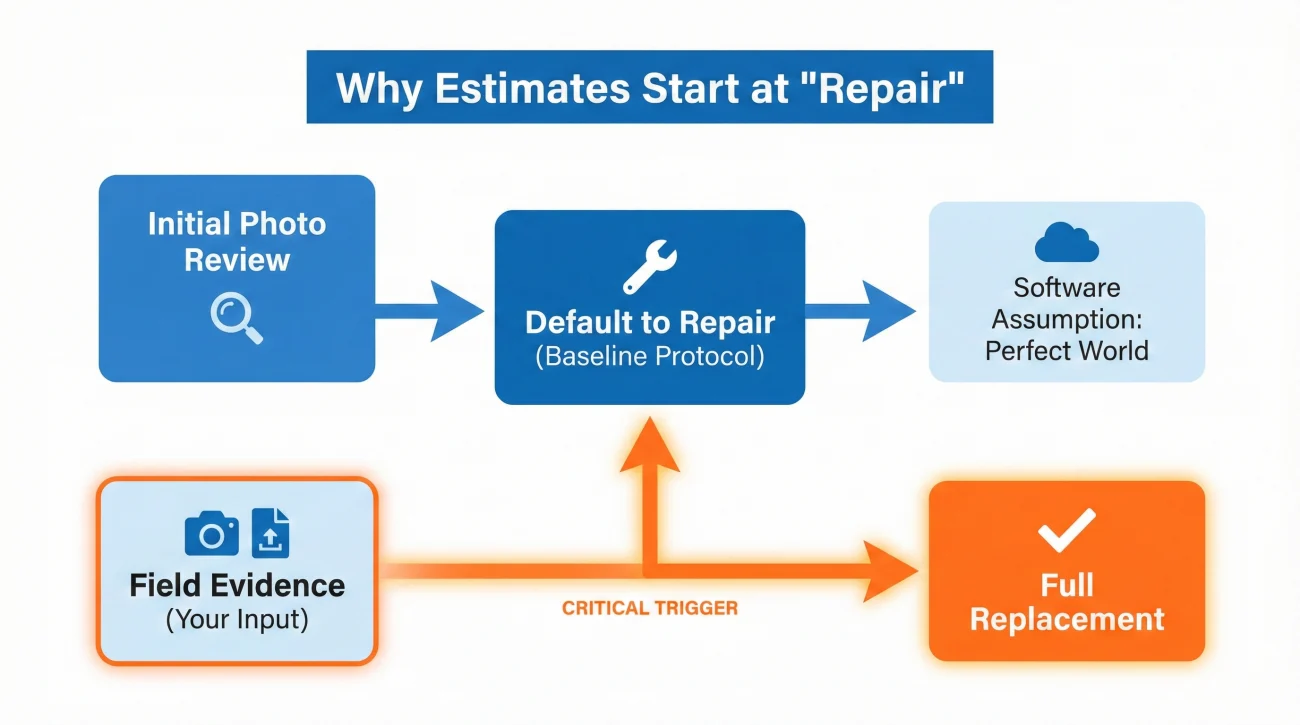
In my experience handling documentation and tracking claim progress, I can tell you that an adjuster defaulting to a “repair” isn’t necessarily a malicious act to underpay you. Often, it is simply the baseline protocol. Desk adjusters write estimates based on photos and initial visual inspections. If they see a localized hole, their software prompts them to patch the hole. They are waiting for someone, you or your contractor, to present the field data showing that a patch will fail.
To bridge this gap, you have to stop arguing about how things “look” or how you “feel” about a patchwork job. Instead, you need to present clear factors that make a replacement the only logical next step. Let me walk you through exactly how we organize this information and present it cleanly.
Understanding the “Repair First” Baseline
Before you can successfully guide a file toward a replacement, you have to understand why the estimate says “repair” in the first place. Insurance policies typically intend to return the property to its pre-loss condition. If a repair accomplishes that, that is what they will generally fund.
It is important to note that policy language and state regulations vary widely regarding what constitutes a proper repair. However, the physical reality of construction remains constant. The gap often occurs because the estimating software assumes a perfect world. It assumes the materials are currently available at the local hardware store, the surrounding materials are brand new, and the manufacturer allows for partial patching.
Key Point: Your role is not to demand more money. Your role is to update the file with field constraints, showing why the “perfect world” assumptions in the estimate do not match the physical reality of your property.
Repairability vs. Matching vs. Code
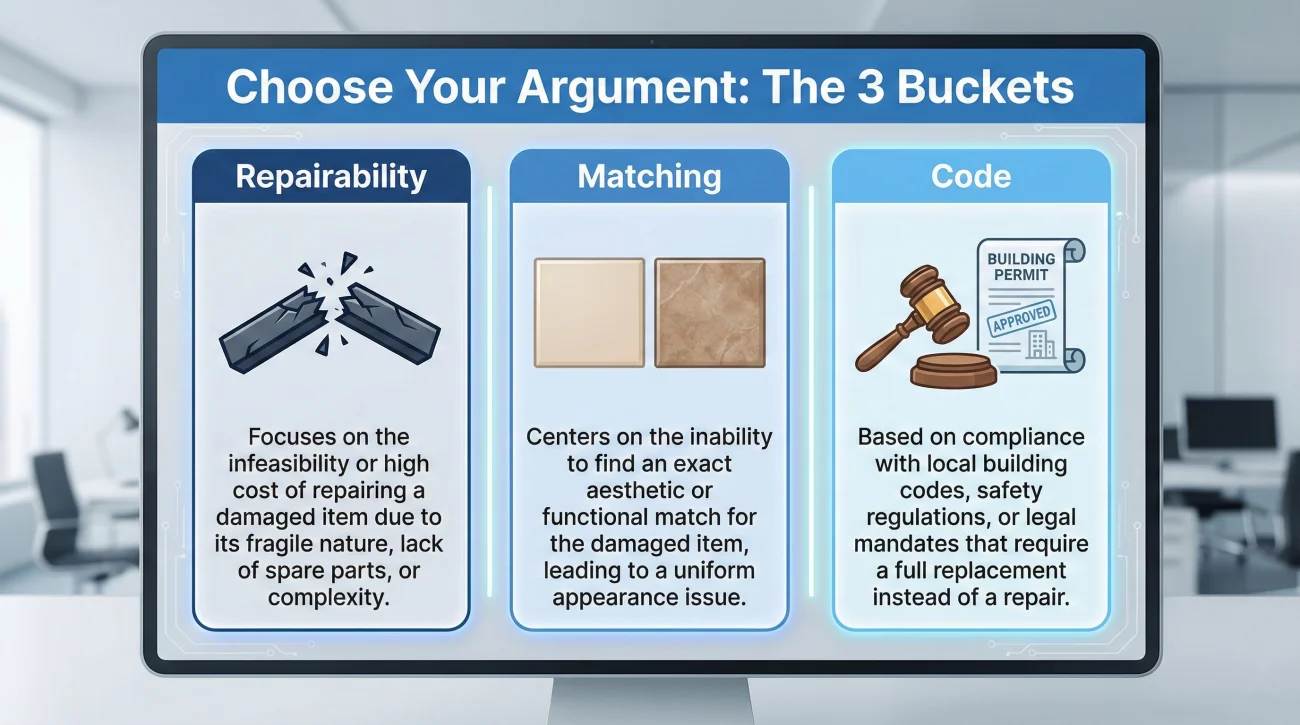
Before gathering evidence, it helps to understand which argument you are actually making. Mixing these concepts up can confuse the reviewer and delay your file. In claim operations, we usually categorize replacement arguments into three distinct buckets:
- 📄 Repairability: The material literally cannot be manipulated without breaking. This is a physical constraint based on the age or condition of the item.
- 📄 Matching: The material can technically be patched, but the exact replacement product no longer exists. This leaves an obvious visual patch that may fail to meet pre-loss condition standards.
- 📄 Code: The repair is physically possible, but local municipal laws prohibit partial fixes, forcing a full system upgrade to meet modern safety standards.
Identifying which bucket your issue falls into will dictate the type of evidence you need to collect.
The 4 Decision Factors That Shift a Review
In my time reviewing claim files and watching where delays happen, I have noticed that files get stuck when the property owner just keeps repeating that something cannot be fixed. Files that move forward smoothly are the ones where the property owner provides documentation for one of the following four factors.
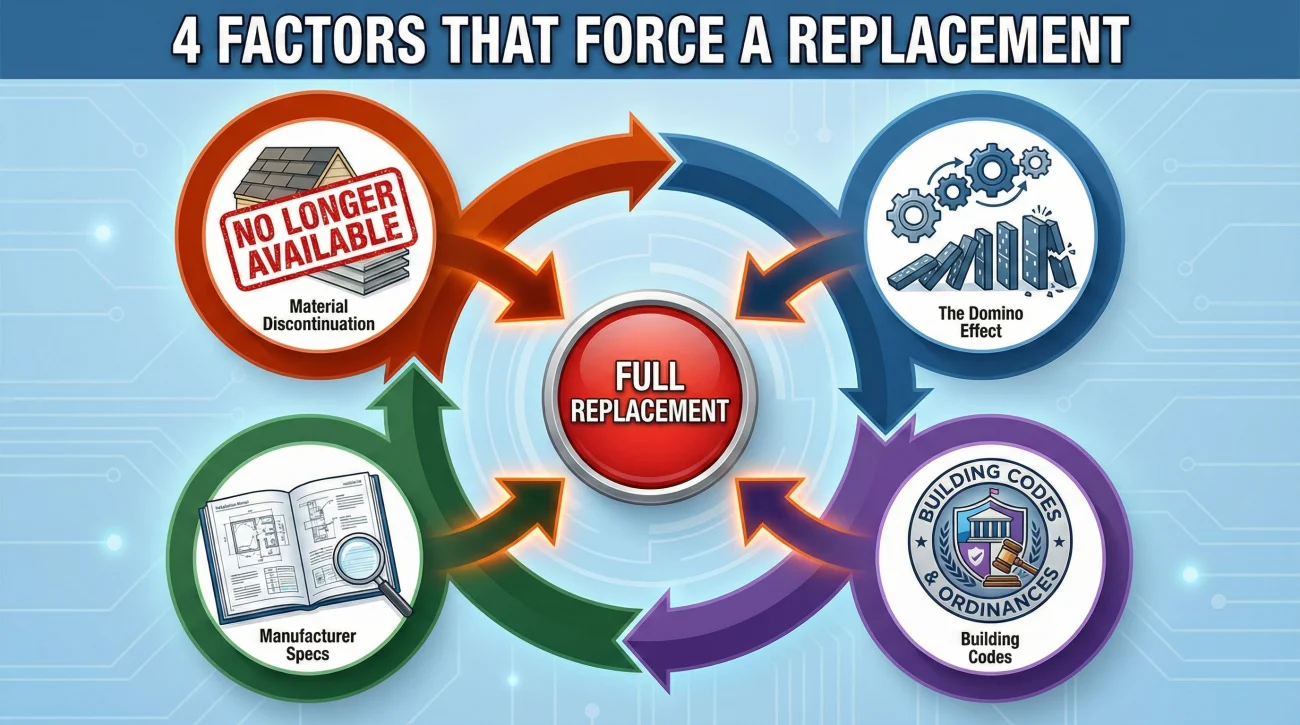
Factor 1: Material Discontinuation
You cannot effectively repair a section of flooring or siding if the exact material is no longer manufactured. While the requirement to “match” depends heavily on your specific policy and local regulations, introducing a completely different material often fails to return the property to its pre-loss condition.
Common evidence used: A paper trail is necessary here. Property owners often utilize third-party material identification reports from independent labs, manufacturer phase-out bulletins found online, or written statements from local suppliers confirming the item is discontinued.
Factor 2: The Domino Effect (Collateral Damage)
This is extremely common with older properties. To repair the damaged area, you have to manipulate the undamaged materials surrounding it. If those surrounding materials are old, brittle, or locked together, the act of repairing causes new damage.
💡 Field Note: A classic example I see involves interlocking flooring. The estimate might pay to replace three damaged planks. But to access them, the contractor has to unclick twenty undamaged planks. Because the material is older, the locking mechanisms snap during removal. Suddenly, a small repair compromises the entire room.
Common evidence used: A contractor’s written statement is helpful, but video evidence is highly compelling. A short, clear video showing a contractor attempting to gently remove an undamaged piece and having it shatter is one of the strongest visual aids a reviewer can receive.
Factor 3: Manufacturer Specifications
Building materials must be installed according to the manufacturer’s exact specifications, or the warranty may be voided. Estimating software does not always know these specifications; it primarily calculates dimensions.
Many manufacturers explicitly state in their installation guides that partial patching is not permitted. If the initial estimate proposes a method that violates these published guidelines, it provides a strong reason to request a revision.
Common evidence used: Providing a copy of the exact installation manual with the specific prohibition clearly noted is often the most direct way to present this constraint to an adjuster.
Factor 4: Building Codes and Ordinances
Sometimes, repairing an older item triggers a local building code that requires the entire system to be brought up to current standards. For instance, a small repair to a roofing system, plumbing run, or electrical panel might be legally impossible if the local municipality mandates a full replacement to meet modern safety codes upon any modification.
Common evidence used: Do not guess at building codes. A written statement from the local building department or a specific municipal code citation provided by a licensed contractor is typically required to prove this constraint.
What Reviewers Actually Need to Revise a Scope
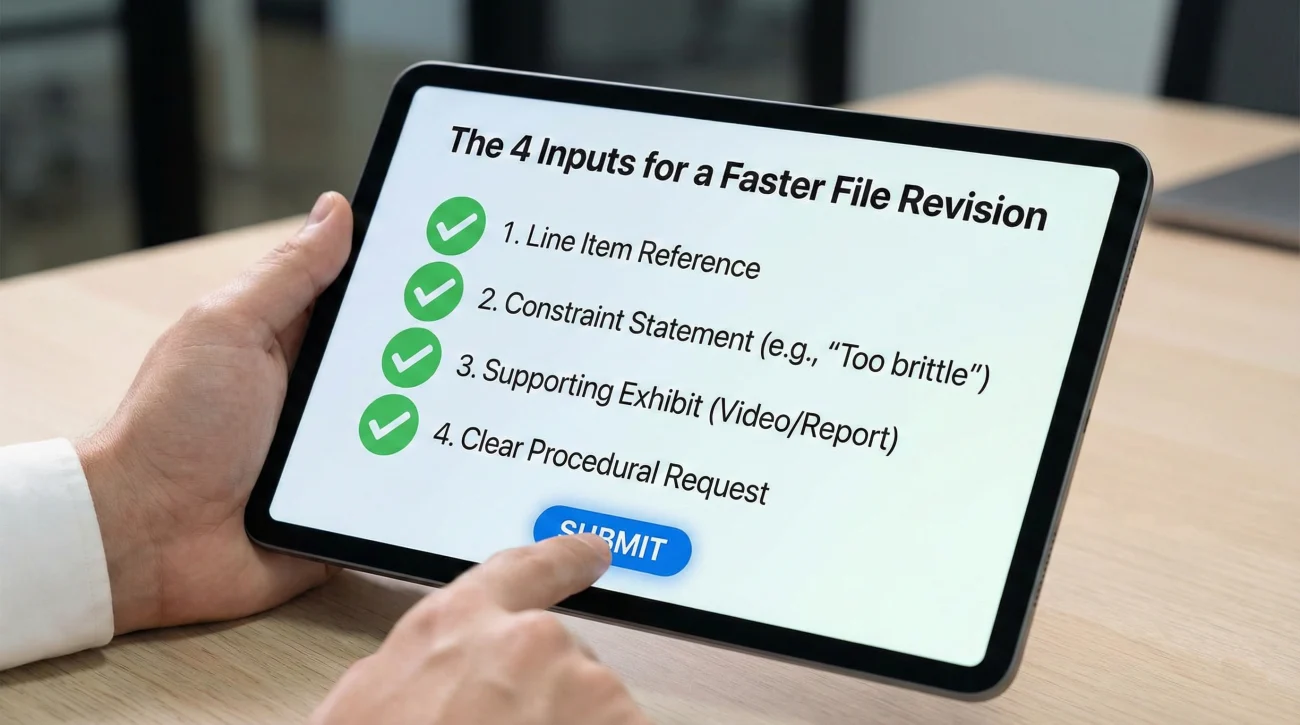
The biggest mistake I commonly see is how the argument is framed. When people are stressed, they lean into aesthetic complaints. But the person on the other end is processing a file based on guidelines. To give the desk adjuster the exact inputs they need to justify a scope change, your communication should include four elements:
- ✅ Line item reference: Exactly which repair item on the estimate is failing?
- ✅ Constraint statement: A one-sentence explanation of why the repair cannot be performed (e.g., materials are too brittle).
- ✅ Supporting exhibit: The attachment containing the proof (a video, a report, a manual).
- ✅ Clear request: Asking for the next procedural step, such as a reinspection or a scope revision.
How to Organize the Alignment Questions
Once you have your documentation, you need to present it logically. Do not just dump files into an email. Tie the evidence directly back to the line items on the estimate.
This is where understanding how to build a clean paper trail becomes vital. If you are preparing to submit this evidence, you must ensure your structuring your low estimate documentation response follows a flow that reviewers can easily digest.
Here is an example of a focused script you can use to present your field findings to the desk adjuster. It aims for alignment rather than confrontation.
Subject: Claim [Number] – Clarification needed on repair constraints for [Room/Area]
Hello [Adjuster Name],
I am reviewing the initial estimate provided on [Date], specifically the line items proposing repairs to the [Area, e.g., living room flooring].
We shared this estimate with our contractor to plan the work, but they identified a few field constraints that make the proposed repair unfeasible. I have attached the documentation for your review:
1. Discontinued Material: Attached is a material report confirming the existing product is no longer manufactured, making a patch match impossible.
2. Manufacturer Guidelines: Attached is the manufacturer’s installation manual (page 4 noted) stating that this interlocking system cannot be partially disassembled without breaking adjacent units.
Given these documented field conditions, a localized repair will cause collateral damage and violate guidelines. Could you please review the attached documentation and advise on the next steps to revise this scope?
Please let me know if you need any additional photos or if you require a reinspection to verify these conditions.
Thank you,
[Your Name]
Mini-Scenarios: Real-World Replacements
To see how this works in practice, let’s look at three typical scenarios I observe frequently where a file moves from a repair to a replacement based entirely on documentation.
Case 1: The Brittle Siding Reality
Wind damages a small section of vinyl siding. The initial estimate pays for exactly that square footage, plus labor to “detach and reset” the pieces immediately above it. However, the sun-baked siding is 15 years old. When the contractor arrives and gently lifts a piece of undamaged siding to slide a new piece in, the old siding cracks right down the middle.
What changes the file: The contractor stops working immediately. They record a clear video showing the gentle manipulation of an undamaged piece, capturing the “snap” as the brittle material breaks. Sending this video alongside a neutral constraint statement can help shift the review toward a documented replacement approval.
Case 2: The Interlocking Flooring Trap
A water leak damages a few planks of laminate flooring near a doorway. The estimate pays to replace just those planks. The issue is that this specific laminate clicks together sequentially from the opposite side of the room. To replace the damaged planks, the contractor must unclick half the room.
What changes the file: The homeowner does not argue about how a patch will look. Instead, they submit the manufacturer’s installation manual showing the sequential locking system, accompanied by a contractor’s statement that the tabs on the 8-year-old flooring are snapping during the unclicking process. The file changes based on physical repairability constraints.
Case 3: The Roofing Code Trigger
Tree branches damage one slope of an older roof. The estimate pays to tear off and patch that single slope. However, the existing roof already has two layers of shingles on it.
What changes the file: The homeowner provides a link to their local municipal building code ordinance, which explicitly states that no more than two layers of roofing are permitted, and any repair over a certain size requires a full tear-off to the decking. The adjuster revises the scope because proceeding with a partial repair would be a code violation.
How to Follow Up After Submitting Proof
Once you submit your documentation, silence often follows. Knowing how to follow up without sounding aggressive is a core part of claims hygiene. Here are three short, neutral follow-up scripts focusing on establishing a timeline rather than demanding an answer.
“Hello [Name], just following up to ensure the field constraint documentation sent on [Date] was received and successfully attached to the file.”To confirm the next action date:
“Hello [Name], could you please provide a brief update on when we might expect a review of the submitted repair constraints so we can update our contractor’s schedule?”To confirm the owner of the file:
“Hello [Name], checking in on the documentation submitted on [Date]. Please let me know if this review is still with your desk, or if it has been escalated to a different team so I know who to contact moving forward.”
Common Mistakes in the Discussion
When you are trying to navigate these discussions, avoid these common traps that cause files to stall.
| The Mistake | Why It Often Fails | The Process Fix |
|---|---|---|
| Arguing Aesthetics | Saying “a patch will look ugly” is subjective. Adjusters generally rely on documented field data, not feelings about aesthetics. | Pivot to “Uniformity” or “Matching.” Provide reports that show exact matches are impossible, focusing on pre-loss condition. |
| Using Contractor Demands | “My contractor said you have to pay for this.” Your contractor does not dictate the policy coverage or review guidelines. | Convert the contractor’s opinion into a physical fact. “The contractor noted that the manufacturer guidelines prohibit this method…” |
| Proceeding Without Approval | Tearing everything out before the carrier has a chance to review the constraints can destroy the evidence needed for approval. | Stop work when the constraint is discovered. Document the failure, submit the proof, and ask for next steps before proceeding. |
Final Thoughts on Guiding the Decision
Moving an insurance estimate from a repair to a full replacement is rarely about who argues the loudest. It is almost entirely about who organizes the best proof. In the claims operations world, clean documentation usually dictates the outcome.
When you encounter a repair line item that you know will fail, take a breath. Recognize that the initial estimate is just a starting point based on limited data. Gather your manufacturer specifications, your material reports, or document the brittleness of the surrounding areas. By presenting objective factors cleanly and asking neutral alignment questions, you remove the emotion from the equation and give the reviewer what they need to process the file.
❓ FAQ
🏚️ How does an adjuster decide whether to repair or replace?
Adjusters typically default to repair if it conceptually returns the property to its pre-loss condition. They may shift to replacement when presented with physical constraints like discontinued materials, unrepairable collateral damage, or strict manufacturer guidelines.
🛑 Can I force the insurance company to replace instead of repair?
You cannot usually force a decision through demands. You help shift the outcome by providing compelling, objective proof (like engineering reports or manufacturer specs) showing that a repair is physically or procedurally unviable.
⚖️ What happens if the repair estimate costs more than a full replacement?
If a detailed contractor estimate proves that the labor and materials required to perform a highly complex repair exceed the cost of simply tearing it out, the reviewer may determine that replacement is the more economical route to restore the property.
📸 How do I prove an item cannot be repaired?
The most effective proof is usually visual or official documentation. Consider using video showing materials breaking during a careful repair attempt, providing reports that materials are discontinued, or attaching an installation manual.
🎨 Does the “matching” rule apply when deciding to repair or replace?
It often does, but it depends entirely on your specific policy language and your state’s regulations. In areas with matching laws, if an exact material match cannot be found, a full replacement may be required to maintain uniformity.
👷♂️ What if my contractor says replace, but the estimate says repair?
Ask your contractor exactly why it must be replaced. Have them write down the physical constraints. Take that written statement and submit it to the adjuster, asking how to proceed given the contractor’s field findings.
✉️ How do I write an email asking for a replacement instead of a repair?
Keep it neutral. State the specific line item, attach your proof (like a material report or video), and ask: “Given these documented field constraints, please advise how we can revise this scope, as a partial repair appears unviable.”
📏 Is there a specific percentage or threshold that triggers a replacement?
While some local codes state that if a certain percentage of a surface is damaged, the whole thing must be replaced, insurance policies typically do not have a universal percentage. Decisions are usually made on a case-by-case basis based on repairability.
💰 Can I take the repair payout and put it toward a replacement myself?
This heavily depends on your specific claim type, policy limits, and the carrier’s internal process. Always verify your options in writing with your adjuster before redirecting funds to ensure you do not inadvertently violate terms.
🏭 What if the manufacturer no longer makes the materials needed for the repair?
If the exact material is no longer manufactured, you should obtain proof from a lab or supplier. Submit this to the adjuster. Without available materials, a repair often cannot return the property to pre-loss condition, triggering a replacement discussion.
⚠️ Disclaimer: PropertyClaimChecklist.com provides practical guidance, process checklists, and example follow-ups to help you organize a property claim and move it forward. It is not policy language, claim documentation, legal content, or a substitute for your insurer's instructions. Always rely on your carrier's requirements and your actual policy terms for what must be submitted and how decisions are made.