- Insurance claim forms are simply data collection tools used to categorize your loss and move your file to the next desk.
- Triage your paperwork immediately: identify strict deadlines, flag forms needing a notary, and request editable versions of complex tables.
- Never sign a form with blank sections. Always draw a line through inapplicable fields or write “N/A” so nothing can be added later.
- Before submitting any signed document, save a clear PDF copy using a consistent file naming convention.
- Always request written confirmation that your submitted forms were received and attached to your official claim file.
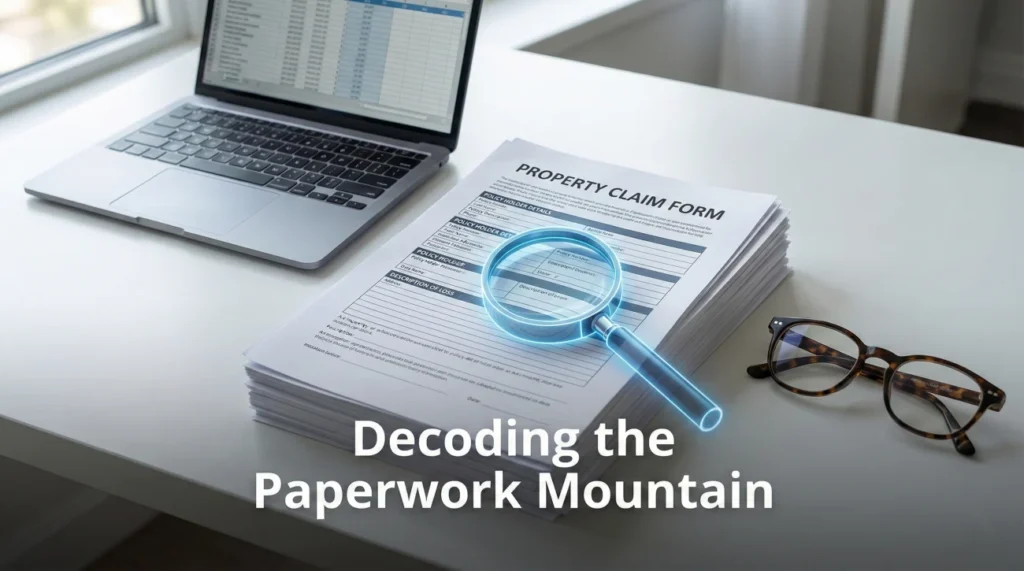
Decoding the Paperwork Mountain
When you open your mail or check your email a few days after reporting property damage, you are usually greeted by a massive packet of documents. The pages are often filled with dense paragraphs, blank tables, and multiple signature lines. It is entirely normal to look at this paperwork and feel completely overwhelmed.
In my experience handling claims operations, I see exactly where this confusion starts. The forms look like legal exams, but structurally, they are just data collection tools. The adjusting team needs your information formatted in a very specific way so they can enter it into their system, route it to the right department, and keep the file moving.
The problem is that the instructions attached to these packets are rarely clear. You might be asked to “fill out the attached,” but you are not told what each form actually does, why they need it, or what happens if you fill it out incorrectly. This lack of clarity often leads to delayed files, because a form submitted with missing information simply sits in a pending queue.
My goal here is to help you translate these standard insurance claim forms into plain English. Once you understand what the desk adjuster is looking for, you can prioritize your packet, fill out the paperwork accurately, keep proper copies, and confidently track your submission without relying on guesswork.
The 48-Hour Priority Map: What to Do First
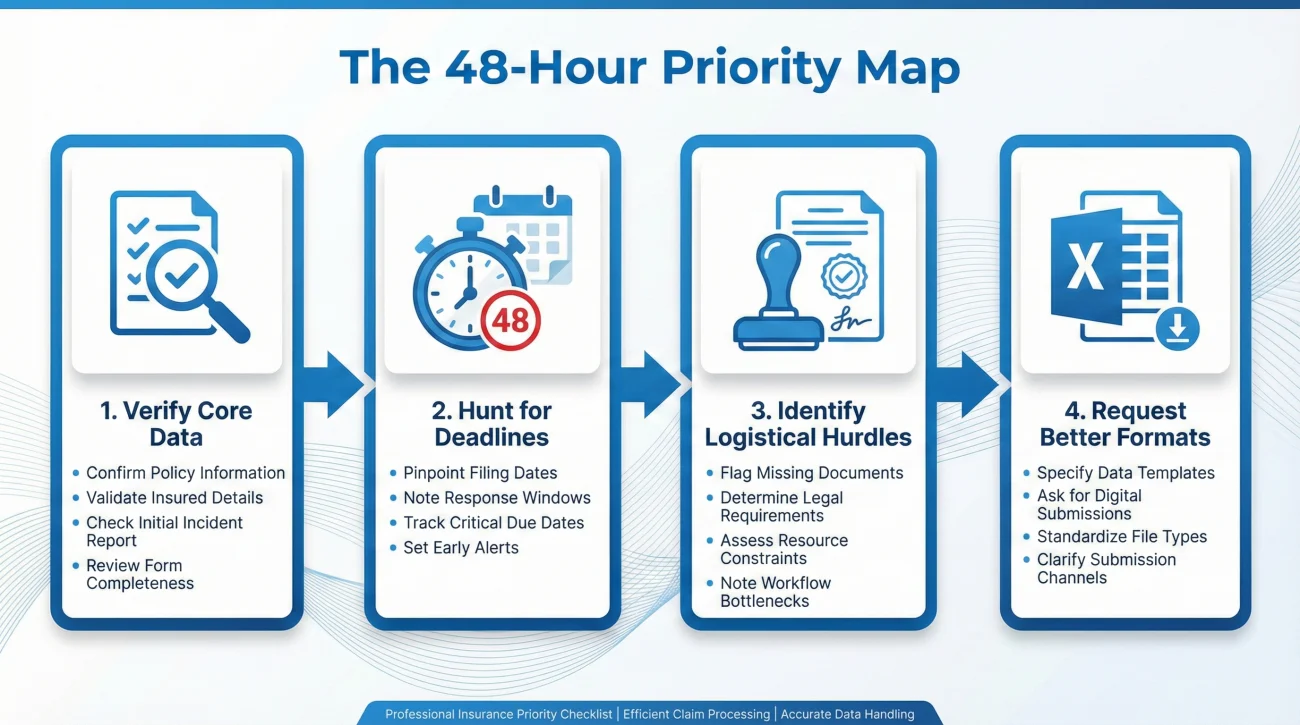
When that thick envelope or massive PDF packet arrives, do not try to fill out everything at once. In claims operations, we rely on a triage process to figure out what matters right now versus what can wait. I recommend taking 48 hours to simply organize and review the request.
Here is a simple priority flow to use on day one:
- Verify the Core Data: Find the First Notice of Loss summary. Check the date of the incident, the property address, and your contact info. If any of this is wrong, flag it immediately.
- Hunt for Deadlines: Look for any letter or form that explicitly mentions a due date. Highlight it. If a form says it is required but gives no date, write down a note to ask the adjuster for a written timeline.
- Identify Logistical Hurdles: Scan the signature pages. Do any of them require a notary public? Do they require the signature of a co-owner or a mortgage company representative? Identify these early so you can schedule the necessary appointments.
- Request Better Formats: If the packet includes a tiny, locked PDF table for your personal property inventory, pause. Send an email right away asking for an editable Excel version. Do not force yourself to handwrite hundreds of items if you do not have to.
The Core Insurance Claim Forms Explained
While every company has their own specific branding, the underlying paperwork in property claims is fairly universal. Here is a breakdown of what these forms actually are and the operational traps you need to avoid.
The First Notice of Loss (FNOL) Summary
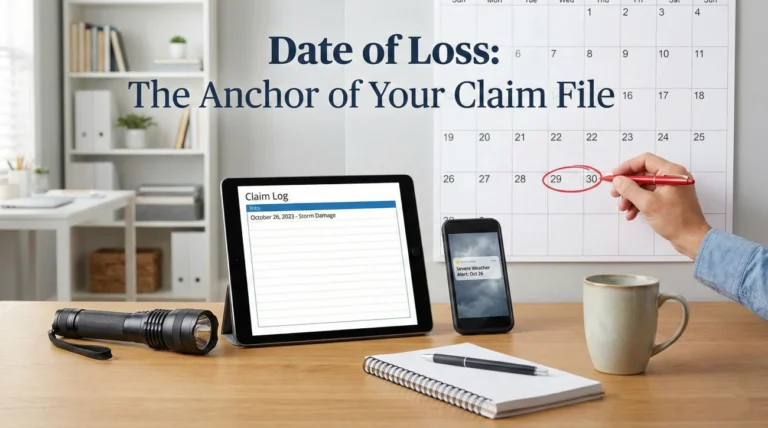
When you initially called or went online to report the damage, someone took down your basic details. The FNOL summary is the written output of that first conversation. Your job when you receive this form is simple: verify the data.
I once reviewed a file where a homeowner accidentally agreed to an FNOL summary that had the wrong month listed for a storm. That single typo triggered a “late reporting” flag in the system, delaying their file by over a month while the team investigated the timeline. If you spot an error on this initial summary, correct it in writing immediately.
The Sworn Statement in Proof of Loss
This is often the most intimidating document in the packet. A Proof of Loss is a formal, notarized statement where you officially declare the details and dollar amount of your claim.
⚠️ Warning: While specific deadlines and formatting rules depend entirely on your policy language and state regulations, the requirement for absolute accuracy is universal. Because this is a formal declaration, do not guess on dates or details.
A common operational mistake is guessing a preliminary dollar amount on this form, then submitting a detailed contractor estimate weeks later that does not match. If you do not have the final financial numbers yet, you should ask your adjuster in writing how to submit a “partial” or “preliminary” form safely.
Additionally, files frequently get kicked back because of missing signatures. If both spouses are named on the policy, both usually need to sign, and the notary stamp must be perfectly legible.
The Personal Property Inventory Form
This form forces you to break down your claim into processable rows of data: item name, age, original cost, and replacement cost. From an operational standpoint, this form is a massive bottleneck.
Desk adjusters cannot process a bulk list of “living room stuff.” They need strict data quality. When filling this out, apply the rule of consistency: list one item per line, avoid bundling things together unless they were bought as a specific set, and note the brand or model number whenever possible. Keep your receipts or photos mapped to the exact line item on the spreadsheet to make their review effortless.
Authorization and Release Forms
You may see forms asking for your signature to authorize the release of information. For example, they might need an authorization to speak to your contractor or local building department.
The key with authorizations is to review the scope. A safe authorization is usually “purpose-bounded” or “time-bounded.” For instance, a form that allows the insurer “to communicate with XYZ Roofing Company regarding the roof estimate for 90 days” is standard. A form that grants unlimited access to your entire medical history for a simple roof leak is overly broad. If a form seems limitless, pause and ask for written clarification on why that specific access is required.
Top Reasons Forms Get Rejected
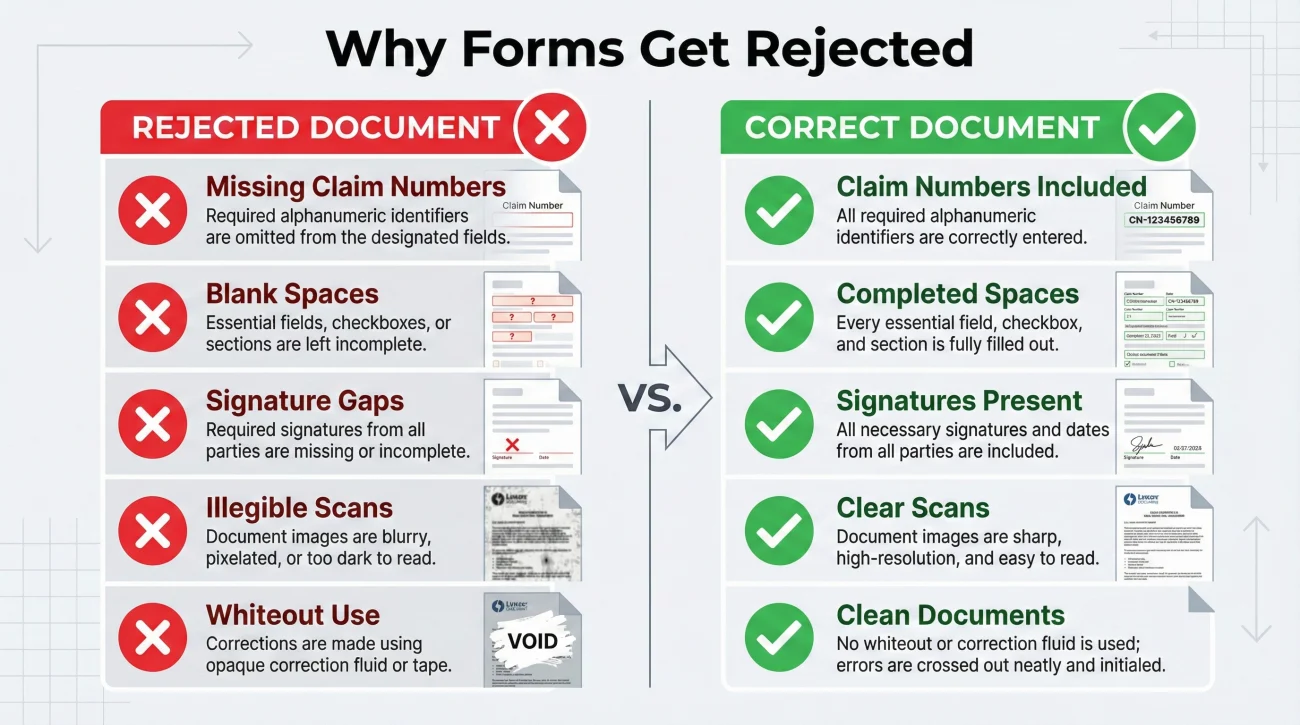
In day-to-day operations, the most common reason a form is rejected is not because the claim is invalid. It is because the form violates a basic processing rule. When a document intake center scans your paperwork, they are looking for specific criteria. If it fails, it goes into an error queue.
Here are the most common reasons your paperwork might be kicked back:
- ❌ Missing Claim Numbers: You wrote the claim number on page 1, but forgot it on pages 2 and 3. When the mailroom separates the pages for scanning, the back pages are lost.
- ❌ The Blank Space Rule: You left sections completely blank because they did not apply to you. The system flags this as an “incomplete document.”
- ❌ Signature Gaps: You missed a date line next to your signature, or a required co-insured did not sign.
- ❌ Illegible Scans: You took a dark, blurry photo of the form with your phone, cutting off the margins. The intake software cannot read the text.
- ❌ Use of Whiteout: You used correction fluid to fix a mistake. In many processing centers, whiteout invalidates the form because it looks like unauthorized tampering.
How to Correctly Fill and Fix Forms
To avoid the rejection queue, you must treat every form like a strict data entry task. Let us look at how to handle fields that do not apply to you, and how to fix inevitable mistakes safely.
Leaving sections blank is a major process failure. If a question does not apply, you must indicate that clearly.
Leaving the “Mortgage Company” field completely blank because you own your home outright. The adjuster might think you forgot it and reject the form.
Writing “N/A” (Not Applicable) or “None” in the box, or drawing a clean diagonal line through a large blank section. This proves you intentionally bypassed it.
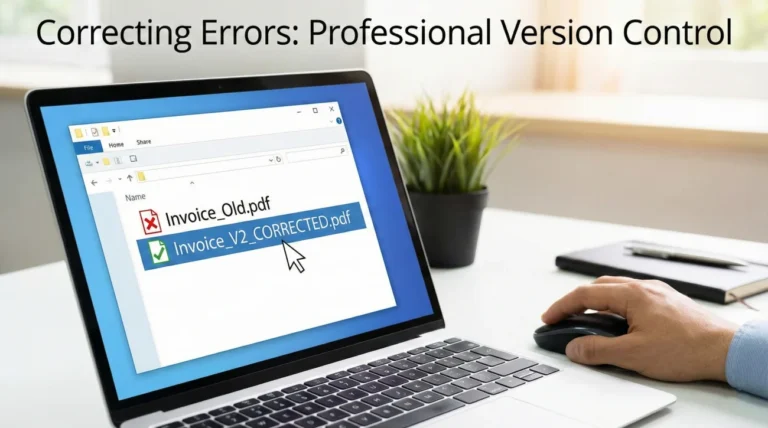
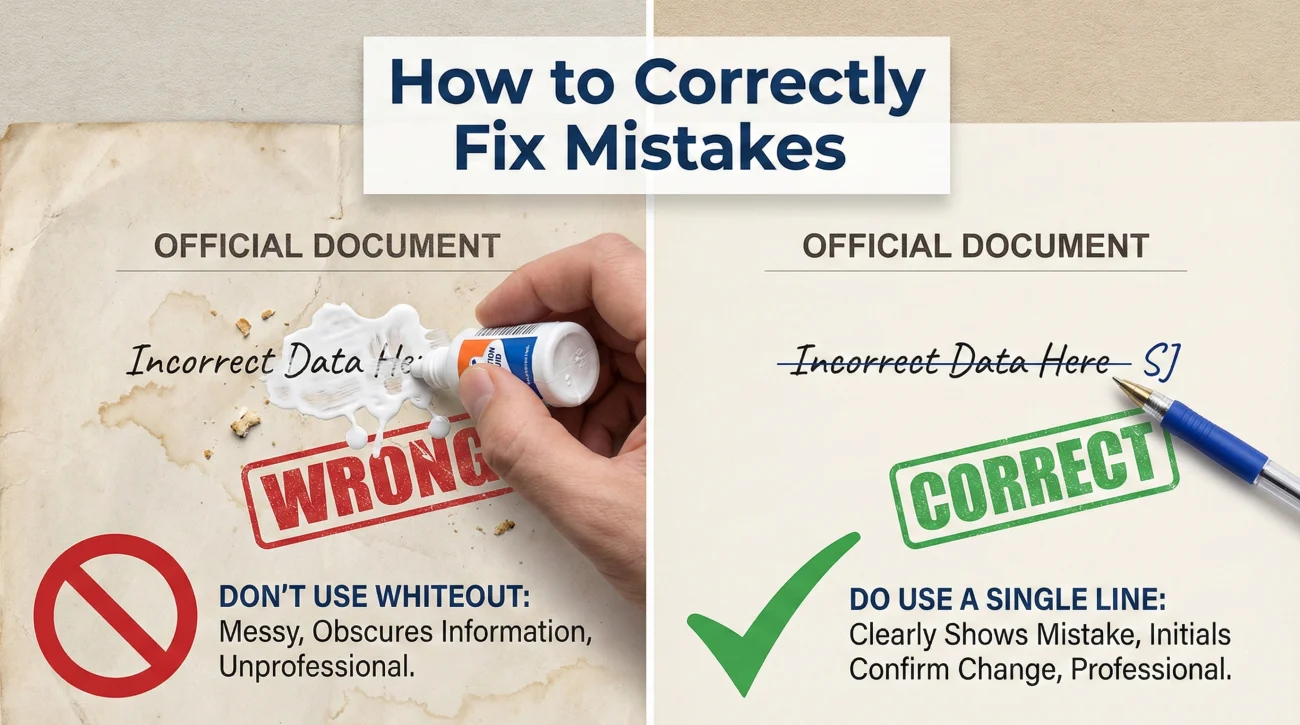
If you make a mistake while filling out a paper form, do not use correction fluid. Instead, draw a single, clean line through the mistake, write the correct information directly next to or above it, and put your initials right next to the correction. This creates a clean audit trail showing exactly who made the change.
The “Keep a Copy” Rule in Practice
The single biggest operational mistake you can make with insurance paperwork is sending the only copy of a signed form out of your house. If the mail is lost, or the digital portal glitches, your work is gone. You are left trying to recreate detailed forms from memory, which often leads to inconsistencies.
Key Point: You must treat your own claim folder as the master record. Never submit a document without saving an exact duplicate of the finalized, signed version for yourself.
To prevent lost work, you need a strict file hygiene routine:
- Finalize the Form: Fill it out, check for blanks, and sign it.
- Digitize It: Use a flatbed scanner or a high-quality scanning app on your phone. Ensure all text is legible and all four corners of the paper are visible.
- Name the File Clearly: Do not save it as “scan_001.pdf”. Use a consistent naming convention so both you and the adjuster know what it is immediately.
A strong file naming system might look like this: YYYY-MM-DD_ClaimNumber_DocumentName.pdf.
For example: 2024-11-15_Claim8829_ProofOfLoss.pdf.
If you need a complete breakdown of how to organize your files and manage the overall flow of evidence, I highly recommend reviewing our comprehensive property claim documents checklist.
How to Ask for Clarity Without Sounding Combative
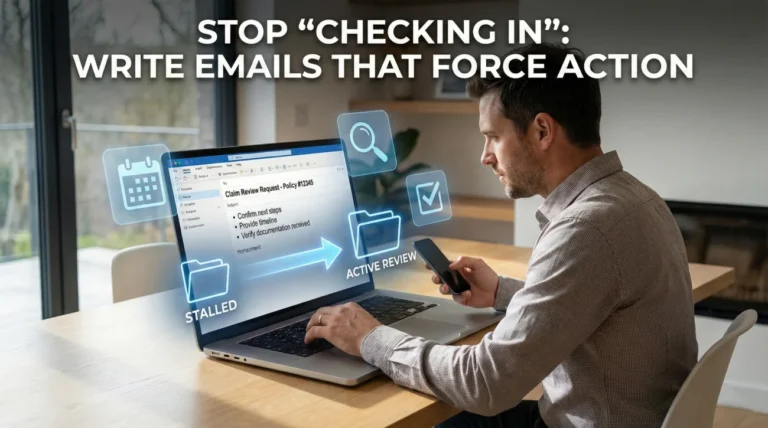
Often, you will receive forms that do not seem to fit your situation, or you will get an email stating you are “missing forms” without any specific details. When this happens, people tend to get frustrated and send angry emails. From an operations perspective, an angry email does not solve the problem; a clear, structured request does.
If you receive a vague request for more paperwork, you need to force the adjuster to provide a specific, written checklist. You do not want to guess what they need.
Here is a polite, process-focused script you can use to get clarity on missing forms:
Hello [Adjuster Name],
I received your note mentioning that my file is pending due to missing forms. To ensure I provide exactly what you need without delay, please reply with a bulleted list of the specific documents or forms that are currently missing from my file.
Once I have that exact list, I will complete the items and send them over promptly.
Thank you,
[Your Name]
Tracking Your Submitted Forms
Sending the form is only half the battle. The other half is confirming that it actually landed in your file. I have seen countless files sit untouched for a month because a submitted form was trapped in a spam filter or uploaded to the wrong portal queue.
You must establish a confirmation loop for every piece of paperwork you submit.
[Action] + [What you need in writing] + [Confirmation request]
Whenever you email a form, your message should clearly state what is attached and explicitly ask for a reply confirming receipt. For example: “Please see the attached Sworn Statement in Proof of Loss (1 page). Please reply to this email to confirm it has been received and added to my file.”
To stay organized at home, I recommend keeping a simple Document Index. This stops you from wondering, “Did I sign that authorization yet?”
| Form Name | Date Sent | Delivery Method | Confirmed Received? |
|---|---|---|---|
| FNOL Summary Correction | Oct 12 | Yes – Oct 13 by Claims Team | |
| Sworn Proof of Loss | Oct 18 | Portal Upload | Pending – Will follow up Oct 25 |
| Contents Inventory (Part 1) | Oct 20 | Yes – Oct 21 automated reply |
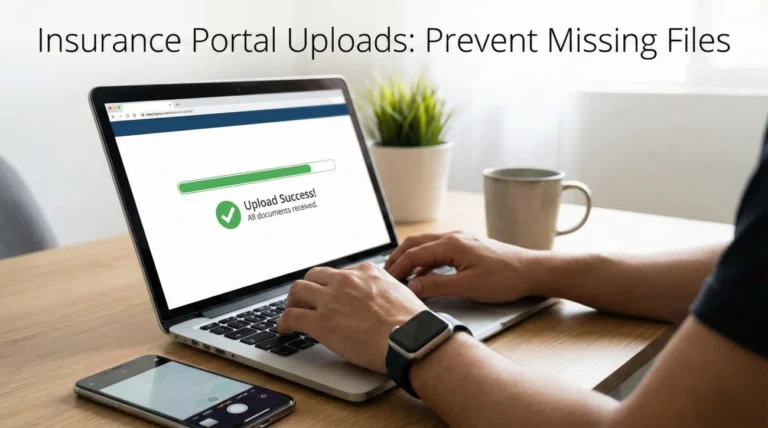
💡 Pro Tip: If you upload forms through an online portal, always take a screenshot of the “Upload Successful” screen that includes the date and time on your computer monitor. Portals can crash, and having a screenshot proves you did your part on time.
Final Thoughts on Form Management
Dealing with insurance claim forms is rarely a fast or enjoyable process, but it is a manageable one if you treat it like a serious administrative task. Remember that the adjuster is handling dozens, sometimes hundreds, of files at once. When your forms arrive fully completed, neatly scanned, clearly named, and logically organized, your file naturally moves faster because you have removed the operational friction.
Take your time. Read the forms carefully, verify every date and claim number, keep perfect copies of everything you sign, and always secure receipt evidence for every packet you send. By following these simple habits, you protect your file from unnecessary delays and keep the process moving forward smoothly.
❓ FAQ
📝 What is a proof of loss form?
It is a formal, often notarized document where you officially declare the details and value of your claim. It serves as your official assertion of the damages you suffered.
📅 What if the form deadline is unclear or not stated?
Never guess. Send a brief email to your adjuster asking for a specific, written timeline outlining exactly when each specific form is due so you have a clear record to follow.
✍️ Do I need notarization every time I sign a claim form?
Not always. It depends entirely on the specific form and your policy. The Sworn Statement in Proof of Loss usually requires it, but standard inventories or authorizations often do not. Always check the signature block instructions.
🛑 Do I have to sign the medical authorization form for a property claim?
If your claim is strictly for property damage and involves no injuries, a medical release may have been included by mistake. Ask the adjuster in writing to clarify why it is needed before signing.
✏️ What happens if I make a mistake on a paper claim form?
Do not use whiteout. Draw a single line through the error, write the correct information next to it, and put your initials by the correction so it is clear who made the change.
🔄 What is the safest way to correct a mistake after I already submitted the form?
Send a new email with the corrected page attached. Clearly reference the prior submission in your email body, explain the specific correction made, and request a reply confirming the file has been updated.
📦 Why did they send me a blank inventory form?
They need you to list your damaged personal property line-by-line. They cannot process a bulk claim for “bedroom furniture”; they need data points like item name, age, and replacement cost to calculate the loss.
📨 How do I send claim forms back safely?
Digitally, save them as PDFs with clear file names and email or upload them, keeping a copy for yourself. If mailing physical originals, always use certified mail with a tracking number.
💻 Can I fill out claim forms online instead of paper?
In many cases, yes. Ask your adjuster if they have a digital portal or if they can send you editable Excel or PDF versions to make the data entry process cleaner and easier to save.
🗂️ What if the insurance company says they never got my forms?
Do not panic. Go to your claim folder, pull the exact PDF copy you saved, and reply to their email attaching the clean file. This is exactly why you must always keep your own copies.
⚠️ Disclaimer: PropertyClaimChecklist.com provides practical guidance, process checklists, and example follow-ups to help you organize a property claim and move it forward. It is not policy language, claim documentation, legal content, or a substitute for your insurer's instructions. Always rely on your carrier's requirements and your actual policy terms for what must be submitted and how decisions are made.