- The forms sent after filing a claim are usually standard templates, not immediate demands for data you do not have yet.
- Do not rush to fill out complex forms like a Proof of Loss before you understand your total damages. Track them instead.
- Set up a simple logging system to record what you received, the date it arrived, and the deadline for submission.
- Always request written confirmation of which specific documents are required before the adjuster’s first inspection.
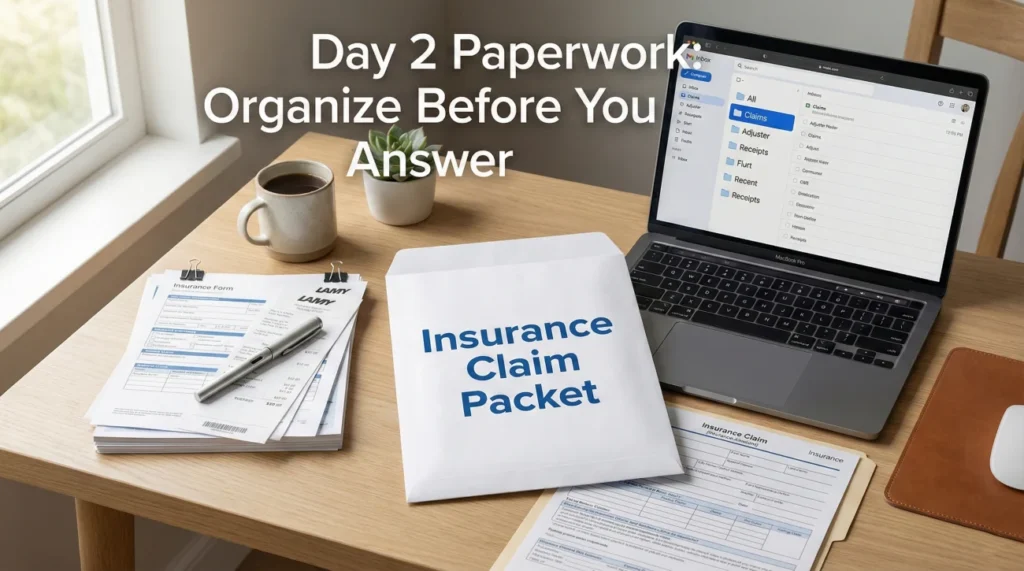
The Day 2 Paperwork Drop: Organizing Before You Answer
You make the initial phone call to report your property damage. The agent or intake representative gives you a claim number. You take a breath, thinking the hardest part of day one is over. Then, day two arrives, and your inbox or physical mailbox is suddenly flooded with a massive packet of documents. The sheer volume of forms sent after filing a claim can immediately trigger panic. It is completely normal to feel overwhelmed when you are staring at blank inventory sheets, medical authorization requests, and formal proof of loss documents.
In my experience handling claims operations and file management, this “day two paperwork drop” is where many people make their first critical documentation mistake. The immediate human reflex is to start filling out every blank line just to get it off your desk. You might think that if you do not fill out all the forms today, your claim will be delayed or closed.
I want to change how you look at this initial packet. When you receive these documents early in the process, your immediate job is not to fill them out. Your job is to identify what they are, file them cleanly, and track them. Filing a claim is a marathon of details. If you submit incomplete information simply because a form arrived in the mail, you risk locking yourself into inaccurate descriptions of your loss. Today, I am going to walk you through exactly how to handle, identify, and track these forms without letting the paperwork overwhelm your process.
The Claim Paperwork Timeline Map
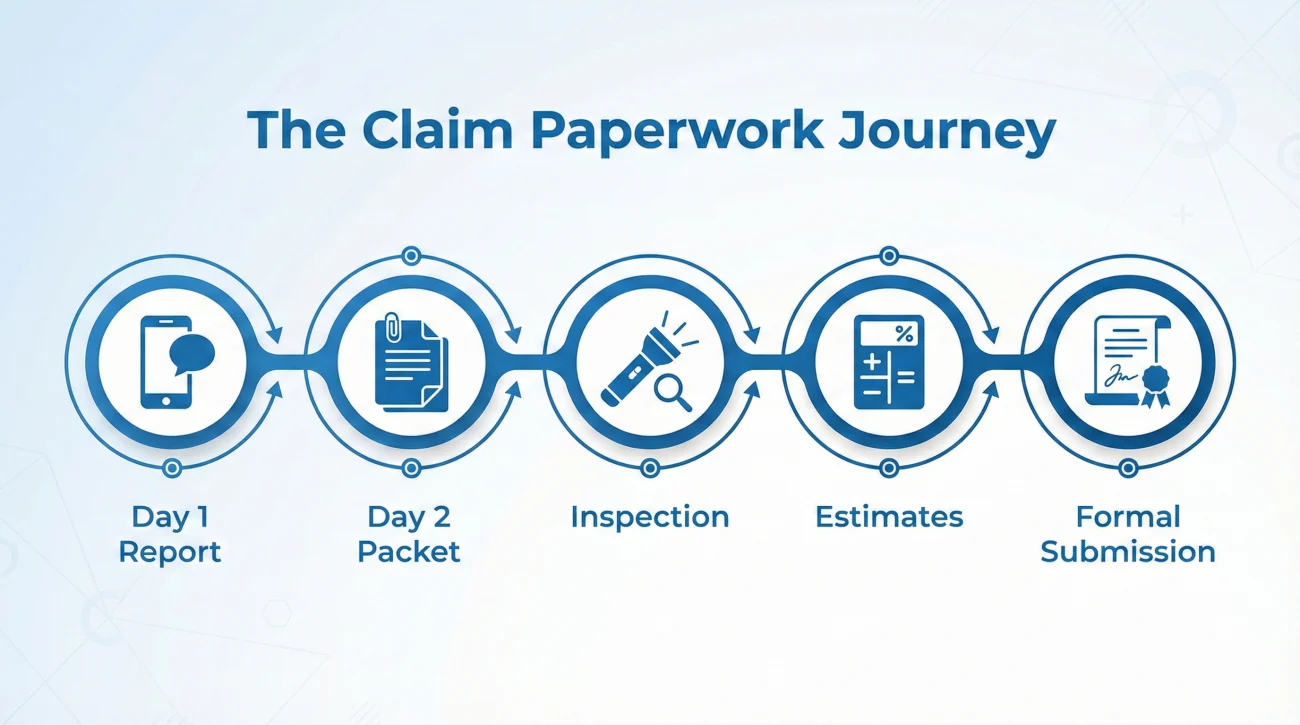
To stop the panic, you need to see where this paperwork drop fits into the larger picture. Your claim does not start and end on day two. Here is a simple mental map of how the early stages actually flow:
- 📍 Step 1: Day 1 Report (You get a claim number and an adjuster assignment).
- 📍 Step 2: Day 2 Packet (The automated forms arrive, you log and track them).
- 📍 Step 3: Inspection (The field adjuster visits to view the damage).
- 📍 Step 4: Estimates (Contractors and the adjuster calculate the repair costs).
- 📍 Step 5: Formal Submission (You finally complete and submit the forms based on the real estimates).
Knowing this timeline helps you realize that the forms you receive on day two are placeholders. You are not expected to have all the answers yet.
Field Note: The “Fill It Out Immediately” Trap
In day-to-day claims ops, one of the most common points of friction I see is the premature submission of blank or wildly inaccurate forms. A homeowner receives a packet on day two. They see a form titled “Sworn Statement in Proof of Loss.” Because it looks official, they fill out the top half with their name, leave the damage amounts blank because the contractor has not visited yet, sign the bottom, and email it back.
Key Point: Signing and submitting an incomplete legal form creates an immediate documentation mess. It forces the desk adjuster to reject the document, send a new blank one, and restart the clock, creating unnecessary delays for everyone involved.
You must remember that the intake system of many insurance carriers is automated. When you trigger a new claim file, the system automatically generates and sends a standard package of forms. The system does not know if your house had a minor pipe leak or a devastating fire. It just sends the standard packet. Recognizing that this is an automated drop allows you to step back, take a breath, and organize the files before taking any action.
Identifying the Common Forms Sent After Filing a Claim
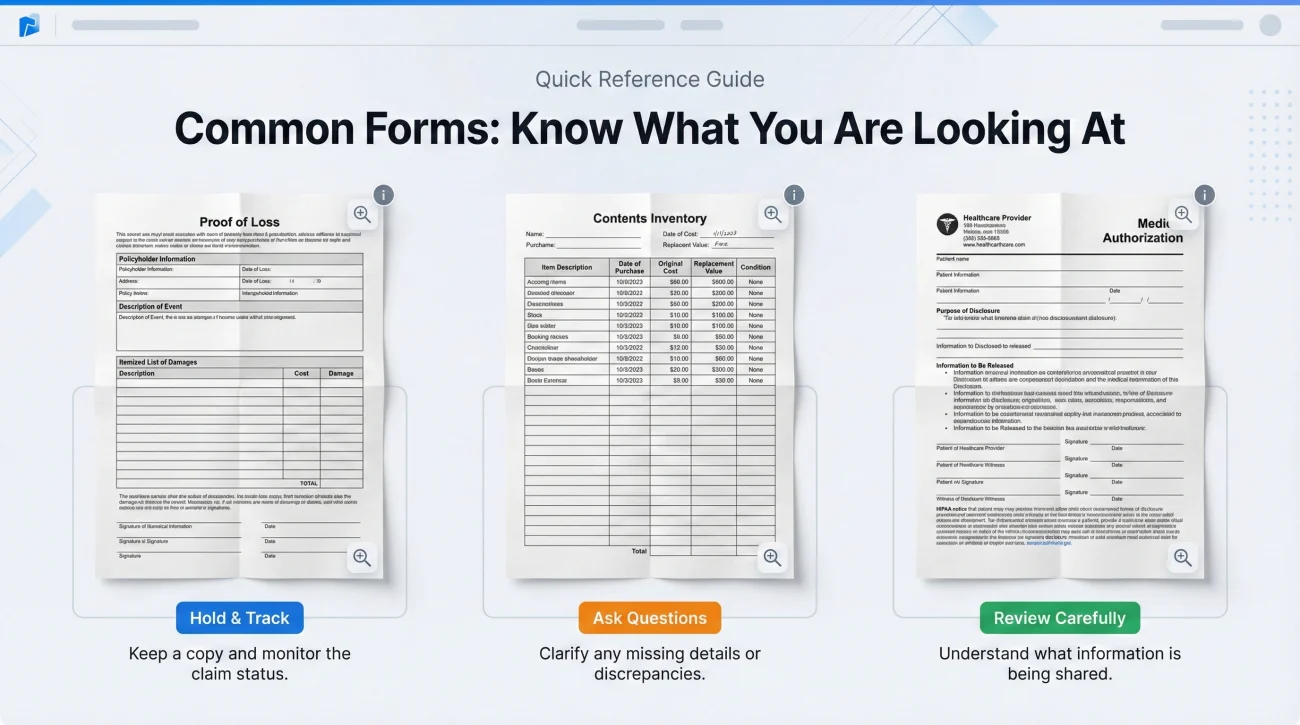
Before you can track your paperwork, you need to know what you are looking at. Not all forms require the same level of attention. Some are purely informational, while others are critical milestones in your claim timeline. Here is how I usually group the forms you might see in that first massive packet.
| Document Name | What It Usually Is | Immediate Next Step |
|---|---|---|
| Claim Acknowledgment Letter | A formal letter confirming your claim number and assigned adjuster. | Save to your “Contacts” folder. Note the claim number. |
| Blank Proof of Loss | A formal document where you will eventually state the total value of your claim. | Hold and track. Do not fill out until damages are known. |
| Contents Inventory Sheets | Blank spreadsheets for listing damaged personal belongings. | Hold and track. Begin drafting on a separate scratchpad. |
| Medical Authorization Form | A request to access your medical records (common in liability or injury claims). | Hold. This may not apply to a pure property file; ask the adjuster why it is needed. |
| Non-Waiver Agreement | A document stating the insurer is investigating but not guaranteeing coverage yet. | Read carefully. Confirm requirements in writing before signing. |
Keep in mind that the exact mix of forms will vary depending on your situation. A massive fire claim will generate extensive contents inventory sheets, while a simple wind damage claim might just trigger a standard proof of loss and a repair authorization. Regardless of the claim type, the handling rules remain the same.
What Not to Sign (Until You Ask Questions)
Just because a form is in the packet does not mean you should sign it immediately. There are a few specific documents that often trap well-meaning policyholders. My general rule is simple: if you do not understand what a form does, do not sign it yet.
First, never sign a blank or partially completed Proof of Loss. This is a sworn statement. If you guess the numbers, you lock yourself into a difficult position.
Second, be cautious with Broad Authorizations. If you are dealing with a roof leak, and the packet includes a request to access your medical history or five years of financial records, pause. Sometimes these are just automated system errors.
Third, read Non-Waiver Agreements carefully. If you receive one, it means the carrier has a question about whether your policy covers the specific damage. Before signing, use your paper trail to ask a direct question: “Please explain in writing why a non-waiver agreement is required for my specific file.”
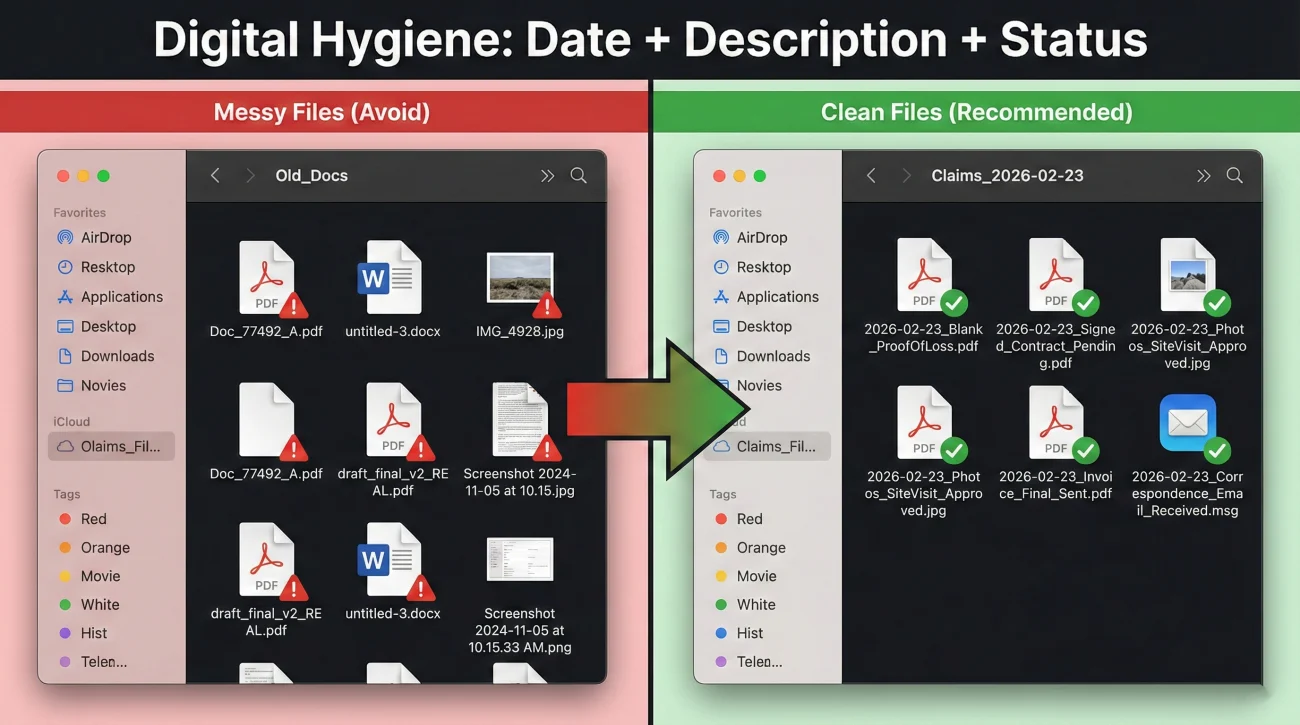
Digital File Hygiene: Naming Your Blank Forms
If you receive your forms via an online portal or email, your first step is downloading them to your local device. Leaving documents exclusively in a portal is risky if you rely on it as your only copy. Portals can experience downtime, and messages can expire or become difficult to search. You need to control your own copies.
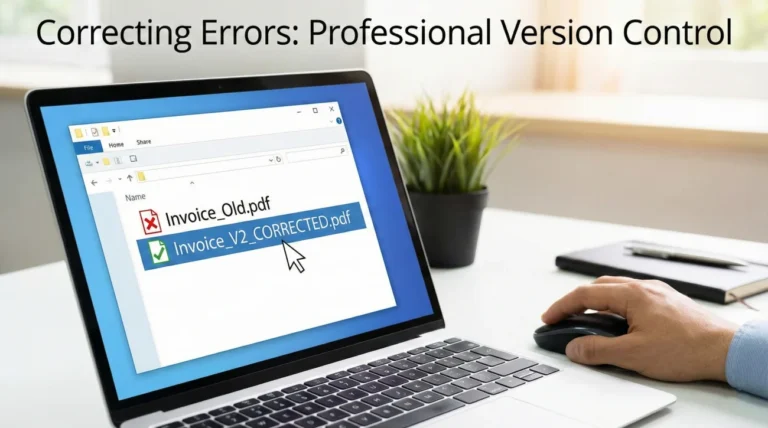
When you download these files, they often come with messy, system-generated names like “Doc_77492_A.pdf” or “Scanned_Image_001.pdf”. If you save them like this, you will never find them when the adjuster asks for them three weeks later.
Download.pdf, form2.pdf, scan_tuesday.jpg
2023-10-14_Blank_ProofOfLoss.pdf, 2023-10-14_Blank_ContentsInventory.pdf
Use a consistent naming convention. I always suggest starting with the date you received the document, formatted as Year-Month-Day. Then, add a clear description of what the file is, and explicitly label it as “Blank” if it is an unfilled form. This prevents you from accidentally sending a blank form back to the adjuster when you meant to attach the completed version.
Submission Channels: Portal vs. Email vs. Mail
When it is finally time to submit a form, how you send it matters just as much as what is on it. You want an undeniable paper trail with a clear timestamp.
If you use an Email, you have a perfect timestamp and a record of exactly what attachments were sent. If you use a Carrier Portal, take a quick screenshot showing the files uploaded successfully, as portal histories can sometimes be vague.
If you must use Physical Mail (which is sometimes required for original notarized documents), never drop it in a standard mailbox. Always use certified mail with a return receipt. This gives you independent proof of delivery. No matter which channel you use, always keep the original digital scan on your own hard drive.
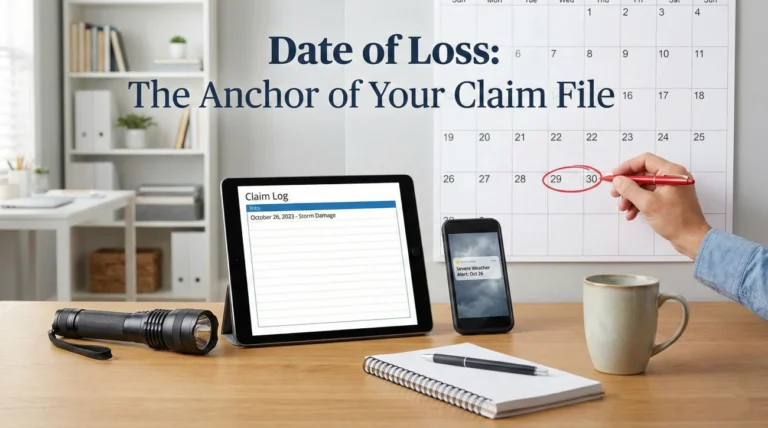
Setting Up Your Paperwork Tracking Log
Now that you have identified and cleanly named the files, you need a system to track them. A tracking log is the single most effective tool for preventing missed deadlines and lost paperwork. A simple spreadsheet or a dedicated page in your physical notebook works perfectly.
For every blank form you receive, create a new row in your log. I strongly recommend including the following columns to maintain a clear operational view of your requirements.
- 📄 Document Name: The exact title of the form (e.g., Sworn Statement in Proof of Loss).
- ✅ Date Received: The day it landed in your email, portal, or mailbox.
- 📄 Deadline: The date it must be submitted. If no date is given, leave it blank until you confirm it in writing.
- ✅ Action Required: What needs to happen next (e.g., waiting for contractor estimate, needs signature).
- 📄 Date Submitted: The exact date you send the completed form back.
- ✅ Confirmation Received: A simple yes or no checkbox to ensure the adjuster acknowledged receipt.
This tracking log becomes your source of truth. When you are stressed and trying to remember if you owe the insurance company a piece of paper, you simply open your log and check the status column.
A Realistic Scenario: Controlling the Paperwork Chaos
Let us look at how this process works in practice. Imagine you discover a major kitchen leak and file your claim on a Monday. On Tuesday morning, an email arrives from the carrier with a 20-page PDF attachment containing a mix of letters, notices, and blank forms.
If you lack a system, you might print the entire packet, read the first three pages, get overwhelmed by the legal language, and leave it on your kitchen counter. Two weeks later, the adjuster asks why you haven’t submitted your initial property inventory. You scramble to find the papers, only to realize coffee was spilled on them, forcing you to ask for a new copy and delaying your claim.
Here is what the organized approach looks like.
You download the 20-page PDF. You take 15 minutes to review the document page-by-page to see what you are actually dealing with. You realize pages 1 through 5 are the welcome letters. Pages 6 and 7 are a blank inventory sheet. Page 8 is a blank Proof of Loss. You save the forms to your dedicated “Claim Documents” folder on your computer using clean file names. You open your tracking spreadsheet and log the inventory sheet and the Proof of Loss. You notice neither form lists a specific due date. Instead of guessing, you move to the communication phase.
Communication Hygiene: Asking for Written Deadlines
Once your forms are logged, you need to clarify expectations. Deadlines can vary significantly based on your state laws and specific policy conditions. The safest operational habit is to request a clear, written timeline from your assigned desk adjuster.
This is where structured communication helps. You want to acknowledge receipt of the packet and politely ask for specific instructions. Here is a simple framework for this type of email.
[Acknowledge Receipt] + [List Forms Received] + [Request Deadlines in Writing]
If you are drafting an email, you can use a neutral, professional script like this one. It leaves no room for confusion and creates a clear paper trail.
Hello [Adjuster Name],
I am writing to confirm that I received the initial claim packet on [Date]. I have saved the blank forms, including the Contents Inventory and the Sworn Statement in Proof of Loss.
Could you please reply and confirm the specific deadlines for when each of these forms must be submitted according to my policy conditions? I want to ensure I follow your timeline correctly while we wait for the field inspection and the contractor’s initial estimates.
Thank you for your guidance,
[Your Name]
By sending this message, you achieve two things. First, you show the adjuster that you are organized and paying attention. Second, you force them to provide a written deadline, which protects you if there is ever a dispute about whether you submitted documents on time.
Common Mistakes (and How to Fix Them)
Even with a tracking log, the sheer volume of paperwork can lead to simple errors. Awareness is your best defense against these operational traps.
Note: Submitting a Proof of Loss before your contractor has fully assessed the hidden damages can limit your ability to supplement the claim later. For a deep dive on how to handle this specific document, you must read our Proof of Loss playbook.
What if you already made a mistake and sent an incomplete Proof of Loss? Do not panic. You can fix it with clear communication. Send a follow-up email immediately stating: “Please retract the Proof of Loss submitted on [Date] as it was incomplete pending contractor estimates. I will submit a revised, accurate version once the scope of work is finalized.” Ask them to confirm the replacement in writing.
Another common mistake is failing to keep copies of what you actually submitted. You fill out a paper form, sign it, and mail it. Two weeks later, the insurance company says they lost it. If you did not take a clear photo or scan of the signed document before mailing it, you have to start over from scratch.
⚠️ Warning: Never send an original signed document without saving an exact digital copy for your own records.
Finally, avoid the mistake of assuming your local insurance agent will handle the paperwork for you. Your agent is a great resource, but the responsibility to track, fill out, and submit the paperwork directly to the claims department ultimately falls on your shoulders, guided by your specific policy conditions.
Final Thoughts: Your 24-Hour Checklist
The forms sent after filing a claim are the foundation of your documentation file. Handling them correctly sets the tone for your entire interaction with the insurance carrier. Once you have a system in place, you can shift your focus away from the paperwork anxiety and direct your energy toward properly documenting your property damage and planning your repairs.
To make this actionable right now, here is your exact checklist for the next 24 hours after receiving that initial packet:
- ✅ Download the entire packet to your local device.
- ✅ Rename the files clearly (e.g., 2023-11-01_Blank_ProofOfLoss.pdf).
- ✅ Log each form into your tracking spreadsheet.
- ✅ Email the adjuster using the script above to ask for written deadlines.
- ✅ Wait for their confirmation before filling out complex damage estimates.
❓ FAQ
🧐 What are all these forms sent after filing a claim?
They are usually a standard, automated packet generated by the insurer’s system. The packet commonly includes an acknowledgment letter, a blank Proof of Loss, blank inventory sheets, and sometimes authorizations or non-waiver agreements. They are templates waiting for your specific data.
⏳ Do I need to fill out the claim forms immediately?
In many cases, no. You should log them and save them safely. You often cannot fill out forms like the Proof of Loss accurately until contractors have inspected the damage and provided initial estimates. Always ask your adjuster for the exact deadlines in writing.
📝 Should I sign a blank proof of loss form?
No. Signing a blank legal document or a document with incomplete damage estimates is a significant operational risk. You should only complete and sign this form when you have organized all your estimates and have a clear picture of the loss.
🛑 What happens if I do not sign a non-waiver agreement right away?
A non-waiver agreement means the insurer is investigating without promising coverage. If you are unsure about signing it, you should politely email your adjuster to clarify why it is needed for your specific file before you apply your signature.
📅 How do I find the deadline for my insurance claim paperwork?
Do not guess deadlines. Send an email to your desk adjuster listing the forms you received and explicitly request the submission deadlines for each document in writing based on your policy. Log their response in your tracking sheet.
📧 Can I submit my claim forms via email?
Often, yes. Submitting via email or a secure portal creates a digital paper trail, which is excellent for tracking. Always confirm with the adjuster if digital copies are acceptable, and always request a confirmation of receipt after you hit send.
🗂️ How should I organize blank forms sent by my adjuster?
Download them immediately, rename the files to include the date and the word “Blank” (e.g., 2023-11-01_Blank_Inventory.pdf), save them in a dedicated claim folder on your computer, and log them into a tracking spreadsheet.
🗣️ What if the adjuster tells me to sign forms over the phone?
Always move verbal requests into written tracking. If asked to sign something over the phone, ask them to email you the specific instructions and the document. This ensures you have time to review it and maintains your written trail.
📋 Do I need to provide a recorded statement before filling out forms?
Recorded statements are separate from your paperwork packet. If requested, you should clarify the topic, who receives it, and why it is needed in writing before proceeding. Stick to your initial day-one notes if you provide one.
✉️ How do I confirm my claim forms were received?
Never assume an uploaded or mailed form was processed. Send a short, polite follow-up email a few days after submission stating what you sent and asking the adjuster to reply with a confirmation that the forms are legible and added to your file.
⚠️ Disclaimer: PropertyClaimChecklist.com provides practical guidance, process checklists, and example follow-ups to help you organize a property claim and move it forward. It is not policy language, claim documentation, legal content, or a substitute for your insurer's instructions. Always rely on your carrier's requirements and your actual policy terms for what must be submitted and how decisions are made.