- The recoverable depreciation process requires you to prove that the repair work was actually completed and paid for as scoped.
- Vague contractor invoices frequently cause final payouts to get delayed. Invoices must be highly detailed and track back to the original estimate.
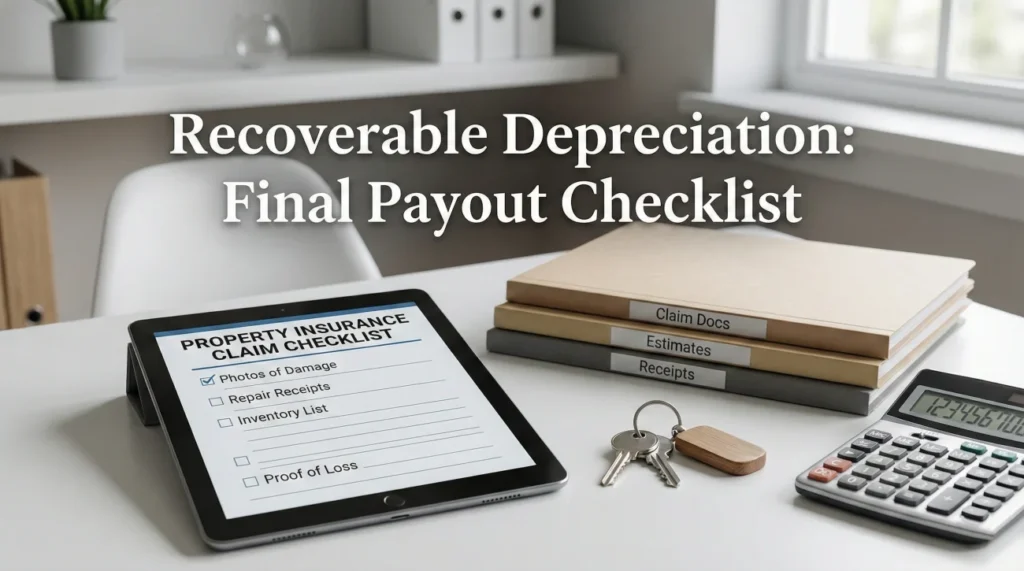
- You must organize a clear evidence pack containing itemized invoices, proof of payment, and matching completion photos.
- Do not treat the final check as an automatic release. It requires a deliberate operational review of your documents before compilation.
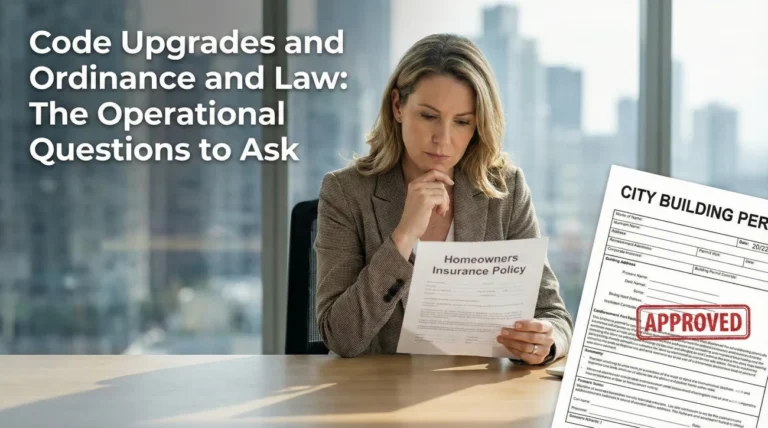
Navigating the Final Payout Phase
In my claims operations experience, the final phase of a property claim is often where momentum grinds to a halt. You have hired a contractor, the repairs are finished, and the property looks normal again. But the final check, which represents the withheld funds, seems to be stuck in a void.
I frequently see policyholders hit a wall here because they treat the initial claim check as the final settlement. They complete the work, pay their contractor out of pocket for the difference, and wait for the remaining funds to simply arrive. In reality, the recoverable depreciation process is an operational task. It requires you to actively prove to a desk adjuster that the specific work listed in the original estimate was completed and incurred a cost.
This phase is entirely about documentation hygiene. The people reviewing your file at the end of the process are usually not the same field adjusters who walked your property. They are desk reviewers looking at a computer screen, comparing your contractor’s invoice against a spreadsheet of approved line items. If your documents do not speak their operational language, the file goes into a pending status.
This guide is a walkthrough of how I organize, audit, and verify documentation to unlock that final payout. We will look at exactly what needs to be in your final evidence pack and the common documentation traps that delay the process.
The Core Mechanics of Withheld Funds
Before building your checklist, it helps to understand why this secondary process exists. In many property claims, the initial payment is based on the actual cash value of the damaged items. This means age and wear are deducted from the replacement cost. The difference between that initial payment and the true cost to fix the damage is the withheld amount.
To access those withheld funds, you generally have to prove two specific things:
- ✅ You actually completed the repairs listed in the scope.
- ✅ You incurred the actual costs associated with those repairs.
Your final payout is directly tied to what you actually spent. If your final repair bill is lower than the initial estimate, your final payout is usually adjusted downward to match your actual incurred costs. When I review claim files that have stalled at this stage, the root cause is frequently a failure to prove these points clearly. The documentation is either missing, too vague, or contradicts the original scope of work.
The 90-Second Desk Review
To understand why details matter, it helps to know how a desk adjuster processes these files. When they open your evidence packet, they typically follow a predictable cognitive path: they look at the invoice total, verify the proof of payment matches that exact number, glance at the photos to confirm visual completion, and then try to map the invoice descriptions back to their estimate spreadsheet. If any step in that chain requires them to guess or make an assumption, the file is paused.
Key Point: The reviewer processing your final payout needs to connect a clear line between the approved estimate, the work performed, and the money spent. Do the matching work for them before you submit.
Auditing Your Contractor Invoices
The single most critical document in the recoverable depreciation process is the final contractor invoice. However, a standard commercial invoice is rarely sufficient for a claim review. Contractors often bill in lump sums. They might write an invoice that just says “Roof Replacement” with a single total at the bottom.
In day-to-day claims ops, this is where the system frequently breaks down. A lump-sum invoice forces the desk adjuster to guess what materials were used, what labor was performed, and whether the scope matches their approved estimate. When they have to guess, they request more information, causing weeks of delays.
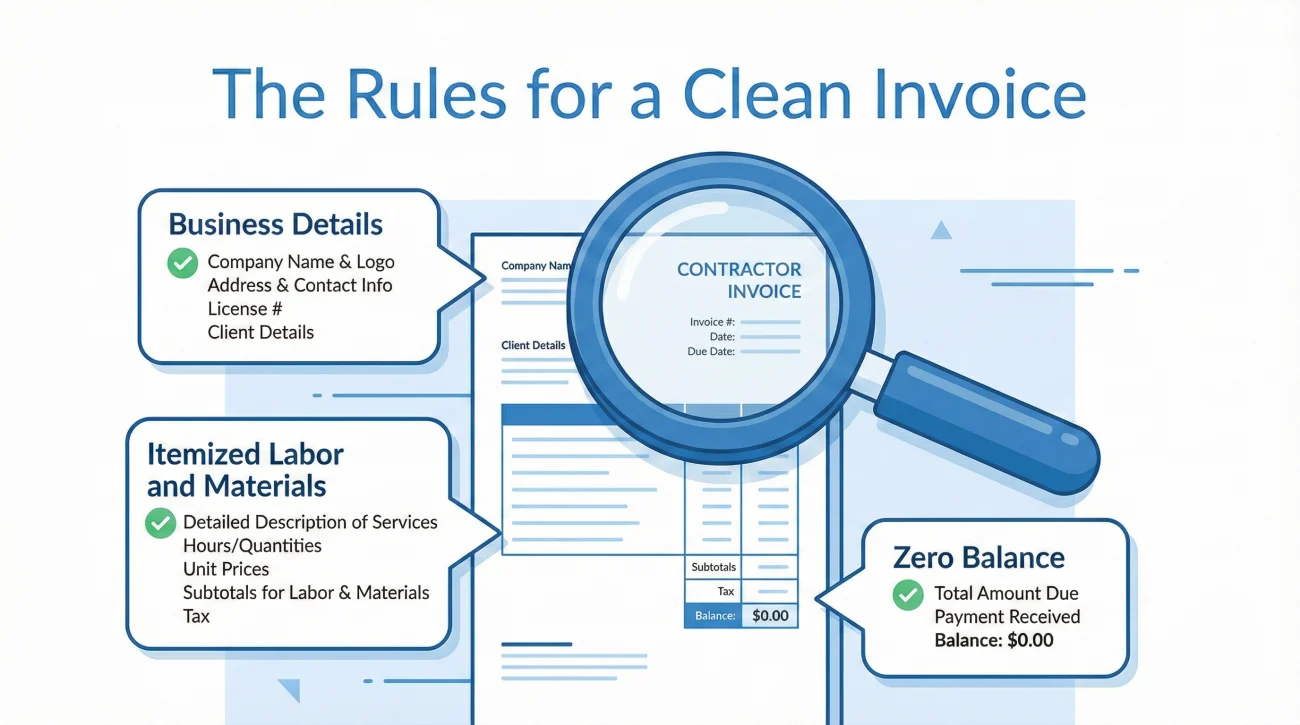
The Rules for a Clean Invoice
Before you accept a final invoice from your contractor, you need to audit it yourself. You are looking for a document that acts as a mirror to the original approved scope. Here is what I verify on every final invoice:
First, the contractor’s business details must be flawless. This includes their official business name, physical address, phone number, and any applicable license numbers. The invoice must have a unique invoice number and a clear date of issue.
Second, the itemization must be granular. If the original estimate breaks down the living room drywall, paint, and baseboards into separate line items, your contractor’s invoice should reflect those same categories. It does not necessarily need the exact same software codes, but the descriptions of the work must align.
Third, the financial totals must make sense. The invoice needs to clearly separate the cost of materials, the cost of labor, and any applicable taxes. If the final cost is different from the initial estimate, those differences must be easy to identify.
An invoice that says “Repaired kitchen water damage, replaced cabinets and flooring. Total Cost: Paid in full.”
An invoice that lists: “Kitchen Repairs: Removal of damaged lower cabinets, installation of 12 linear feet of standard grade cabinets. Removal of damaged laminate, installation of 150 sq ft of engineered hardwood. Painting of 3 walls. Materials total. Labor total. Tax. Final Cost. Balance Zero.”
6 Invoice Wording Traps to Catch
Reviewers are trained to spot vague descriptions that cannot be verified against the scope. If your contractor uses any of these phrases on their final invoice, ask them to revise it into specific line items before you submit it:
- ❌ “Repair as needed” (Forces the reviewer to guess what was actually done).
- ❌ “Misc labor” (Does not explain which trade or room the labor belongs to).
- ❌ “Materials” (Too vague. Was it framing lumber, paint, or roofing shingles?).
- ❌ “Upgrade” (Reviewers need to separate the base repair cost from the upgrade cost).
- ❌ “Remodel” (Insurance pays to restore damage, not to remodel. This word causes immediate scrutiny).
- ❌ “Discount applied” (If a discount lowers your actual incurred cost, the reviewer needs to see exactly where it was applied to adjust the payout correctly).
Verifying Proof of Payment
An invoice shows that work was billed, but it does not always prove that money changed hands. Many files stall because the policyholder submits a pristine invoice, but the reviewer cannot verify that the cost was actually incurred.
When organizing a file, I always ensure the proof of payment is stapled, either physically or digitally, to the corresponding invoice. Your goal is to leave zero ambiguity about the financial transaction.
If you paid by check, you need a copy of the front and back of the cleared check. A carbon copy from your checkbook is rarely enough; it needs to show the bank processing marks. If you paid by credit card, a clear statement or transaction receipt showing the contractor’s merchant name is required. If you financed the work through the contractor, you need the finalized, signed financing agreement.
⚠️ Warning: Cash payments are notoriously difficult to document in this process. If you must pay in cash, you need a highly detailed, signed, and dated receipt from the contractor explicitly stating “Paid in Cash” alongside the invoice number. Even then, it often triggers extra scrutiny and verification calls.
Aligning Your Photo Evidence
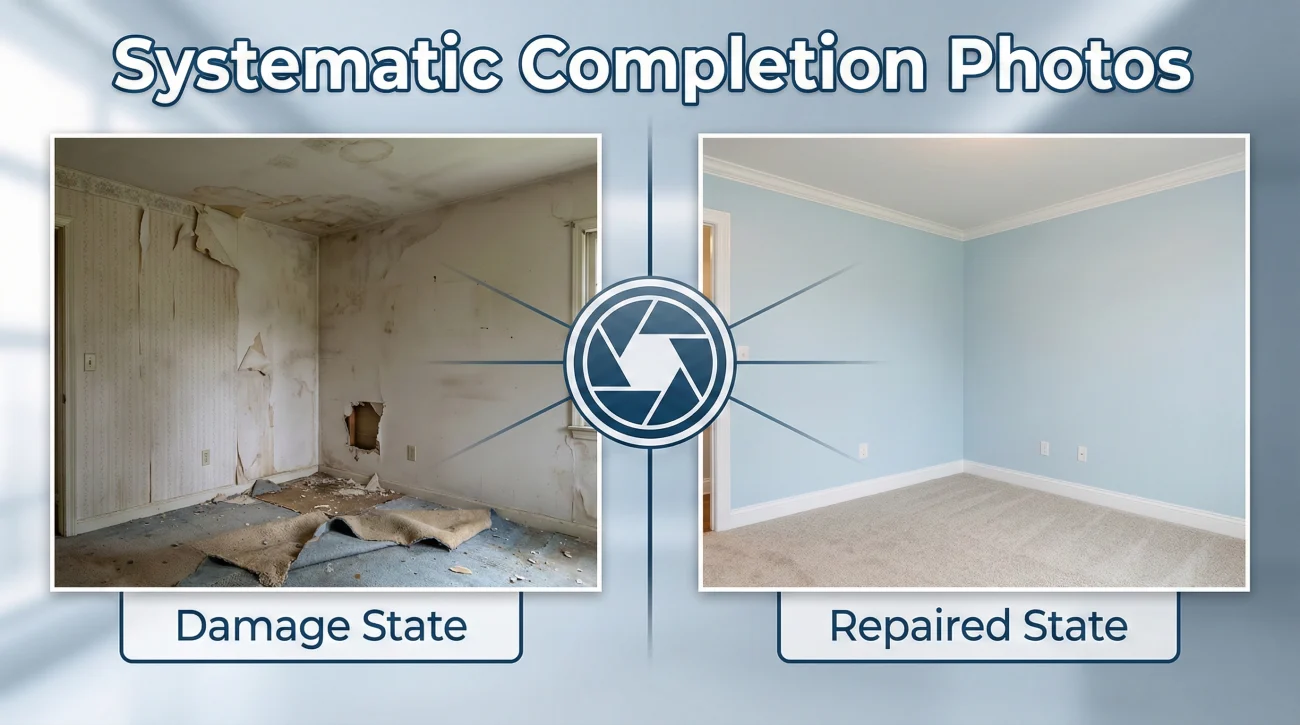
In many cases, paper documentation alone is not enough. The reviewer may need visual confirmation that the repairs exist in reality, not just on a ledger. This is where completion photos come into play.
I often see people snap one quick photo of a newly painted house from their car and submit it. This is a missed opportunity. Your completion photos should be systematic. The most effective way to handle this is to recreate the original damage photos, but in the repaired state.
If the initial adjuster took a wide shot of the living room showing the missing drywall, stand in that exact same corner and take a wide shot of the finished wall. If they took a close-up of a damaged window frame, take a close-up of the newly installed frame.
This matching technique does the operational work for the desk adjuster. They can open the “Before” photo on one screen and your “After” photo on the other, instantly verifying the completion of the scope. Always ensure your photos are well-lit, in focus, and clearly labeled by room.
Real-World Scenarios That Stall Payouts
Scenario 1: The Partial Repair Confusion
To see how this breaks down practically, let us look at a common pattern I encounter regarding partial repairs.
Imagine a scenario where a property sustains severe wind damage to the roof, the gutters, and a detached shed. The original scope includes line items for all three structures. The homeowner decides to hire a roofer to replace the main house roof and the gutters, but they choose to tear down the shed themselves and not rebuild it.
When the work is done, the homeowner submits the roofer’s invoice and asks for the total withheld funds for the entire claim to be released. The file immediately stalls.
The operational gap here is a mismatch between the billed work and the expected scope. The desk reviewer sees the shed on the original estimate, but no invoice or photo indicating the shed was rebuilt. Because the policyholder asked for the full release without explaining the delta, the reviewer assumes the documentation is simply incomplete.
In a well-managed process, the policyholder would audit their own packet before submission. They would realize the shed is missing from the invoices. To keep the file moving, they would explicitly state in their documentation: “The roof and gutters are complete, see attached invoices. We have elected not to rebuild the shed and are not claiming the withheld funds for that specific structure.”
Scenario 2: The Mortgage Endorsement Delay
Another frequent issue happens even when your documentation is completely flawless. You submit the perfect evidence pack, the desk adjuster approves it in 48 hours, and the final check is mailed. However, when it arrives, you realize it is made out to both you and your mortgage company.
Because the home is the collateral for your loan, the mortgage company often has a legal right to ensure the repairs were done to protect their investment. This means you cannot simply deposit the check. You must send it to the mortgage company’s loss draft department, go through their specific inspection or documentation process, and wait for them to endorse the check back to you.
This endorsement process creates a hidden delay. In operations, we tell people to prepare for this. If your mortgage company was on the first check, expect them to be on the final check, and contact their loss draft department early to understand their specific release requirements.
Handling Mismatches and Scope Changes
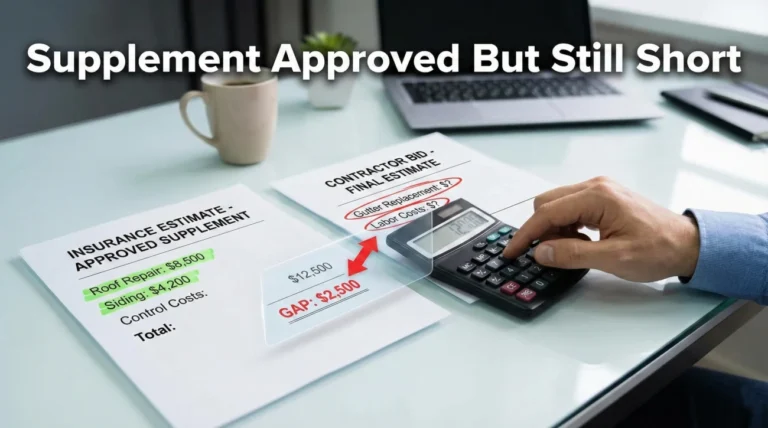
Sometimes, while auditing your final invoices against the original estimate, you realize the numbers do not align because the original estimate was simply incorrect. You might discover that the contractor had to use significantly more materials than scoped, or they uncovered hidden damage during the repair process.
This is an important operational boundary to recognize. If your final invoices are much higher than the original estimates due to missing line items, you are no longer just dealing with a standard recoverable depreciation release. You are moving into a scope dispute or a supplement request.
If you find yourself in a situation where the documented repair costs far exceed the initial summary because the scope was flawed from the beginning, you need to pause. Submitting a massive final invoice without context will cause confusion and likely result in a partial payment based only on the old scope. You will likely need to review our guide on the low estimate documentation response to properly frame the missing scope and align the paperwork before pushing for the final release.
The Master Depreciation Unlock Checklist
To ensure your file does not get stuck in a pending queue, use this operational checklist to verify your evidence pack before you consider it complete. I break this down into three distinct verification phases.
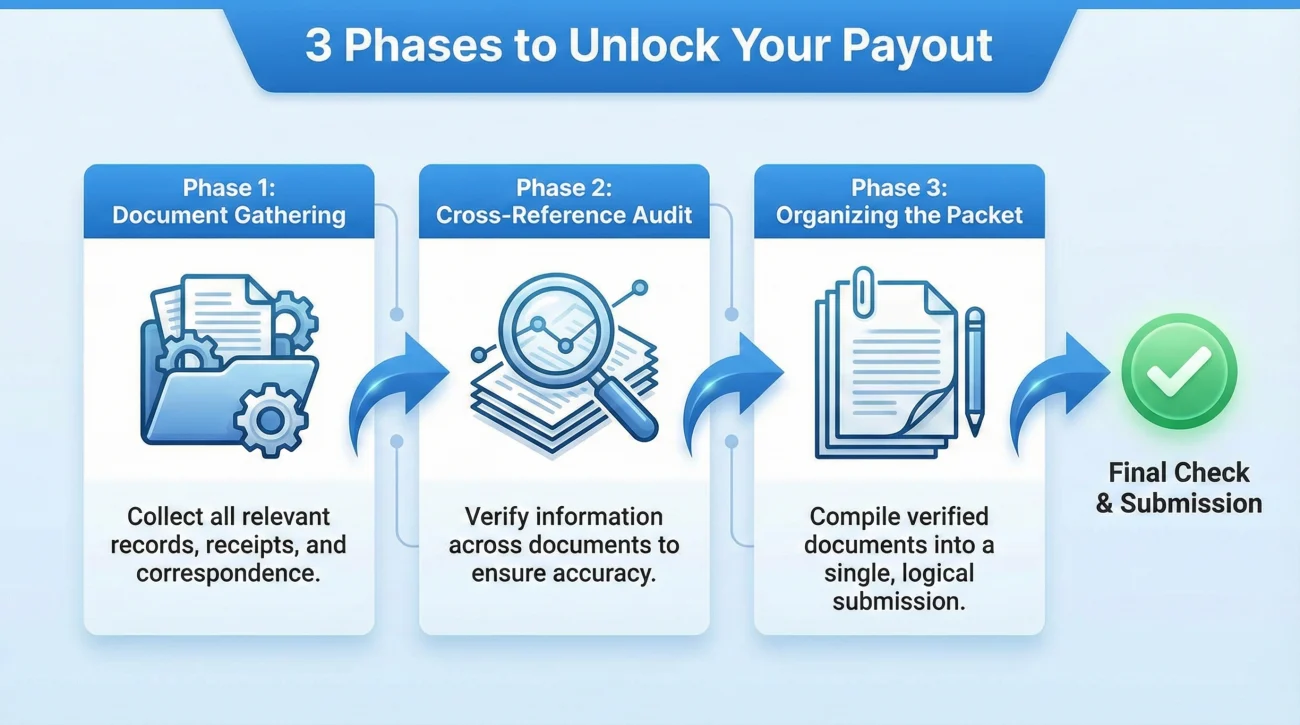
Phase 1: Document Gathering
Do not proceed until you have physically or digitally collected every item in this phase.
| Document Type | What to Verify |
|---|---|
| Final Invoices | Business name, date, invoice number, itemized breakdown by room, clear separation of labor and materials. Must show a zero balance. |
| Proof of Payment | Cleared check images (front and back), credit card statements, or finalized finance agreements. Must match the invoice total exactly. |
| Completion Photos | Clear, well-lit photos of the repaired areas. Ideally taken from the same angles as the original damage photos. |
| Certificates of Completion | If required for permitted work by your local municipality, signed documents stating the work meets local codes. |
Phase 2: The Cross-Reference Audit
This is where you act as your own desk adjuster. Take your collected documents and compare them directly against the original approved scope.
- 📄 Compare the rooms listed on the invoice to the rooms listed on the estimate. Are any missing?
- 📄 Compare the materials listed on the invoice. Did you upgrade? If you upgraded from laminate to hardwood, note this internally so you are prepared if the reviewer asks. You generally only recover costs up to the standard of the original material.
- 📄 Check the math. Does the proof of payment amount perfectly match the “Total Paid” line on the invoice?
Phase 3: Organizing the Packet
How you present the information dictates how fast it gets processed. Never send a disorganized pile of receipts. Structure the evidence pack logically.
When compiling the file, I recommend creating a simple cover sheet or index. This acts as a roadmap for the reviewer.
Internal Packet Inventory Example:
Section 1: Roof Replacement
– Itemized final invoice from [Contractor Name] (Invoice #1044)
– Proof of payment: Copy of cleared check #502
– 4 completion photos showing new shingles and flashing
Section 2: Living Room Drywall
– Itemized final invoice from [Contractor Name] (Invoice #1045)
– Proof of payment: Credit card transaction receipt
– 2 completion photos showing painted walls
Note on file: The damaged fence listed on page 4 of the original estimate will not be repaired at this time.
💡 Pro Tip: Keeping this inventory clean and chronological removes the cognitive load from the reviewer. When they can easily match your Section 1 to their Estimate Category 1, the file moves faster.
Common Mistakes That Delay the Final Check
Even with a checklist, it is easy to miss small details that trigger a file suspension. Throughout my time monitoring claims workflows, these three mistakes appear constantly:
The “Estimate as Invoice” Mistake:
Some contractors will simply take the original insurance estimate, cross out the carrier’s logo, write their name at the top, and stamp “Paid” on it. Many review departments will reject this outright. They require a distinct, independently generated invoice from the contractor’s own accounting system to prove the work was uniquely billed.
Missing Dates:
It sounds minor, but an invoice without a clear date of completion or date of issue is a red flag in claims operations. Reviewers need dates to establish the timeline of repairs, especially if there are strict deadlines in the policy language. Always check the date fields before accepting paperwork from a vendor.
Unexplained Upgrades:
If you use the claim as an opportunity to remodel (for example, knocking down a wall to create an open concept instead of just replacing the damaged drywall), your invoice will look vastly different from the estimate. If you submit that invoice without explanation, the reviewer will be unable to untangle the repair costs from the remodeling costs. You must have your contractor clearly separate the costs of the original scope replacement from the out-of-pocket upgrade costs on the invoice.
Final: Closing the Claim Loop
Unlocking your final payout is the result of clean, organized proof. The recoverable depreciation process relies entirely on your ability to document reality and translate it into a format that a desk reviewer can quickly verify without making assumptions.
By rejecting vague invoices, demanding itemized breakdowns from your contractors, matching your proof of payment, and organizing your photos logically, you remove the friction from the review phase. Approach this final hurdle with a mindset of operational follow-through, and you will prevent your file from gathering dust in a pending queue.
❓ FAQ
🕒 How long do I have to claim my recoverable depreciation?
Deadlines vary widely. It is critical to check your specific documents, as there is usually a strict time limit (often 180 days to a year from the date of loss) to complete repairs and submit your proof.
🧾 Do I have to submit both receipts and invoices to get the final check?
Generally, yes. An invoice shows what was billed, but proof of payment (like a receipt or cleared check) proves the cost was actually incurred, which is usually required to unlock the funds.
💰 What happens if my final contractor bill is lower than the initial estimate?
In most cases, you only recover up to the actual amount you spent. If the repairs cost less than expected, the final payout is typically adjusted downward to match your actual incurred costs.
🔨 Can I do the work myself and still get the depreciation money?
This depends heavily on the specific rules of your file. While you can usually recover the cost of materials you bought, claiming labor costs for your own time often requires specific documentation and may be treated differently.
🏦 Does the final depreciation check go to me or my mortgage company?
If your mortgage company was listed as a payee on the initial claim check, they will very likely be included on the final payout check as well, requiring their specific endorsement and inspection process.
📸 Are completion photos absolutely necessary for every repair?
While some reviewers might process a file on invoices alone, providing clear completion photos is the best operational habit. It instantly removes doubt and prevents the reviewer from needing to schedule a re-inspection.
🛑 Can the request for withheld funds be denied?
Yes. If the submitted invoices are too vague, the proof of payment is missing, or the documented work does not match the original approved scope, the release of funds can be delayed or denied.
🏗️ What if I decide to upgrade my materials during the repair?
You can upgrade, but you typically only recover funds based on the cost to replace the original standard of material. Your contractor must clearly separate the base repair cost from the upgrade cost on the invoice.
📝 How detailed does my final contractor invoice really need to be?
It needs to be highly granular. It should break down labor, materials, and taxes per room or per trade, ideally mirroring the categories listed in your original approved estimate.
🔄 What if I only complete half of the listed repairs?
You typically only unlock the funds associated with the specific line items you actually completed. You must clearly communicate to the reviewer which items were done and which were intentionally skipped.
⚠️ Disclaimer: PropertyClaimChecklist.com provides practical guidance, process checklists, and example follow-ups to help you organize a property claim and move it forward. It is not policy language, claim documentation, legal content, or a substitute for your insurer's instructions. Always rely on your carrier's requirements and your actual policy terms for what must be submitted and how decisions are made.